
Last updated November 18, 2026
Radiant Barrier Installation Warning Signs Every Homeowner Should Know
A radiant barrier that’s quietly failing its job looks almost exactly like one that’s working. You have to bring a thermometer into the attic on a 108°F North Las Vegas afternoon to see the difference: the air temperature under the foil reads 148°F instead of the 118°F it sat at the day it was installed. The visual warning signs were there first, plain as day, but most homeowners don’t know what a correct installation is even supposed to look like. This guide covers the three visible indicators, the duct-contact problem, the temperature test that settles the argument, and the tile-roof factor that matters specifically in North Las Vegas.
Quick Answer
The main warning signs of a failing radiant barrier are foil sagging far enough to touch the insulation below, a gray or brown dust film on the reflective surface, and foil pulling away from staples at the rafter edges. Each one breaks a different part of the barrier’s function. A six-inch temperature differential under 10°F on a hot afternoon confirms that the damage is costing you real performance, not just looks.
Table of Contents
- What a radiant barrier actually does (and what breaks it)
- The three visible warning signs in your attic
- The HVAC duct contact problem almost nobody checks
- The temperature test that tells you if it’s really failing
- Why North Las Vegas tile roofs need annual inspection
- What a warning sign is not
- Common mistakes to avoid
- When to call a professional
What a Radiant Barrier Actually Does (and What Breaks It)
A radiant barrier is a sheet of foil-faced material, usually stapled to the underside of the roof rafters or laid across the attic floor, that reflects radiant heat back toward the roof deck instead of letting it radiate down into the attic space. The physics is straightforward: shiny low-emissivity surfaces bounce thermal radiation, and dull or dirty ones absorb it. Two conditions have to hold for the foil to work. It needs to be clean and reflective, and it needs a real air gap between the foil and whatever is below it. The gap is what the industry calls the low-emissivity cavity, and it’s doing as much work as the foil itself.
When either condition fails, the barrier stops reflecting. Consider what you’re really paying for here: aluminum foil with an emissivity of about 0.05 reflects roughly 95% of the radiant heat hitting it. The same foil dusted with a fine layer of attic grit can drop to an emissivity of 0.3 or worse, which means it’s now absorbing most of the heat that used to bounce back. Sagging foil that touches the insulation below loses its gap and starts conducting heat directly into the insulation.
In our work across North Las Vegas, we’ve pulled down more radiant barriers than we’ve installed, and the pattern is consistent. The failures aren’t dramatic. They’re slow, they’re invisible from the living space, and the first clue most homeowners get is a July power bill that jumped $80 without any other explanation.
If you’re evaluating the whole attic envelope, not just the foil, the barrier is one piece of a system. A properly insulated and air-sealed attic, which we cover in detail on our attic insulation in North Las Vegas page, is what makes the reflective layer pay off. Foil over a leaky, under-insulated attic floor is a reflector bolted to a sieve.
The Three Visible Warning Signs in Your Attic
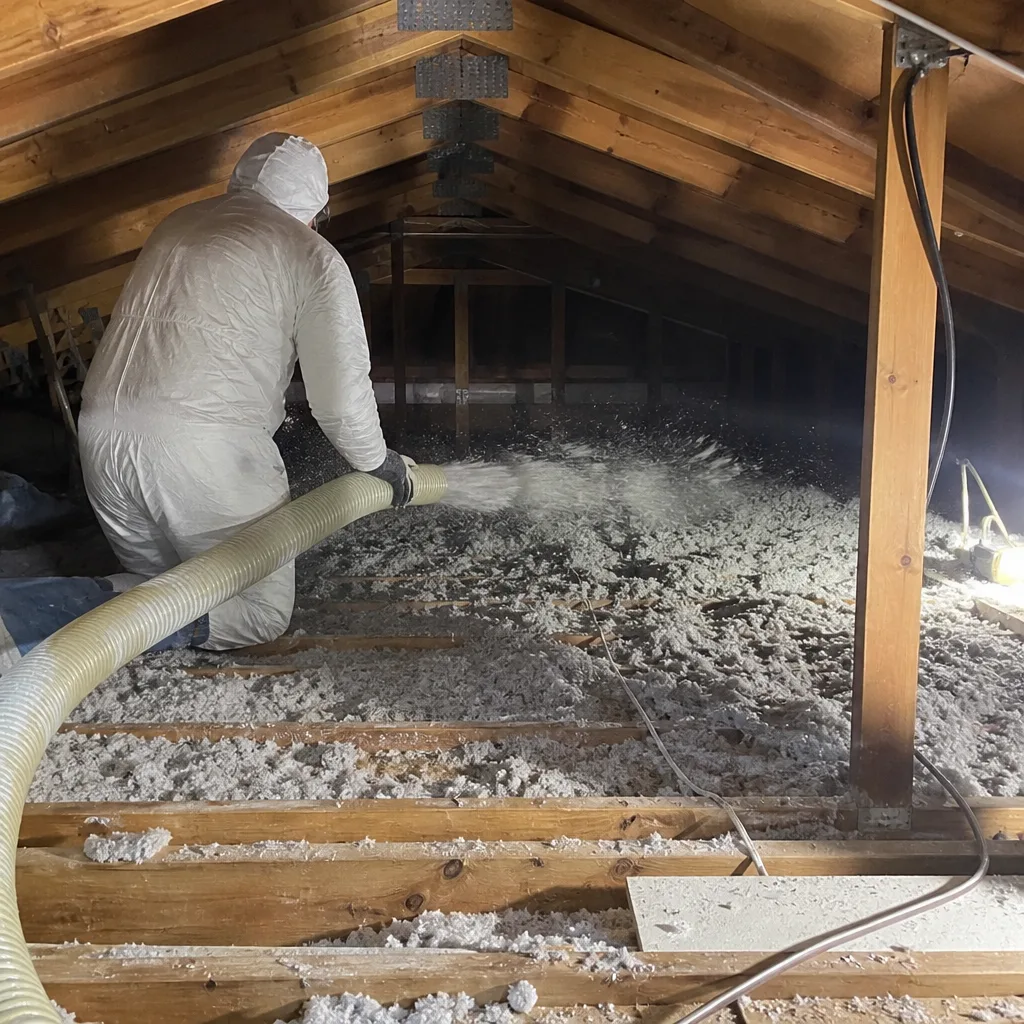
Bring a bright flashlight and go up about two hours after sunrise on a clear summer day, while the attic is already heating up and you can see the foil clearly without cooking yourself. Look for these three things, in this order.
- Foil sagging and touching the insulation below. The air gap is the barrier’s whole reason for existing. When span distances between rafters are wider than the foil can handle, or when the installer stapled loosely to save time, summer heat cycles cause the foil to droop until it meets the blown-in insulation on the attic floor. Once contact happens, heat conducts straight through the foil into the insulation instead of reflecting away. A correctly installed barrier holds a consistent gap along its entire run.
- A gray or brown dust coating on the reflective surface. Run a finger along a section of foil in a low-traffic area and look at your fingertip. If it comes away with a visible film, the foil’s emissivity has been compromised, and no amount of wiping will restore it. Dust settles on horizontal surfaces over years, and it collects fastest in attics with ventilation problems or roof underlayment that’s starting to break down.
- Foil pulled away from staples at the rafter edges. This is thermal cycling damage, and it’s the most common failure we see. The foil expands slightly with daytime heat and contracts at night, thousands of times over a decade. Each cycle works the staple holes a little looser until the edge of a panel pulls free. That creates a bypass gap where hot attic air slips behind the foil and defeats the cavity. It also lets the panel flap in wind, which accelerates the damage.
Any one of these is worth addressing. Two or more together almost always mean the barrier has lost meaningful performance. For a full picture of how North Las Vegas homes typically perform under these conditions, our Envelope Insulation North Las Vegas home page lays out the envelope-level view.
The HVAC Duct Contact Problem Almost Nobody Checks
This one doesn’t show up on any radiant barrier checklist you’ll find online, and it’s the most expensive warning sign to ignore. In most Las Vegas-area attics, flexible HVAC duct runs across the attic floor or between rafters, sometimes resting directly on the radiant barrier foil. When foil is in direct contact with a duct, heat from the attic moves through the foil by conduction, then through the flex duct’s thin insulation jacket, then into the moving air inside. The duct insulation was sized assuming it would be radiating to open attic air, not conducting heat from a 148°F foil surface.
What to look for:
- Flat, compressed sections on the foil where a duct has been resting against it. The foil flattens and the reflective surface creases.
- Duct sections that have no visible air gap between the jacket and the foil beneath them. Even a two-inch gap makes a difference.
- Warm or hot spots on the duct jacket you can feel with the back of your hand on a hot afternoon, which is a sign that the jacket is over its rated operating condition.
The fix is usually a duct support strap that lifts the run a few inches off the foil, not a full duct replacement. But you have to find it first. A radiant barrier with a correctly installed duct system above it reflects radiant heat and lets convection do its job. A radiant barrier with ducts crushing it flat is just a conductive blanket. We routinely find this during crawl space encapsulation and vapor barrier work in North Las Vegas when we’re tracing a moisture complaint and find a duct problem along the way.
The Temperature Test That Tells You If It’s Really Failing
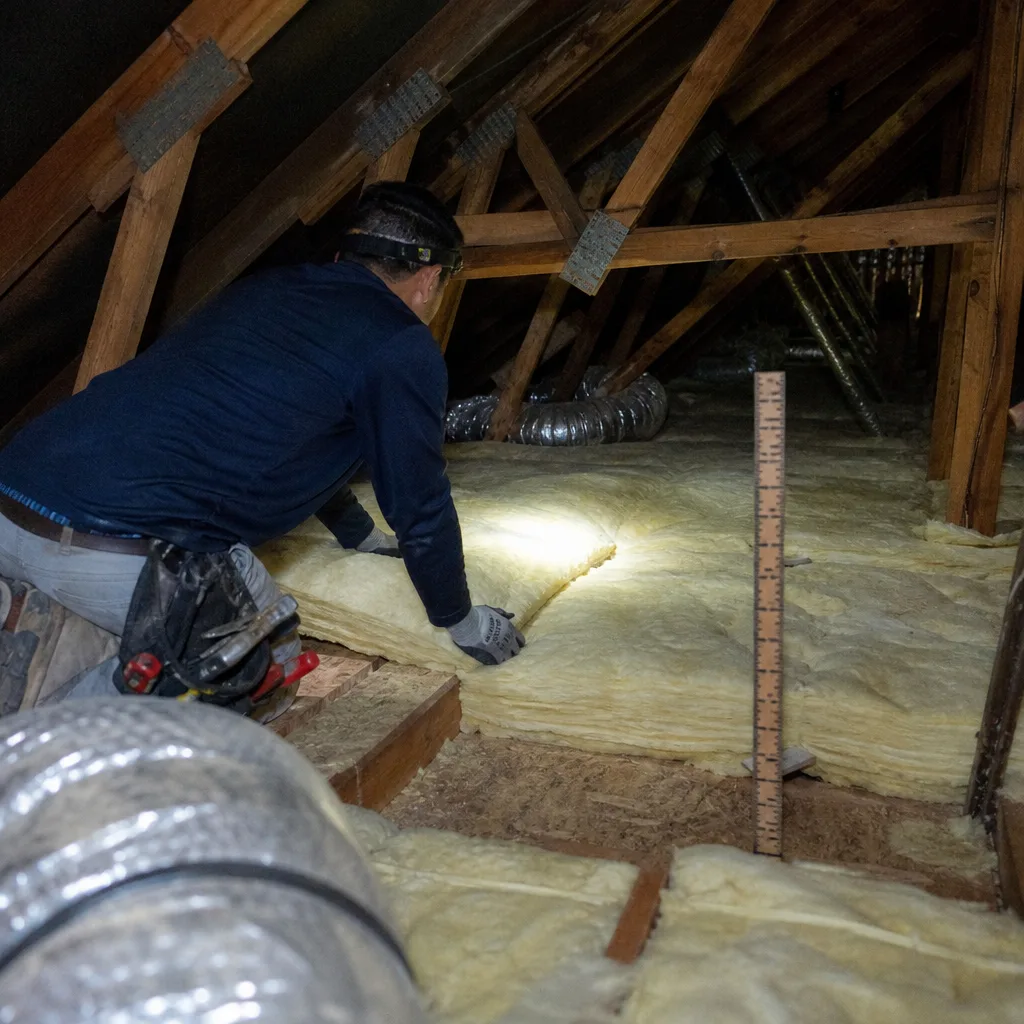
A warning sign only becomes a performance problem when you can measure the cost. Here’s the test any homeowner can run with an infrared thermometer or a basic digital probe, and it takes about ten minutes.
- Pick a clear afternoon between 1 p.m. and 4 p.m. when the outside temperature is 100°F or higher. A hot day is the only test that tells you anything useful. A 90°F day won’t differentiate a working barrier from a dead one.
- Measure the attic air temperature six inches below the foil surface. Note the reading.
- Measure the attic air temperature six inches above the foil surface, closer to the roof deck. Note that reading.
- Subtract the two. On a working radiant barrier in this climate, you should see a differential of 15°F or more between the hotter air above the foil and the cooler air below. A differential under 10°F indicates significant performance loss, meaning the foil is not reflecting radiant heat off the cavity the way it was designed to.
Write both numbers down with the date and the outdoor temperature, which is the only way you’ll know whether the barrier is still working when you test it again the following summer. If the differential is small but the foil looks clean and the gap is intact, the problem may be ventilation, not the barrier. For North Las Vegas attics specifically, this test is more reliable than the visual inspection alone because the fiber on a dust-dulled surface can still look reasonably shiny to the naked eye.
Air sealing is the counterpart to this test: a blower-door test we run measures how much conditioned air the house is losing overall, not just what the foil is doing. On applicable jobs we publish those before-and-after numbers so homeowners can see the change in a single figure. If your attic floor is unsealed, no barrier on the rafters will compensate for it, and that’s the reason our spray foam work is always preceded by air sealing, the sequence behind our spray foam insulation in North Las Vegas.
Why North Las Vegas Tile Roofs Need Annual Inspection
Most homes built in North Las Vegas between 1995 and 2015 have concrete or clay tile roofs, and that’s a specific risk factor for radiant barrier performance. Tile underlayment, the asphalt-impregnated felt paper that sits between the tile and the roof deck, has a service life of roughly 15 to 20 years in this climate. The heat and the UV exposure here age it faster than in cooler markets. Once the underlayment starts to dry, crack, and curl, it stops sealing the roof from dust and fine grit that blows across the Spring Mountains foothill elevations where wind is a regular afternoon feature.
That grit infiltrates into the attic and settles on the first horizontal surface it hits, which is usually your radiant barrier foil. Tile roofs over 15 years old on properties in the 89084, 89085, and 89086 ZIP codes are where we see the fastest dust accumulation. If your roof is past the 15-year mark, put an annual inspection on the calendar. Check the foil surface in the fall, before the first cool-season winds, and look specifically at the south- and west-facing roof slopes, which get the most thermal cycling.
Dust accumulation is a slow process that gives no warning until the differential test fails. By the time the power bill is up, the foil has usually been compromised for two or three summers. When we inspect a North Las Vegas home with a tile roof, the underlayment condition is one of the first things we note, because the foil is downstream of the roof.
What a Warning Sign Is Not
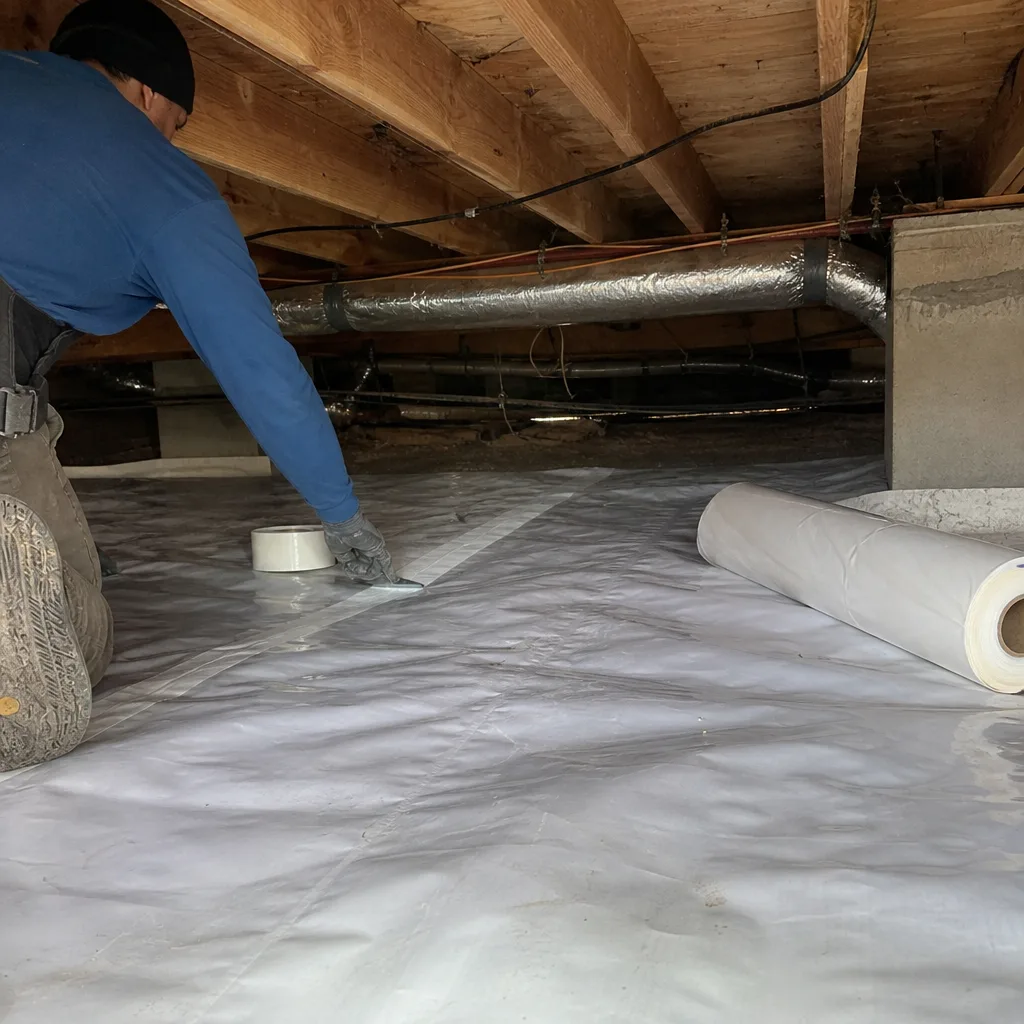
Not every imperfection in a radiant barrier is a failure, and if you call a contractor over a cosmetic wrinkle you’ll spend money on nothing. Here’s the line between normal behavior and an actual problem.
- Slight sagging between staple points is normal. Foil panels routinely sag a half inch or so between fasteners as they go through thermal cycling. That’s the material behaving as designed. The problem isn’t sag on its own; it’s sag severe enough to make contact with the surface below.
- Minor wrinkling or dimpling is not a warning sign. Handles of staple guns, tape seams, and the natural pull of the material produce wrinkles that have no measurable effect on emissivity or the cavity.
- A dull look in the far corners of the attic doesn’t tell you much. Focus on the foil surfaces exposed to the most airflow and dust, usually the south- and west-facing slopes, not the corners.
- Tape seams that are intact but visually uneven are fine. The concern is a seam that’s opened up enough to create a visible bypass gap, not a seam that looks imperfect from 10 feet away.
The question to ask yourself is always the same: is the foil touching the adjacent surface, or is it dirty? Those are the two conditions that actually break performance. Visual appearance in isolation doesn’t mean anything. A ceiling and attic that are handled correctly from the start, with air sealing done before any reflective or insulation product goes in, is the reason we do the work in the sequence we do it.
Common Mistakes to Avoid
- Installing foil over an unsealed attic floor. A radiant barrier reflects radiant heat; it does nothing about air leaks. If your top plates, can lights, and penetrations aren’t sealed first, the foil is reflecting heat toward a ceiling that’s already leaking conditioned air. We seal first, then insulate, always.
- Stapling across spans wider than the foil can hold. This is the single biggest cause of the sag-to-contact failure. Know your rafter spacing and use a foil rated for the span, or support it between rafters.
- Skipping the annual inspection on an older tile roof. Underlayment failure in North Las Vegas is a known dust source, and a foil surface that’s been dust-coated for two summers is functionally a heat absorber. Ten minutes with a flashlight every fall is cheaper than a re-install.
- Measuring temperature on a cool day. The six-inch differential test only produces meaningful results when the outside temperature is above 100°F. Testing in March tells you nothing and can lead you to replace a perfectly good barrier.
- Laying foil directly over blown-in insulation to “add a barrier.” This kills the cavity and turns the foil into a conductive layer sitting on insulated material. It also creates a moisture trap. It’s a common DIY error we get called to correct.
- Ignoring duct contact because it’s “just a duct.” Flex duct resting on foil is one of the highest-dollar warning signs in the attic. The duct jacket sees conducted heat, not just radiated heat, and the delivered air temperature to your rooms goes up.
- Treating discoloration as a reason to replace the whole barrier. If the dust is confined to a few panels, replace those panels. Replacing the whole thing when only the south slope is compromised is money spent for nothing.
When to Call a Professional
You can run the visual inspection and the temperature differential test yourself. The work of correcting the problem is a different story, and some of what you find behind that foil justifies a call. Call a professional if you see foil sagging into contact with insulation, if the duct runs are compressing the barrier, or if the six-inch differential test comes in under 10°F on a hot afternoon. Call if your tile roof is over 15 years old and you haven’t had the attic inspected. And call if you’re not sure how to read what you’re seeing, because a trained eye can tell a normal wrinkle from a failed panel in about 30 seconds.
Envelope Insulation North Las Vegas offers free estimates in North Las Vegas – call (833) 630-4008. A live person answers 24/7, and you walk away with a written price before any work starts and a documented photo record of what we found. If you already have a competing written estimate, we’ll read it with you at no charge as a free second opinion.
Frequently Asked Questions
The three visible signs are foil sagging into contact with the insulation below, a gray or brown dust film on the reflective surface, and foil pulled away from staples at the rafter edges. Confirm any one of them with a temperature test: measure the attic air temperature six inches below the foil and six inches above it at the same time on a 100°F-plus afternoon. A differential under 10°F indicates significant performance loss, and that’s the point to get an expert eye on it. Call (833) 630-4008 for a free estimate.
Foil sags into contact with the insulation below when the staple spacing is too wide for the rafter span, or when the installer stapled loosely to save time. The foil undergoes thousands of thermal cycles over a decade, and some sagging is normal, but contact with the adjacent surface kills the air gap the barrier needs to reflect heat. Once contact happens, heat conducts straight through instead of bouncing back.
Yes, and dramatically. A clean aluminum surface has an emissivity around 0.05; a dust-coated surface can rise to 0.3 or above, which means it starts absorbing most of the radiant heat instead of reflecting it. Dust settles fastest in North Las Vegas attics with tile roofs over 15 years old, because aging underlayment lets grit infiltrate. Wiping it off doesn’t restore performance; a contaminated surface has to be replaced.
A radiant barrier and attic insulation solve different problems, and one doesn’t replace the other. Insulation slows conductive heat flow; a radiant barrier blocks radiant heat from reaching the insulation in the first place. In North Las Vegas’s 108°F summers, the combination outperforms either alone, but only if the attic floor is air-sealed first. Foil over leaks is money spent on the wrong layer.
Once a year, ideally in the fall before the cool-season winds, plus immediately after any roof repair or tile replacement work. Homes with tile roofs over 15 years old in the 89084, 89085, and 89086 ZIP codes warrant the annual check without exception because underlayment deterioration accelerates dust infiltration. If you’ve never had the attic inspected and the roof is over 15 years old, schedule the first one now.
Yes. Flex duct in direct contact with foil conducts attic heat straight through the foil and into the duct jacket, partially defeating the duct insulation and warming the air delivered to your rooms. Look for flat, compressed sections of foil where a duct is resting and any place where there’s no visible air gap between the duct jacket and the foil. Lifting the duct run on support straps is usually the fix. Call (833) 630-4008 for a free estimate to evaluate the whole attic.
The Bottom Line
Radiant barrier failures hide in plain sight. The three visible signs (sag into contact, dust on the foil, foil pulling from staples) are what a 10-minute attic inspection catches before the power bill catches it for you. The duct-contact problem is the expensive one most homeowners miss. The temperature differential test is the only way to know whether a warning sign is cosmetic or costing you money, and on a 100°F-plus North Las Vegas afternoon it takes 10 minutes with a thermometer. Tile roofs past 15 years old need an annual inspection for dust infiltration. If you see any of the signs in this guide, or you’re not sure, get a second set of eyes on it before you spend a dollar on replacement.
Envelope Insulation North Las Vegas provides free estimates on radiant barrier inspection and repair across North Las Vegas, and every job begins with a written price before any work starts – no exceptions. Call (833) 630-4008 to schedule an inspection. A live person answers 24/7. If you already have a written estimate from another contractor, we’ll read it with you at no cost as a free second opinion, and we’ll tell you honestly if the work doesn’t need to happen yet.
Written by the team at Envelope Insulation North Las Vegas.