
Last updated November 18, 2026
Spray Foam Insulation Maintenance Schedule: What to Do and When
Closed-cell spray foam in an attic will likely outlast the roof above it. The foam itself is durable. What fails is everything the foam depends on: the penetrations it seals around, the mechanical connections it bridges, and the thermal boundary it defines. A 1/4-inch breach in an otherwise airtight assembly can account for roughly 20% of a home’s air leakage, and that breach won’t announce itself. It shows up as a bedroom that runs warm in July. In North Las Vegas, where attic temperatures push past 150°F and the summer monsoon drives wind-blown dust into every gap, those breaches happen faster than most homeowners expect. This guide lays out a year-by-year inspection schedule so you know what to check, when to check it, and what a real problem looks like.
Quick Answer
Spray foam insulation itself rarely needs maintenance, but the air barrier system around it does. Plan a post-install review at full cure (about 24 to 48 hours for closed-cell, up to a week for open-cell), a 1-year adhesion and penetration check, a 5-year mechanical and roof-penetration audit, and an inspection after any trade work near the envelope. A periodic blower-door test gives you one number to compare against your original baseline. In North Las Vegas, add a UV check on any open-cell foam left exposed in the attic.
Table of Contents
- Why Spray Foam Needs a Schedule at All
- The Year-by-Year Inspection Timeline
- What to Look For at Pipe, Wire, and Duct Penetrations
- Using a Blower-Door Test as a Periodic Benchmark
- UV Degradation of Open-Cell Foam in North Las Vegas Attics
- The Post-Work Checklist After HVAC, Roof, or Plumbing Repairs
- How to Vet the Contractor Who Inspects Your Foam
Why Spray Foam Needs a Schedule at All
Spray foam is sold as install-it-and-forget-it. In our experience, that framing gets homeowners into trouble, not because the foam degrades quickly, but because the foam is one component of a system. The system includes the substrate it bonds to, the caulk and mastic at every penetration, the framing it spans, and the roof deck above it. Those components age at different rates. The foam might hold for 30 years while the sealant at a plumbing penetration dries out in five.
We’ve seen this play out across North Las Vegas. Homes in Aliante and Eldorado built in the 2000s often have original spray foam in the attic that’s still sound, but the electrical penetrations through the top plates have lost their sealant. The foam is fine. The assembly leaks.
There’s a second reason a schedule matters: documentation. Under Haven Standard Clause 1, every job we complete ends with a written record, and on applicable jobs that record includes before-and-after blower-door readings (a pressurization measurement that shows, in one figure, how much conditioned air the home was losing before and after the work). Without that baseline on file, you have no way to know whether a 200 CFM50 drift two years later is normal measurement variance or the start of a real problem. Keep the paperwork. It’s the difference between an inspection and a guess.
One more local factor: North Las Vegas sits in a high-desert climate with extreme daily temperature swings and a monsoon season that drives wind and moisture against the envelope. That’s a harder environment than a mild coastal climate, and the inspection schedule should reflect it. For the broader context on how the assembly fits together, our page on Envelope Insulation North Las Vegas home walks through the service line.
The Year-by-Year Inspection Timeline
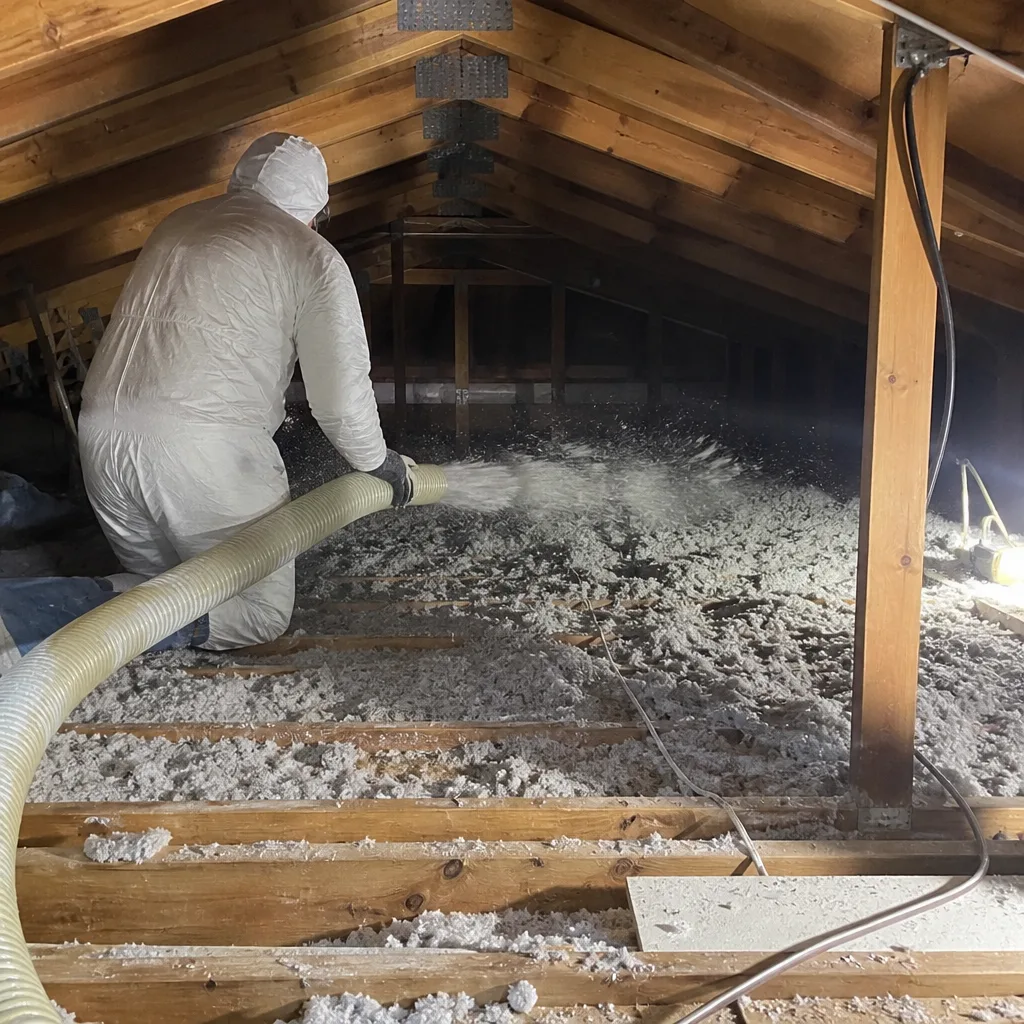
Here’s the schedule we recommend. It’s built around how the individual components age, not around an arbitrary annual calendar. Print it, tape it inside a closet door, and note the dates you complete each check.
- Immediate post-install review (at full cure). For closed-cell foam, that’s roughly 24 to 48 hours after application. For open-cell, allow up to a week. The technician walks the job and checks for shrinkage at substrate interfaces, foam that’s pulled away from framing, and any spot where the foam didn’t fully fill a cavity. This is when a warranty claim is easiest to resolve, so don’t skip it. Sign off only after you’ve walked the attic with the photos in hand.
- 1-year inspection (adhesion check). At the one-year mark, look at every substrate interface: where the foam meets framing, sheathing, and the roof deck. Foam that has bonded correctly shouldn’t pull free under light hand pressure. Any gap, soft spot, or separation at the bond line is a candidate for investigation. Check that penetrations still have intact sealant.
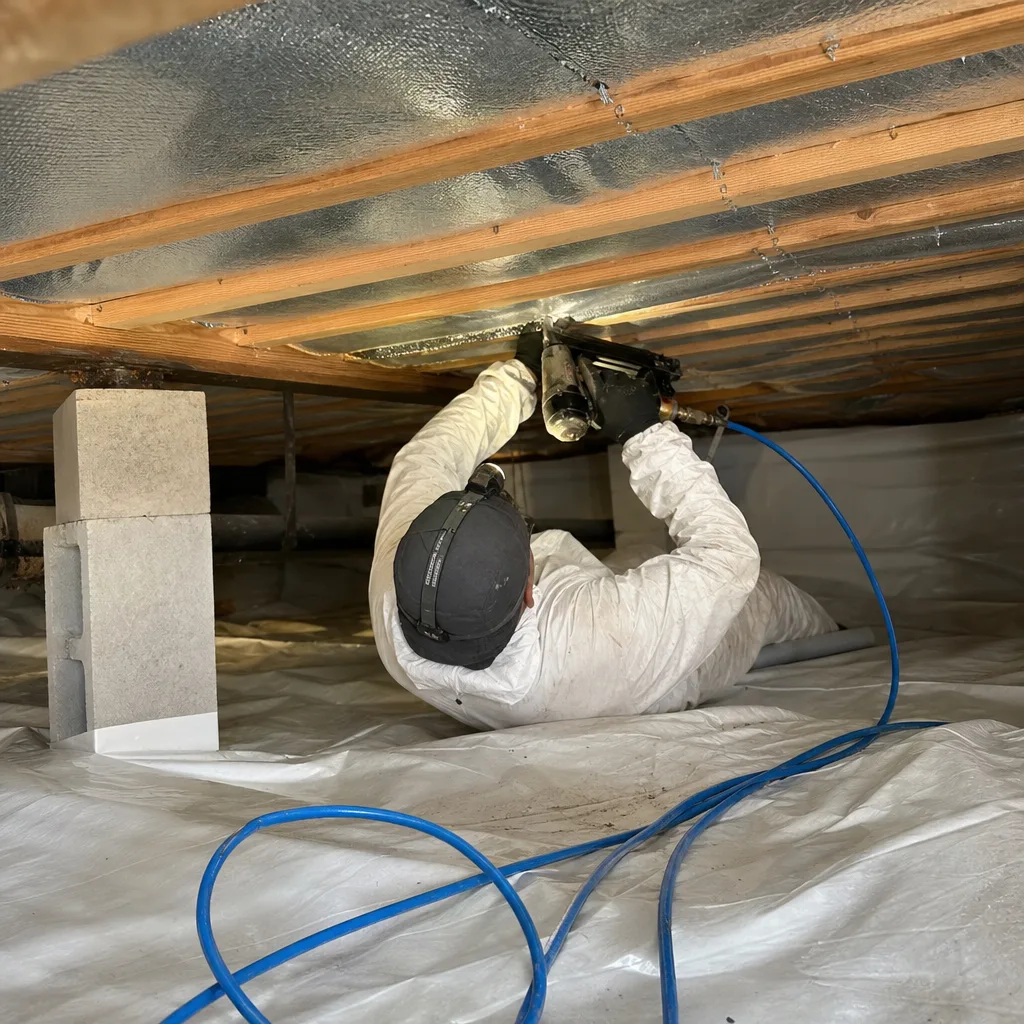
- 5-year audit (penetrations and mechanical connections). The five-year point is when caulk and mastic at high-heat connections typically start to fail. Walk every wire, pipe, and duct penetration through the foam plane. Re-caulk anything that has cracked, dried, or pulled away. Check the mechanical connections at HVAC boots, can lights, and any ductwork strapped through the framing.
- After any roof work or renovation. A re-roof, a solar install, an HVAC replacement, or any trade work near the envelope gets its own inspection. Roofers driving nails through the deck into conditioned space is the most common breach we see. The nail hole may be small, but it’s a direct path for air and moisture. Run the post-work checklist below.
- Blower-door benchmark every 3 to 5 years. A periodic blower-door test, compared against the reading from the original installation, tells you whether the assembly as a whole is holding. We cover the interpretation below.
In North Las Vegas, the single most useful habit is to schedule the inspection in early fall, after the summer heat peak. That’s when heat-driven failures show up and before the cooler months when you can comfortably get into the attic to address them.
What to Look For at Pipe, Wire, and Duct Penetrations
The foam plane is only as tight as its penetrations. Every wire, pipe, and duct that passes through the foam leaves an interface where two different materials meet, and those interfaces age at different rates depending on where they sit.
In an unconditioned North Las Vegas attic, surface temperatures routinely exceed 150°F in July. Standard latex caulk isn’t built for that. It dries, cracks, and pulls away within a few years. High-temperature silicone or fire-rated sealant lasts longer, but even those need periodic inspection. We’ve seen penetrations in Aliante attics where the caulk had essentially turned to powder after four summers.
Inside the conditioned space, the story is different. Penetrations through interior top plates or interior walls see far less heat cycling, so the sealant lasts longer. The catch is that interior failures are harder to spot because you can’t see them from the living space. That’s part of why the annual attic walk still matters even on the conditioned side of the assembly.
Here’s what to check at each penetration type:
- Wire penetrations: look for cracked or missing sealant, gaps larger than 1/8 inch, and any sign of air movement (dust streaks on the surrounding foam tell you air is moving).
- Pipe penetrations: check that the sealant hasn’t dried and separated from the pipe. Plumbing repairs are a common cause of a newly opened gap.
- Duct penetrations and boots: mastic at HVAC boots and boot-to-framing connections dries out from heat cycling. Look for cracks, gaps, and any ductwork pulled away from its seal.
- Can lights and recessed fixtures: check that the air sealing around them is intact and that the foam hasn’t been disturbed by a bulb or fixture change.
A 1/4-inch gap at a single penetration is small, but it’s a direct leak path. In a tight assembly, one breach like that can account for a meaningful share of total leakage. The good news is that re-sealing a penetration is quick work. The bad news is that nobody does it unless somebody checks. For details on how we handle the sealing step, see our page on Spray Foam Insulation in North Las Vegas.
Using a Blower-Door Test as a Periodic Benchmark
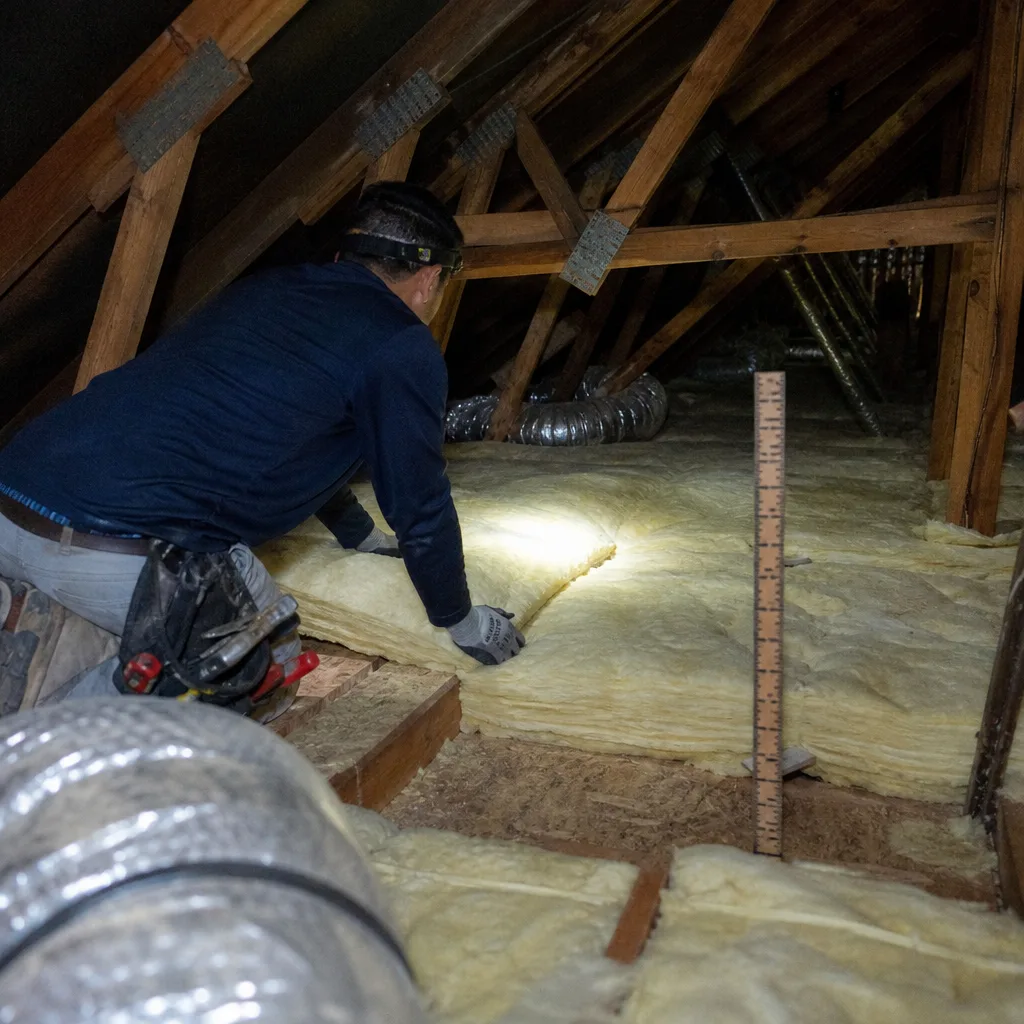
A blower-door test is a pressurization reading that shows, in one number, how much air your building envelope is losing. The result is typically expressed as ACH50 (air changes per hour at 50 pascals of pressure) or CFM50 (cubic feet per minute at that pressure). The lower the number, the tighter the envelope.
The useful thing about a blower-door test is that it’s reproducible. Run it the same way, on the same house, with the same conditions, and you get a number you can compare. That’s what makes it a benchmark rather than a snapshot.
What counts as meaningful degradation? In our experience, a drift of roughly 10% to 15% in ACH50 from your original baseline is worth investigating. Below that, you’re likely seeing normal measurement variance: different outdoor temperature, different wind, a door that wasn’t quite closed the same way. Above 15%, you have a genuine reason to walk the assembly and find out what changed. A sudden jump of 25% or more is a strong signal that something specific opened up, and it’s almost always traceable to a penetration, a roof event, or trade work.
Two things make the benchmark work:
- You have to have the baseline on file. That’s why we publish before-and-after blower-door numbers on every applicable job. Without that original reading, the test tells you how tight the house is right now, but not whether it’s changed.
- You have to run it the same way each time. The same test conditions, the same door setup. A contractor who understands the test will tell you the conditions along with the number.
If you want a baseline reading for a home that doesn’t have one, a home energy audit is the place to start. That’s separate work, but it’s the foundation everything else rests on.
UV Degradation of Open-Cell Foam in North Las Vegas Attics
Open-cell foam left exposed to sunlight will degrade. That isn’t a question of “if.” It’s a question of when, and how quickly. In a North Las Vegas attic, UV exposure through vents and unshaded gable openings is a real concern because the intense solar load over a large part of the year accelerates the process.
The specific timeline: uncoated open-cell foam exposed to direct sunlight typically loses surface integrity within 6 to 12 months, depending on the intensity and duration of exposure. The surface first turns from its original color to a dark tan, then to a chalky brown, and eventually to a dusty, friable texture that you can rub off with a finger. Once the foam crumbles, it stops acting as an air barrier at the surface.
Closed-cell foam is more UV-resistant because of its denser skin, but it also shouldn’t be left exposed long-term. Neither should be.
What to check for open-cell foam in a North Las Vegas attic:
- Color change from the original cream or pale tan to dark brown or chalky white.
- Dust that rubs off the surface onto your fingers.
- Visible crumbling along edges and at the thinnest sections.
- Any area directly in front of a gable vent or ridge vent with no shading or coating.
The fix is straightforward: a UV-resistant coating or an ignition-barrier coating applied over the exposed surface restores the barrier and satisfies code in most attic applications. If the foam is already crumbling, the damaged layer is cleaned and re-coated. The point is to catch it early, before the foam itself is compromised. If a home energy audit or a routine inspection finds exposure like this, it’s worth addressing before it becomes a repair.
The Post-Work Checklist After HVAC, Roof, or Plumbing Repairs
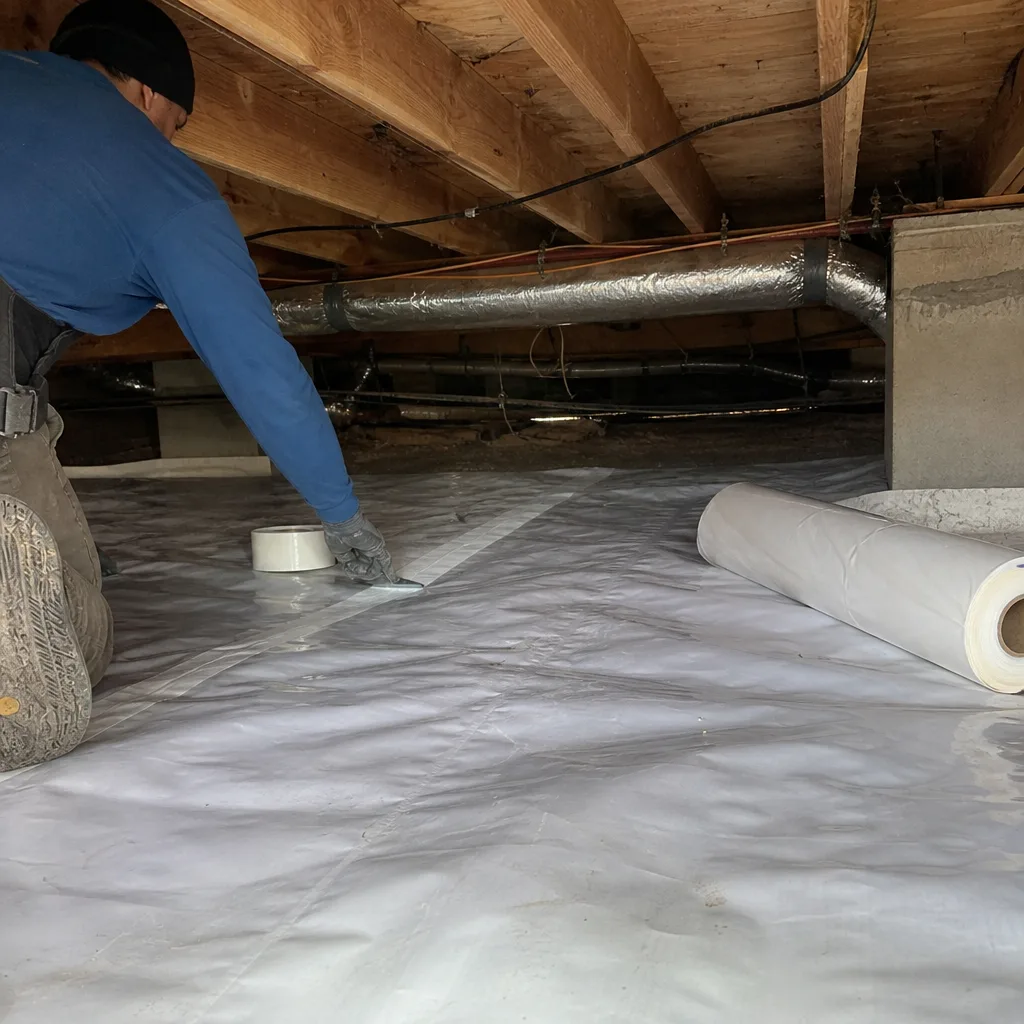
Tradespeople who work near the envelope don’t always know that a foam plane is there, or what it does. A roofer, an HVAC technician, or a plumber focused on their own part of the job can leave a breach without realizing it. Run this checklist on your own after any major work, and don’t wait for the contractor to mention it.
- Walk the attic with a flashlight and your original install photos in hand. Your documented photo record from the install is the reference. Compare what you see now to what was there before.
- Check the roof deck from below. Look for new nail tips or fasteners poking through into the attic. Any nail that has penetrated the deck is a breach that requires sealing from the attic side.
- Check every penetration near the work area. HVAC boots, plumbing lines, and any new wiring introduced by the trade should have intact sealant. New penetrations need new sealing.
- Check for disturbed or pulled-away foam. Anything that looks compressed, cracked, or separated from the framing where the trade was working is a candidate for repair.
- Run a comparison blower-door test if the work was extensive. A re-roof or a full HVAC replacement is significant enough to justify the cost of a measurement.
- Keep the documentation. Add the post-work photos and any readings to the same file as the original install record. That file is what a contractor or a future buyer will use to understand the assembly.
If the checklist turns up anything you can’t verify yourself, that’s a call. A trained technician can tell the difference between a cosmetic mark and a breach in the air barrier.
How to Vet the Contractor Who Inspects Your Foam
The inspection is only as useful as the inspector. A few things to ask before anyone climbs into your attic:
- Ask for the written scope before any work starts. An inspection is work. You should know what’s being checked, what it costs, and what you’ll receive in writing when it’s done.
- Ask what documentation you’ll get. Photos? A written report? A blower-door reading compared to a baseline? The answer should be specific.
- Ask whether they’ll read a competing estimate with you. A free second opinion on any written estimate is the fastest way to know whether you’re being sold something you need.
- Confirm the technicians are background-checked. An inspector who has access to your attic and your home should be vetted, and the company should say so plainly.
- Confirm calls are answered by a live person. A maintenance question is time-sensitive enough that a voicemail loop is the wrong answer.
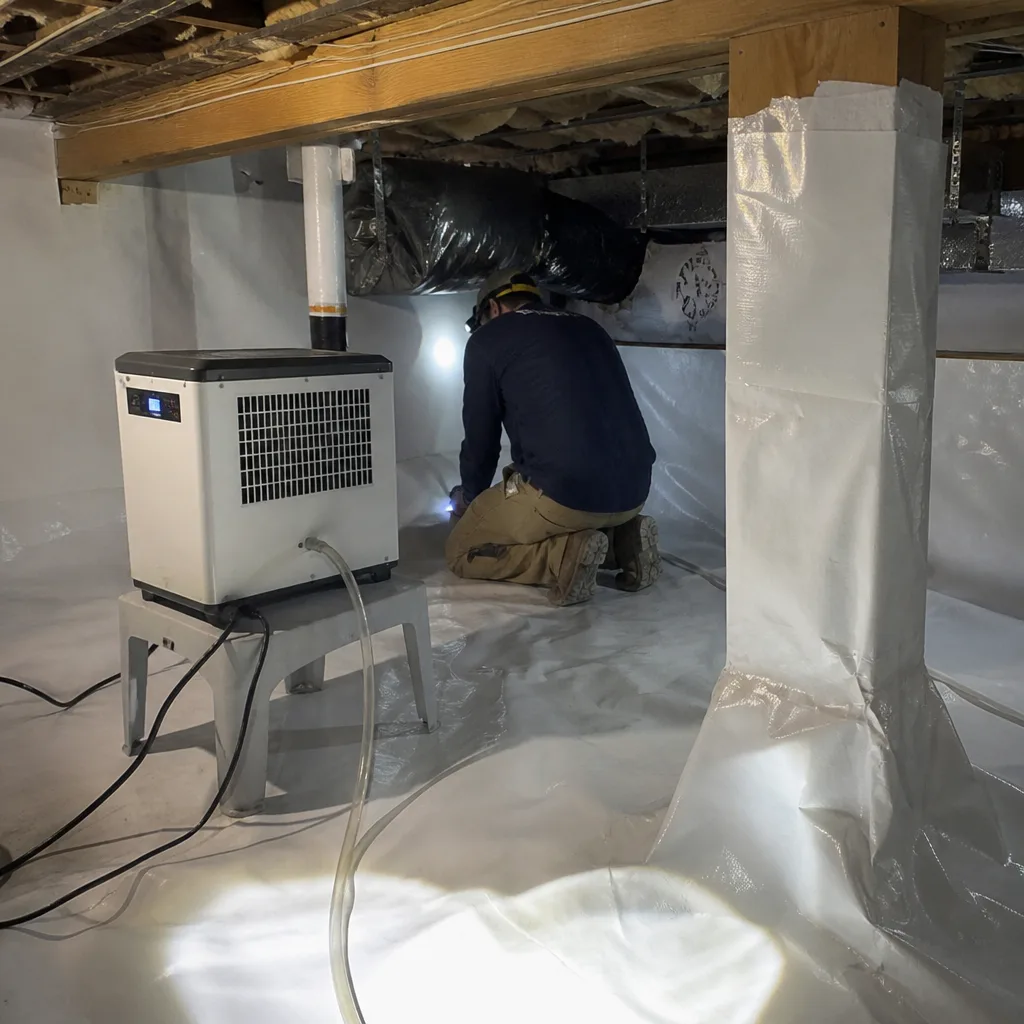
We build our own work around these points: a written price before any work starts, a documented photo record on every visit, a 365-Day Done Right Promise, and before-and-after blower-door numbers on applicable jobs. The Haven Standard exists so the paperwork is never the afterthought. If you’re comparing contractors in North Las Vegas, our page on Attic Insulation in North Las Vegas covers what an install should look like from the inside. If your crawl space is part of the envelope, Crawl Space Encapsulation & Vapor Barrier in North Las Vegas addresses the material choices we use, and you’ll see why materials from manufacturers like Icynene and Knauf get specified in homes where long-term performance matters more than short-term price.
Common Mistakes to Avoid
- Treating the install as the end of the story. The install is the beginning. A system that gets no inspection after year one is a system you’re assuming works, not one you know works.
- Skipping the cure check. The first 48 hours after closed-cell cure is when shrinkage shows up. An early check costs nothing. A late one costs repair work, and sometimes a full re-application.
- Assuming new caulk will last in the attic. Standard latex caulk dries and cracks fast in a North Las Vegas attic. Specify high-temperature sealant at every penetration, and expect to inspect it periodically regardless.
- Missing the post-roof checklist. A roofer driving a nail through the deck into conditioned space is the most common breach we see, and the homeowner almost never checks for it.
- Running a blower-door test without a baseline. A number with nothing to compare it to isn’t a benchmark. It’s a reading. Keep the original report.
- Letting open-cell foam go uncoated. UV exposure on an uncoated open-cell surface causes visible breakdown within 6 to 12 months. Once it’s chalky and friable, the surface is gone.
- Ignoring the air sealing around the foam. The foam is the field. The perimeter, the penetrations, and the transitions are the details. Details fail first.
When to Call a Professional
Most of this schedule you can do yourself with a flashlight and a printed checklist. Call a professional when any of the following comes up: the blower-door reading has drifted more than 15% from your baseline; the foam has pulled away from the framing at a substrate interface; the open-cell foam is already crumbling or chalky and asks for a coating; a roof, HVAC, or plumbing job has disturbed the envelope; or a plumbing leak has introduced moisture into the assembly. In North Las Vegas, we offer free estimates on inspections and follow-on work. Call (833) 630-4008, and a live person will pick up. You’ll get a written price before any work starts and a documented photo record when we’re done. Our technicians have up to 10 years of experience, and they’ve seen what happens when a breach goes unaddressed for a summer or two.
Frequently Asked Questions
Spray foam should be inspected at full cure (24 to 48 hours for closed-cell, up to a week for open-cell), at the 1-year mark for adhesion, at 5 years for penetrations and mechanical connections, and after any work near the envelope. A blower-door benchmark every 3 to 5 years keeps the whole assembly accountable to a measurable number.
Closed-cell spray foam typically doesn’t need replacement in a normal building lifetime if it was applied correctly and the assembly around it is maintained. Open-cell foam left exposed to UV may need the damaged surface layer removed and re-coated, but not full replacement. Replacement is usually limited to cases where foam failed to adhere or was applied over a wet substrate.
A bad job usually shows up as foam that’s pulled away from the framing at the bond line, foam with visible voids or unfilled cavities, or open-cell foam left exposed and crumbling. It can also show up in the paperwork: no written scope, no photos, and no blower-door reading to document results. In North Las Vegas, properly applied foam from a documented job will still look sound years later, with an intact bond line at every substrate.
Routine inspection visits in North Las Vegas typically run in the low hundreds of dollars, with re-sealing at a few penetrations adding modest material cost on top. Re-coating exposed open-cell foam costs more, because it involves surface prep and coating application over an area. A blower-door comparison test is its own line item. Because the exact scope varies with the size of the attic and the number of penetrations, we put the price in writing before any work starts. Call (833) 630-4008 for an exact quote. Estimates are free.
The foam itself is unlikely to fail from neglect, but the air barrier system around it will. Sealant at penetrations dries out, roof penetrations open up, and UV degrades exposed surfaces. The foam is the durable part. The maintenance schedule protects everything that holds the foam’s performance in place.
Yes, for the visual checks. A flashlight, your install photos, and the checklist above will catch most issues. Anything involving the bond line at a substrate interface, a blower-door reading, or re-coating damaged open-cell foam is worth a professional inspection. Heat in a North Las Vegas attic is serious in summer, so time your walk for early morning, and don’t crawl deep into an attic you can’t safely get out of. If anything looks wrong, call (833) 630-4008.
The Bottom Line
Spray foam is a durable material. The system around it is what ages. Your maintenance schedule is really a schedule for inspecting everything the foam depends on: the sealant at each penetration, the bond line at each substrate, the roof deck above, and the exposed surface of any open-cell foam in the attic. Keep your original blower-door baseline on file and compare against it every few years. A drift of more than 15% in ACH50 is your signal to investigate. In North Las Vegas, run the post-work checklist after every roof, HVAC, or plumbing job, and get an inspection in early fall after the heat peak. If anything turns up that you can’t verify yourself, call (833) 630-4008 and ask for a written price before any work starts.
Written by the team at Envelope Insulation North Las Vegas.