
Last updated November 18, 2026
Spray Foam Insulation Troubleshooting: Common Problems and How to Fix Them
Spray foam that looks yellowed and crumbly at the edges was almost certainly applied off-ratio – the two chemical components weren’t balanced correctly at the gun – and no amount of additional foam sprayed over it will fix the structural problem underneath. We’ve pulled enough failed foam out of North Las Vegas attics to know that most spray foam problems aren’t mysterious. They’re installation defects, and nearly all of them show up within the first year with a distinct visual signature. This guide teaches you to read those signatures before you call anyone: shrinkage gaps, off-ratio cure, and delamination each look different, smell different, and carry a different fix.
Quick Answer
Most spray foam insulation problems fall into three failure modes – shrinkage, off-ratio cure, and delamination – and each has a visual signature you can identify yourself. Shrinkage shows as a gap where foam meets framing; off-ratio cure shows as brittle, crumbly texture and a strong amine smell; delamination shows as foam peeling away from the substrate. Small shrinkage gaps under about 1/4 inch can often be sealed with caulk, but off-ratio and delamination failures require professional removal and reapplication – topcoats hide them without fixing the structure.
Table of Contents
- The Three Failure Modes and Their Visual Signatures
- Finding Shrinkage Gaps with a Flashlight and Smoke Pencil
- Off-Ratio Cure: Why It Smells Like Amine and Crumbs in Your Hand
- Delamination: Foam Peeling From the Framing
- Wet Lumber, Cold Lumber, and Desert Thermal Cycling
- Manufacturer vs. Workmanship Warranties and the Documentation You Need
- What a Professional Remediation Scope Looks Like
- When to Call a Professional
The Three Failure Modes and Their Visual Signatures
Spray foam fails in three recognizable ways, and learning to separate them tells you whether you’re looking at a cosmetic issue or a rebuild. The good news: each signature is distinct enough that a homeowner with a flashlight and five minutes can sort them out.
- Shrinkage: a gap opens along the edge where foam meets the wood framing, top plate, or stud. The foam itself is usually fine and firm; the problem is a visible hairline or thumb-width separation at the substrate contact line. Common in attics where foam was applied thin or sprayed onto lumber with residual moisture.
- Off-ratio cure: the foam looks yellowed and crumbly at the edges, feels brittle under a fingernail, and carries a sharp chemical smell like ammonia or fish. The two components (isocyanate and resin) weren’t in balance at the gun, so the foam never cured to its intended density. It can’t be patched; it has to come out where it failed.
- Delamination: foam peeling from the framing, often along the top of a stud bay or where foam meets a metal plate. You can sometimes slip a putty knife behind it. Adhesion failed, either from a dirty substrate, moisture, or cold lumber at application.
In North Las Vegas, we see all three, but shrinkage and delamination dominate in attics where summer attic temperatures swing over 100 degrees between the underside of the roof deck and the conditioned ceiling below. That thermal cycling is the accelerant. If you want the full picture on how foam is supposed to be applied in this climate, see our page on spray foam insulation in North Las Vegas.
Finding Shrinkage Gaps with a Flashlight and Smoke Pencil
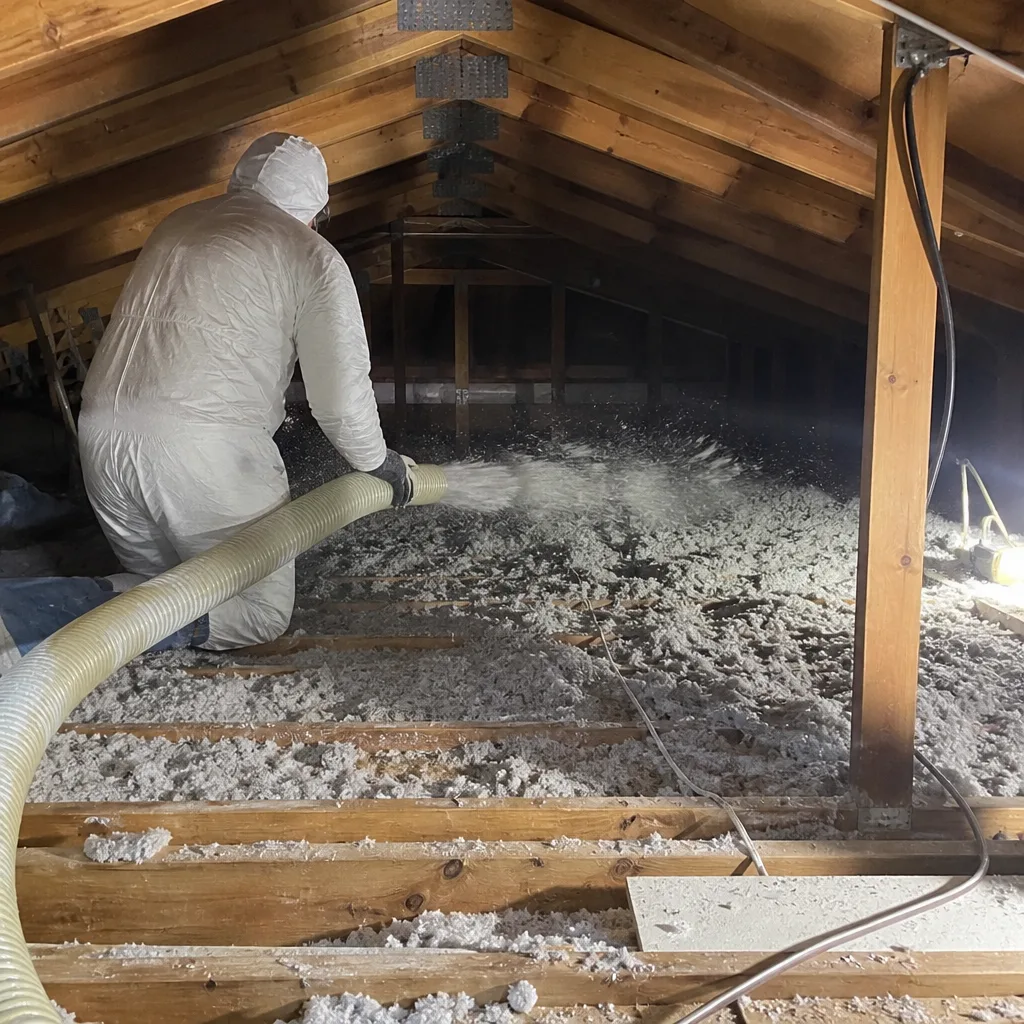
Shrinkage gaps are the most common and most fixable spray foam problem, but you have to find them before you can judge them. In our experience running pressurization tests on North Las Vegas homes, a shrinkage gap under about 1/4 inch is often cosmetic and can be sealed with a good caulk or foam sealant. Anything wider, or any gap that runs more than a couple of feet, needs professional reapplication.
Here’s how to find them yourself:
- Work in the early evening or with the attic dark. The temperature is safer and a strong flashlight throws shadows into gaps that daylight hides.
- Start at the top plate – where the wall framing meets the attic floor. Shrinkage almost always shows first there.
- Run a smoke pencil or incense stick slowly along the foam edge. A smoke pencil is a small wand that emits a thin stream of smoke; if the stream bends toward a gap, you’ve found air movement. On a windy day, smoke movement through a gap tells you the gap is open to the outside, not just a surface crack.
- Note the gap width with a tape measure. Under 1/4 inch: candidate for caulk. Over 1/4 inch or continuous: professional call.
- Check the same edges after a cold snap and again in summer. In North Las Vegas, gaps that read narrow in January can widen in July when the attic hits 140 degrees. If a gap widens across seasons, thermal cycling is opening it up and a caulk fix will fail too.
If you find yourself chasing gaps in more than one or two bays, the spray foam wasn’t applied with enough substrate contact in the first place. That’s a conversation worth having with a professional who can bring a blower-door test – a pressurization reading that shows, in one number, how much air your building envelope is losing – and confirm whether the failures are isolated or systemic.
Off-Ratio Cure: Why It Smells Like Amine and Crumbs in Your Hand
Off-ratio foam is the failure that surprises homeowners most, because it looks like foam until you touch it. The tip-off is the smell: a sharp ammonia or amine odor, sometimes described as fishy, that lingers long after the foam should have cured. Rub a piece between your fingers and it crumbles rather than compressing. That brittle texture is the chemical signature of an unbalanced mix – one component dominated, the other ran short, and the cured plastic never reached its design strength.
Off-ratio foam fails in two ways at once. It doesn’t insulate as well as it should because the closed-cell structure is compromised, and it may not hold a seal at the substrate. Some installers will try to spray a skim coat of fresh foam over the top to hide the crumbly edge. That’s a patch on a structural problem. The fresh foam bonds to a weak substrate and will delaminate within a couple of seasons. In our experience with Icynene and Demilec systems, which are the two-component spray foams most often used in North Las Vegas attic work, off-ratio cure can only be corrected by removal where it failed and reapplication with the gun properly calibrated.
How to tell it apart from acceptable cosmetic irregularities:
- Crumbles under a fingernail – off-ratio. Normal foam compresses and springs back.
- Sharp chemical smell weeks after installation – off-ratio or a cure that stalled because the substrate was too cold or too wet.
- Color unevenness front to back in the same pass – a sign the mixing chamber wasn’t stable at the gun.
- Brittle sound when tapped – off-ratio. Healthy foam sounds dull.
Document what you find with dated photos before anyone touches it. Off-ratio defects are the one spray foam problem most likely to be covered under a manufacturer warranty, and the claim hinges on documentation.
Delamination: Foam Peeling From the Framing
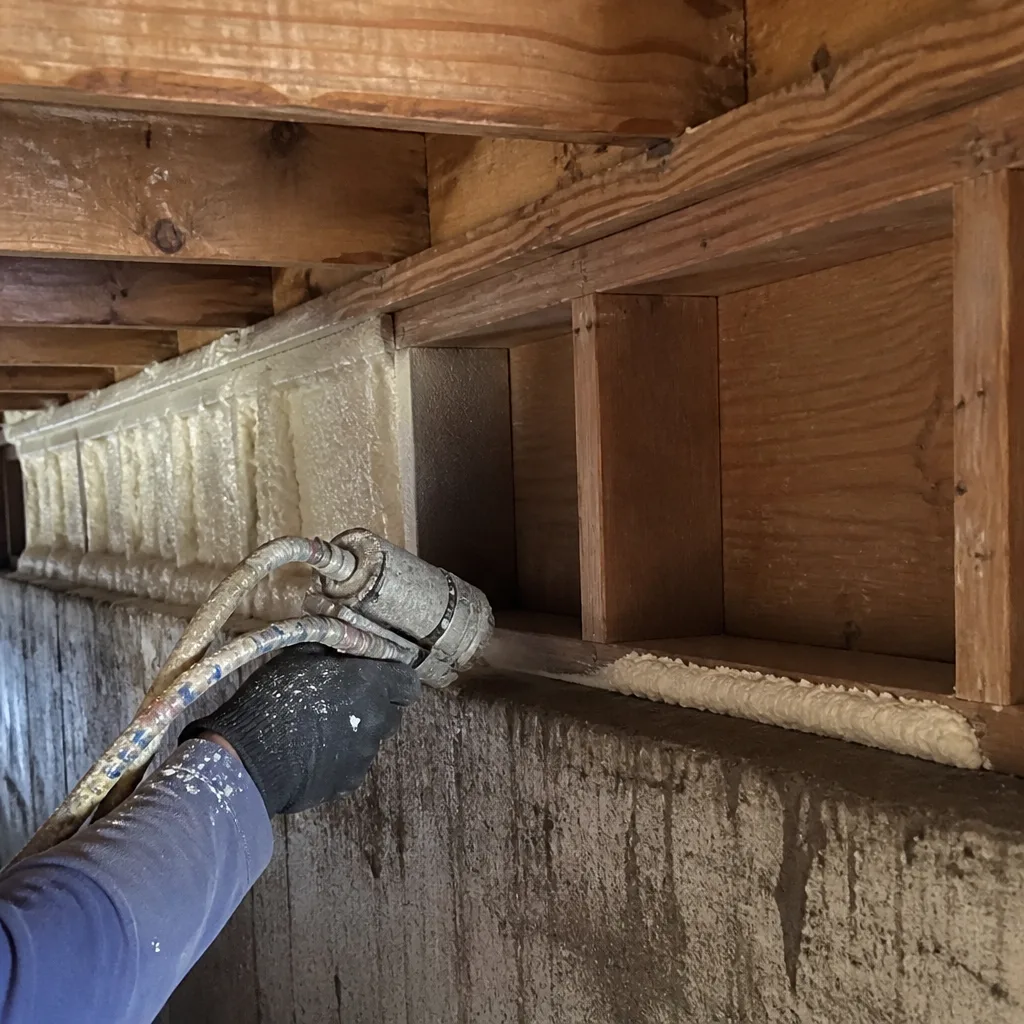
Delamination is foam that has separated from the framing – sometimes a sheet peeling away from a stud, sometimes a whole bay letting go at the top. You can often slip a putty knife behind the edge. The cause is almost always adhesion failure: the substrate was dirty, dusty, wet, or too cold when the foam was sprayed, so the foam bonded to a layer of dust instead of to the wood.
North Las Vegas has a specific wildcard here that coastal or northern markets don’t. Attic lumber in the valley is dry, hot, and coated in settled dust and construction grit. When an installer skips the wipe-down step before spraying, the foam grabs the dust layer, and the dust bonds to the wood far more weakly than foam bonds to bare wood. The first hot-cold cycle or two works that bond loose. By the second summer, you have visible peeling.
Signs you have delamination rather than shrinkage:
- The foam itself is intact but detached. It’s a sheet hanging loose, not a narrow gap at a seam.
- The back of the foam shows a clean, dusty surface – you can see where it separated from the framing because the foam surface facing the wood looks smooth and gray.
- You can hear a hollow sound when you tap the foam – the foam has lifted off the wood and the tap echoes behind it.
Delamination is not a topcoat problem. It’s a removal and reapplication problem, and it’s worth a professional assessment because the same substrate prep failure usually affected more bays than the one you found. For the broader picture on how attic insulation should be installed in this climate, our guide to attic insulation in North Las Vegas covers the process from air sealing through final foam.
Wet Lumber, Cold Lumber, and Desert Thermal Cycling
The single most common cause of spray foam adhesion failure we see in North Las Vegas is foam sprayed over wood that wasn’t ready for it – too wet, too cold, or both. Spray foam manufacturers publish substrate temperature limits on their technical data sheets (many require the substrate to be above roughly 40 degrees, some higher), and the foam must bond to a dry surface. In a desert climate, that sounds easy, but it isn’t.
Here’s the sequence that creates failures in the valley:
- Winter installs on cold mornings. Attic lumber in a North Las Vegas home can be well below the foam’s minimum substrate temperature at 7 a.m. in January. Foam sprayed on cold wood may bond initially but fail to develop full adhesion strength, and the first hot day in April opens the gap.
- Winter rain events. Rain-soaked framing that reads dry on the surface may still carry moisture inside. Foam traps that moisture, the wood dries against a barrier, and the bond fails from underneath.
- Summer thermal cycling. Once foam is applied, the attic swings over 100 degrees between winter and summer. Any adhesion gap, however small, widens and contracts repeatedly. A 1/16-inch gap in winter becomes a 1/4-inch gap by July.
This is why substrate moisture and temperature reading isn’t optional in North Las Vegas. If you’re considering foam, ask the installer how they verify substrate readiness before the first pass. For homes with crawl spaces, the same principle applies to the ground surface: see crawl space encapsulation & vapor barrier in North Las Vegas for why moisture control comes before any barrier or foam work.
Manufacturer vs. Workmanship Warranties and the Documentation You Need
When foam fails, two warranties may apply, and knowing which one covers what saves months of argument. Manufacturer warranties typically cover product defects – specifically, off-ratio foam, out-of-spec material from the factory, or failure to cure to published density. Workmanship warranties from the installer typically cover adhesion failures, gaps, and application errors. Those are two separate claims, and they need two separate documentation packets.
What to collect in either case:
- Dated photos of the failed section, close enough to show texture, wide enough to show the substrate.
- The product data sheet and lot number, which the installer should have on file. This is how a manufacturer confirms the foam came from a specific run.
- Ambient temperature and humidity at the time of installation, from the installer’s job record. If the installer didn’t record it, ask why.
- The written scope from the original job, showing what was specified and what was actually installed.
- A blower-door reading, before and after the original work, if one was performed. A documented performance number is very hard for either party to argue with.
In our experience, the manufacturer claim is the harder one to win unless the failure is clearly off-ratio and thoroughly documented. Workmanship claims are usually more straightforward when the failure is adhesion, but only if you have the written scope and the photo record from the original job. This is why we hand every North Las Vegas homeowner a written price and a documented photo record on every job – the same packet that protects them from us is the packet that protects them if a warranty claim comes up later.
What a Professional Remediation Scope Looks Like
When a section of foam has to come out, the remediation is more involved than most homeowners expect, and it’s worth knowing the shape of it before anyone starts. A proper scope includes containment, personal protective equipment, disposal classification, and substrate inspection before reapplication. Anything less invites the same failure again.
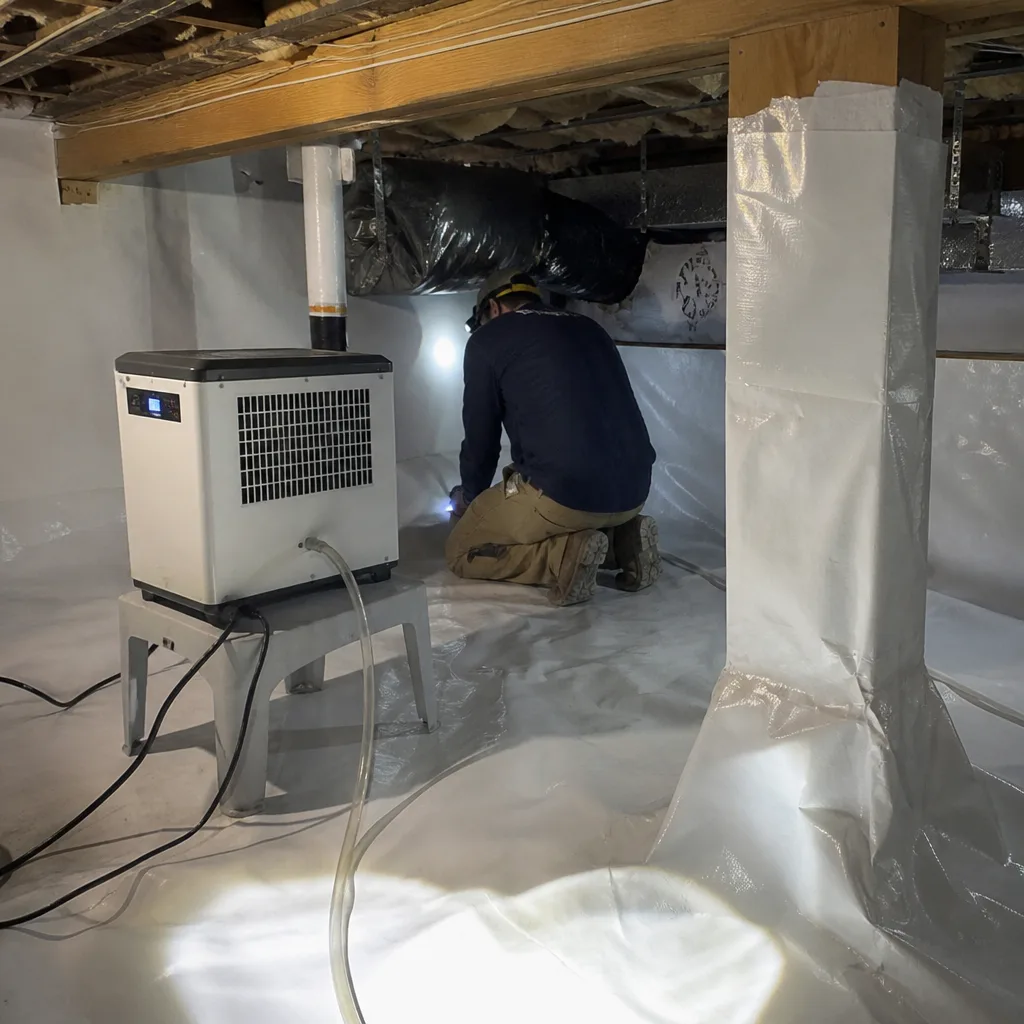
- Containment. Plastic sheeting is set up around the work area with negative air pressure to keep dust and foam particles out of the conditioned space. This matters especially in an occupied home.
- PPE. Full-face respiratory protection and protective suits. Spray foam removal generates fine particulate; no one should be in the attic during removal without proper gear.
- Disposal classification. Cured spray foam is generally classified as construction and demolition debris in most jurisdictions, but you should confirm with your local waste handler. The class of foam (closed-cell versus open-cell) and the removal method both affect handling.
- Substrate inspection. Once the failed foam is out, the framing is inspected for moisture, rot, and pre-existing damage before anything is sprayed again. If the substrate is wet, the fix is drying and repair, not faster reapplication.
- Reapplication. New foam goes on only after substrate temperature and moisture are confirmed. Under The Haven Standard, air sealing of top plates, can lights, and penetrations is completed before any insulation is added – and no foam goes over an unsealed attic floor.
Every job we complete closes with a documented home performance record that includes before-and-after blower-door numbers where applicable, so the homeowner can verify what changed. Get the same packet from anyone doing remediation work, and if you get a written estimate from a competitor, we’ll read it with you at no charge under our Free Second Opinion.
Common Mistakes to Avoid
- Spraying new foam over an off-ratio patch. It hides the crumbly surface without fixing the structural failure. In North Las Vegas heat, the topcoat delaminates within a season or two.
- Caulking any gap no matter how wide. Anything over 1/4 inch or continuous along a framing line needs reapplication, not caulk. Caulk holds for one thermal cycle at best.
- Applying foam to cold or damp wood. Substrate temperature and moisture should be confirmed before the first pass. Skipping it is the root cause of most North Las Vegas adhesion failures.
- Skipping the blower-door test. Without a before-and-after reading, you can’t prove how much air the foam was supposed to stop. Ask for the number.
- Assuming manufacturer warranty without documentation. Off-ratio claims need lot numbers, dated photos, and the job record. Without that packet, the claim usually stalls.
- Removing foam yourself. It’s a hazard, and the removal generates fine particulate. Containment and PPE are the professional’s job, not yours.
- Contracting without a written scope. The written scope is what determines who pays if the foam fails. No written scope means no leverage in a warranty claim.
When to Call a Professional
Call a professional the moment you find crumbly, off-ratio foam, foam peeling from framing, or a shrinkage gap wider than 1/4 inch that widens across seasons. Also call if you smell a sharp amine odor in the attic weeks after installation, or if you find more than one or two shrinkage gaps – that pattern usually means the original application didn’t have proper substrate contact. Off-ratio and delamination failures are not DIY fixes; they require containment, removal, and reapplication with a confirmed dry, temperature-ready substrate. Envelope Insulation North Las Vegas offers free estimates in North Las Vegas – call (833) 630-4008, and a live person answers 24/7.
Frequently Asked Questions
Failing spray foam usually shows one of three signatures: a gap where foam meets the framing (shrinkage), a yellowed and crumbly edge with a sharp chemical smell (off-ratio cure), or foam peeling away from the wood (delamination). Crumbly texture and amine smell together almost always mean the foam was applied off-ratio. Call (833) 630-4008 to have it assessed – estimates are free.
Work in the early evening with a strong flashlight, start at the top plate where the wall framing meets the attic floor, and run a smoke pencil or incense stick slowly along the foam edge. Smoke that bends toward a gap confirms air movement. Measure any gap you find: under 1/4 inch is often caulk-fixable, wider needs professional reapplication. Call (833) 630-4008 if you find more than one or two gaps – that pattern is worth a blower-door test.
Yes. Attic temperatures in North Las Vegas swing well over 100 degrees between the roof deck and the conditioned ceiling across seasons, and that thermal cycling widens any adhesion gap the foam already has. A 1/16-inch gap in January can read as 1/4 inch by July. Spray foam applied to cold or damp lumber in winter is the most common setup for this failure. Call (833) 630-4008 if your gaps widen across seasons.
Off-ratio defects are the spray foam failure most likely to be covered by a manufacturer warranty – but only if you have documentation: dated photos, the product data sheet, and the foam lot number. Workmanship warranties from the installer typically cover adhesion failures and gaps. Both claims need the written scope from the original job. Call (833) 630-4008 for a second opinion on your documentation before filing.
No. Spraying over off-ratio or delaminated foam bonds new foam to a weak substrate, and the topcoat fails within a season or two in desert heat. Failing sections have to be removed, the substrate inspected for moisture and damage, and reapplication done with confirmed substrate temperature and moisture. This is a removal-and-replace job, not a patch. Call (833) 630-4008 for a written scope.
Professional spray foam removal uses containment (plastic sheeting plus negative air pressure), full-face respiratory protection and protective suits, removal of the failed foam with hand and mechanical tools, disposal of the foam as construction and demolition debris, and inspection of the framing before any reapplication. The drywall or ceiling below is protected throughout. Call (833) 630-4008 for a written removal and reapplication scope before any work starts.
The Bottom Line
Most spray foam problems are installation defects, and almost all of them show up within the first year with a distinct visual signature. Shrinkage, off-ratio cure, and delamination each need a different fix: shrinkage under 1/4 inch is often caulk-fixable, but off-ratio and delaminated foam have to be removed and reapplied – a topcoat just hides the failure. In North Las Vegas, thermal cycling is the accelerant, so any adhesion gap widens across seasons. Document everything with dated photos, ask for the blower-door number, and demand a written scope before any work starts.
We’re Envelope Insulation North Las Vegas, and we treat air sealing as the hard prerequisite it is – sealed first, then insulated, in that order. Every job begins with a Written Price Before Any Work Starts, closes with a Documented Photo Record, and on applicable jobs we publish before-and-after blower-door numbers so you can see what changed. If you’ve found foam that looks wrong, call (833) 630-4008 for a free estimate in North Las Vegas. Bring us a competing written estimate and we’ll read it with you under our Free Second Opinion. And if it’s not done right, the 365-Day Done Right Promise applies.
Written by the team at Envelope Insulation North Las Vegas.