
Last updated November 18, 2026
Radiant Barrier Installation Maintenance Schedule: What to Do and When
The reflective foil in your attic can last 25 years. The air gap it depends on can be compromised the first time an HVAC technician drops a flex duct across a rafter bay – which happens on the average service call without anyone mentioning it. Radiant barriers are sold as maintenance-free, and the foil itself largely is. But the conditions around the installation degrade in predictable ways, and most homeowners never look. In our experience across North Las Vegas attics, the difference between a barrier that performs for 15 years and one that falls off at year six is a short, specific inspection routine. This guide gives you the schedule, the actual steps, and the documentation to keep, so you can catch performance loss before it shows up on your summer power bill.
Quick Answer
Inspect your radiant barrier at year 3, then every 5 years after that, and immediately after any HVAC or insulation work in the attic. The foil rarely fails – what fails is the air gap beneath it and the reflectivity of its surface. Check dust accumulation, gap obstruction, and staple-line tears, log the results, and compare attic temperatures above and below the barrier. A healthy installation holds a temperature difference of 15°F or more between the underside of the roof deck and the attic floor on a peak-summer afternoon in North Las Vegas.
Table of Contents
- What Actually Degrades a Radiant Barrier Over Time
- The Full Maintenance Schedule at a Glance
- The Year 3 Inspection: Step-by-Step Protocol
- The HVAC Interaction Most Homeowners Miss
- What Cleaning Can and Cannot Fix
- The Documentation to Keep Current
- Why North Las Vegas Attics Age Barriers Differently
- Common Mistakes to Avoid
What Actually Degrades a Radiant Barrier Over Time
A radiant barrier works by blocking heat transfer through radiation. The aluminum surface reflects upward of 95% of the radiant heat hitting it when it’s clean and new. But three things degrade that performance, and none of them is the foil losing its reflective properties on its own. The first is dust. A fine film of settled dust on the shiny side drops reflectivity quickly, because the dust absorbs and re-radiates heat instead of reflecting it. The second is air gap obstruction. The barrier needs an open, still air space between itself and the roof deck to do its job; compress that gap with a duct or a stray batt of insulation and the barrier becomes a hot sheet of foil touching something it shouldn’t. The third is physical damage – tears and separation at the staple lines, where the foil flexes with thermal cycling as the attic heats to 140°F and cools to 70°F day after day.
The good news: all three are visible and measurable. None of them require pulling the barrier down to assess. What they require is that someone actually goes up there and looks, on a schedule, rather than assuming the “maintenance-free” label on the sales sheet means “never think about it again.” In North Las Vegas, where attic temps routinely push past 140°F in July, the thermal cycling is more aggressive than in milder climates, which makes staple-line inspection at year 5 more than a formality.
The Full Maintenance Schedule at a Glance
Here’s the whole routine on one screen. Everything below expands on these intervals with the actual steps.
- Year 1: No action needed unless an HVAC call or insulation job took place in the attic. If it did, inspect immediately (see the HVAC section below).
- Year 3: First full inspection – dust check, air gap measurement, temperature differential test. This is the most important single check in the schedule.
- Year 5: Second full inspection, with added attention to staple lines and foil separation.
- Every 5 years after (year 10, 15, 20): Repeat the full inspection. At year 10 to 15, expect to evaluate whether the barrier has reached the end of its useful performance life.
- After any attic work, any time: Immediate inspection. HVAC replacement, duct rerouting, added insulation, rodent proofing – any of these can displace the barrier. This is not a scheduled event; it’s an event-triggered one.
Put these dates in your phone when the barrier goes in. The single most common reason we see degraded barriers in North Las Vegas is not age or material failure – it’s that the homeowner had no calendar reminder and simply never looked until performance had been slipping for years.
The Year 3 Inspection: Step-by-Step Protocol
This is the inspection that tells you whether the installation is holding. Do it on a hot, clear summer afternoon, between 1 and 3 PM, when the sun is at full load on the roof. Attic conditions at that hour are the real-world conditions the barrier was bought to handle.
- Enter the attic safely. Bring a bright flashlight, a non-contact infrared thermometer, and a notepad. Wear long sleeves, gloves, and a respirator rated for attic dust. Watch your footing on the joists – step on the ceiling joists or the walkway, never the drywall between them.
- Measure the ambient attic air temperature at three points: near the center of the attic, near the north end, and near the south end. Record all three.
- Measure the surface temperature on the underside of the roof deck (above the barrier) and the attic floor (below the barrier) at those same three points, using the infrared thermometer.
- Calculate the differential. A healthy barrier should show a gap of 15°F or more between the roof-deck surface and the attic floor at each location. If your readings show less than 15°F, the barrier’s performance has degraded and needs a closer look.
- Compare to your install-day readings if you have them (see the documentation section). A drop of more than 5°F from the original differential is a signal worth acting on even if you’re still above 15°F.
- Look at the shiny surface. A light dust film is normal. A visible layer that dulls the reflection or leaves a smear when you wipe it is actionable.
- Check the air gap. Walk the perimeter and look for anything touching the barrier – flex duct, added insulation, stored boxes, a stray board. Measure the gap at three points if it’s accessible.
- Write it all down and photograph it. Date, readings, photos of anything concerning. This becomes your baseline for the year 5 check.
If you’d rather not do this yourself, a home energy audit is the alternative – a trained technician measures attic conditions and can tell you in an hour whether your barrier is doing its job. That’s a reasonable call if the attic access is tight or the readings are ambiguous. In North Las Vegas, our teams run into plenty of attics where the access hatch alone makes a DIY inspection unwise.
The HVAC Interaction Most Homeowners Miss
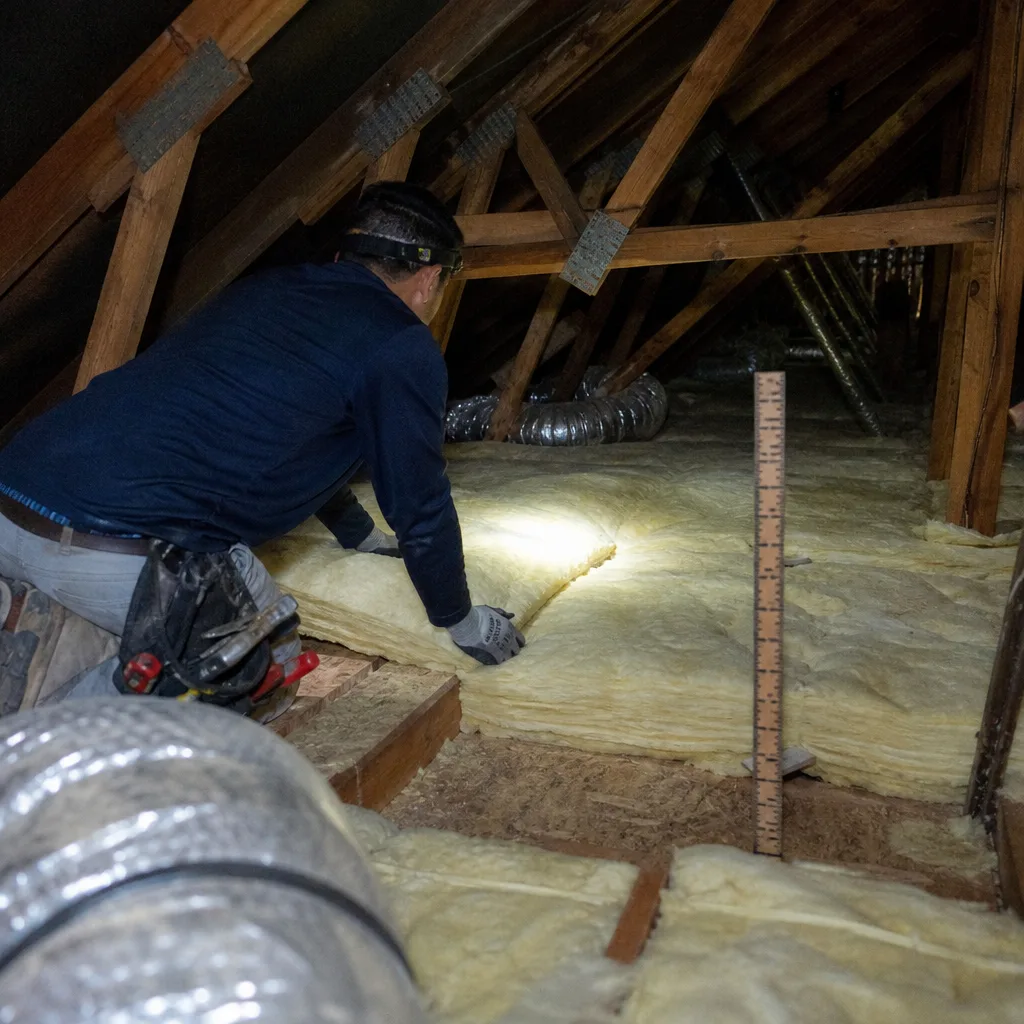
Every duct replacement or equipment change that routes flex duct through the rafter bays can compress or displace a radiant barrier. This is the single most common source of premature performance loss we’ve seen. An HVAC technician working a standard service call has no reason to think about the foil above his head – he’s there to swap a blower or reroute a supply run, and the flex duct drops down across the rafter bay because that’s the shortest path. Nobody mentions it. The homeowner never knows the barrier got compromised until the summer power bills creep up two years later.
The fix is procedural, not technical: after any attic work, get up there and look. Specifically, check that no duct is resting on or touching the barrier, that nothing has been laid across the gap, and that no insulation has been re-routed into the space. In North Las Vegas homes that were built between 2015 and 2025 – a lot of them in the newer master-planned developments across the valley – the attic layouts are tight and the duct routing is often squeezed into the same rafter bays the barrier occupies. That makes post-HVAC inspection less of a maybe and more of a requirement.
If the barrier has been displaced, the repair is usually a matter of re-establishing the gap and re-securing the foil. If it’s been torn or compressed for a long stretch, the section may need replacing. Either way, catching it at the time of the HVAC work is cheap; discovering it because your July bill jumped is not.
What Cleaning Can and Cannot Fix
Dust is the one thing you can address yourself, within limits. Dry compressed air – the kind you’d use to clean a keyboard, scaled up – can remove loose dust from accessible sections of the barrier. Do it gently and from a distance; you’re blowing off a film, not pressure-washing the foil. A soft brush on a long handle works on the flat, reachable sections. Neither method reaches the sections behind the ducts or deep in the bays, and neither works if the dust has bonded to the surface.
What cleaning cannot fix is contamination that isn’t dry dust. Oil-based contamination – from HVAC condensate leaking down onto the barrier, or from rodent activity (the oils in rodent urine and nesting material degrade the reflective surface) – cannot be cleaned off. Once the surface is contaminated, the reflectivity is gone in that section and it needs replacement. This matters more in North Las Vegas than in cooler climates because pest activity in attics peaks in the summer heat, and a rodent problem left alone for a season can ruin a barrier section. If you’ve had rodent activity in the attic, an inspection should be part of the cleanup, not an afterthought. Our attic insulation in North Las Vegas work regularly involves checking and repairing barrier sections that rodent activity has damaged.
The Documentation to Keep Current
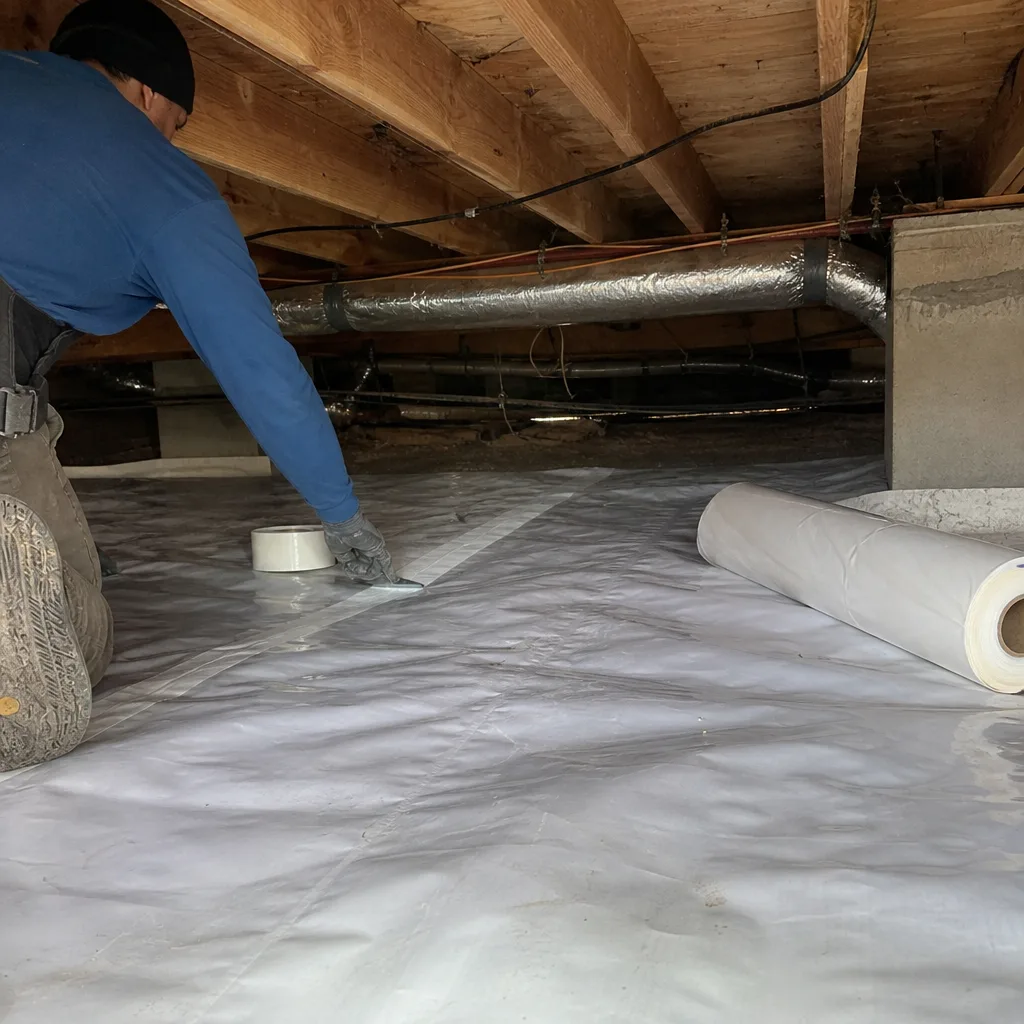
You can’t manage what you didn’t record. Any performance change should be traceable to a specific event, and that requires keeping a short, honest record. Here’s the minimum you should keep:
- Original installation photos showing the air gap from at least three angles, with a tape measure or reference object in frame so the gap is verifiable later.
- Install-day attic temperature log – the readings from the day the barrier went in. This is your baseline. Without it, a year 3 reading has no context.
- A simple maintenance log with the date of any HVAC work in the attic, the contractor name, and a one-line description of what was done (“replaced upstairs air handler,” “rerouted supply duct to spare bedroom”).
- Inspection readings at each scheduled check, with photos of anything that looked off.
- Any written estimate or scope from the original install. It tells you what was specified and what was actually promised, which matters when you’re trying to decide whether a year-12 failure is normal wear or a workmanship issue.
This is the same documentation principle we apply to every job: a written price before any work starts, and a documented record of the work when the crew leaves. A radiant barrier should come with the same paper trail. If your installer didn’t leave you installation photos and a temperature log, take the twenty minutes to create them now – even a rough record is better than none.
Why North Las Vegas Attics Age Barriers Differently
Not every radiant barrier on the planet faces the same conditions, and the maintenance schedule should reflect the local load. North Las Vegas attics see summer air temperatures above 140°F in July and August, daily swings of 60°F or more between afternoon peak and overnight low, and a dry, dusty environment that coats every surface given enough time. That combination accelerates two of the three failure modes. The heat cycling works the staple lines harder than a mild climate would; the dust load builds faster because the air is full of fine particulate. Our North Las Vegas attic insulation crews see year-5 staple-line wear here that would take a decade in a cooler, wetter market.
The practical adjustment: don’t skip the year 5 staple-line check just because the year 3 check looked fine. And if your home is in one of the newer developments where the attic is packed with HVAC equipment – which is common in post-2015 construction – pay particular attention to any section of barrier near the air handler and the duct trunk. That’s where heat, dust, and physical disturbance all converge.
Common Mistakes to Avoid
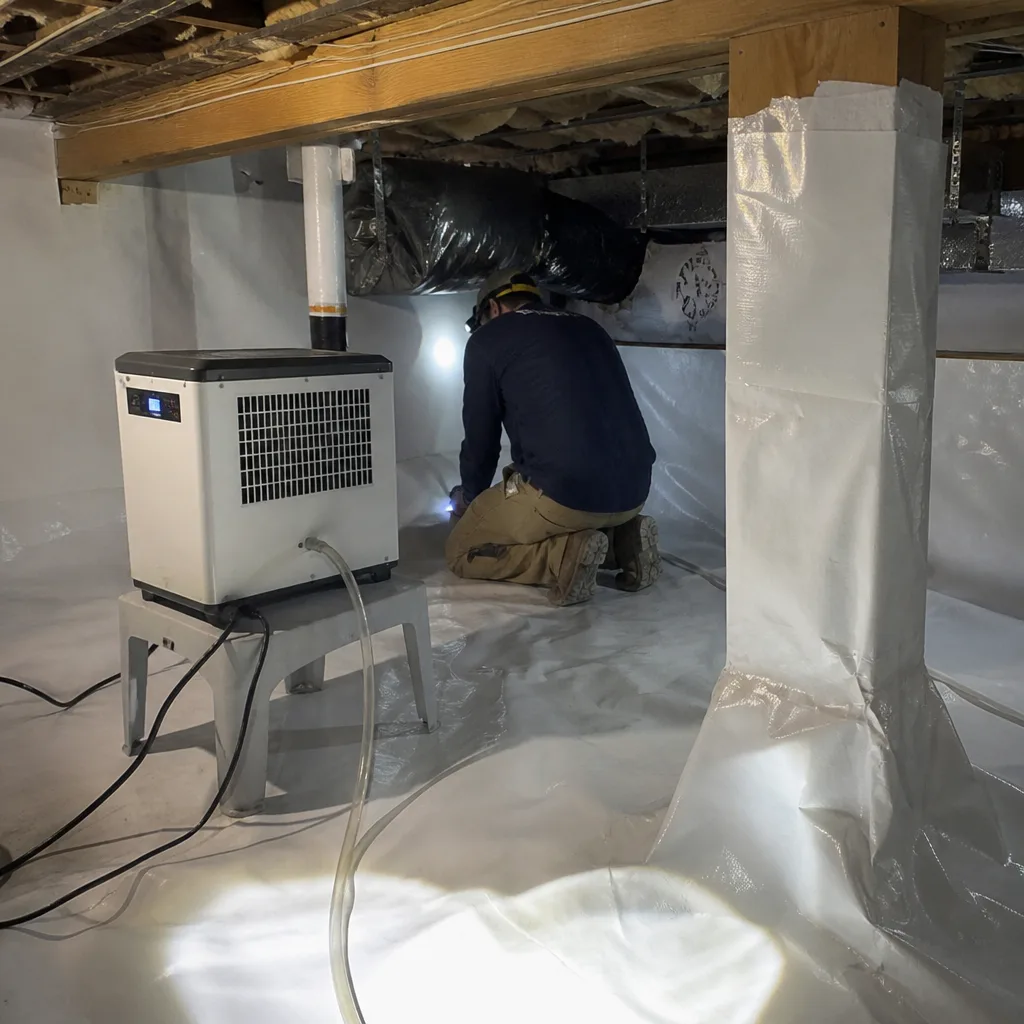
- Trusting “maintenance-free” as a literal claim. The foil is low-maintenance; the air gap around it is not. Treating the sales label as a permanent guarantee is the number-one reason barriers underperform.
- Skipping the post-HVAC inspection. Any service call that puts a person or a duct in the attic is an inspection trigger. In North Las Vegas, where tight attic layouts push ducts into the same rafter bays as the foil, missing this check is how performance quietly disappears.
- Adding attic insulation on top of a displaced barrier. If blown insulation is added without checking the barrier first, it can press the foil down and destroy the air gap permanently. Seal first, insulate second, check the barrier in between.
- Cleaning contaminated sections instead of replacing them. Dry compressed air handles dust; it does nothing for oil or rodent contamination. Cleaning a ruined section just wastes time and delays the replacement.
- Relying on feeling instead of readings. “It seems cooler up there” is not a measurement. Use the infrared thermometer and write the numbers down, or you have no baseline for next time.
- Never keeping install-day photos. Without the original air-gap photos and temperature log, every later reading is a guess. The documentation is half the maintenance schedule.
- Waiting for the power bill to tell you something’s wrong. By the time the bill jumps, the barrier has been failing for one or more cooling seasons. The inspection exists to catch it before that.
When to Call a Professional
Call a professional when the year 3 readings show less than a 15°F differential, when you find oil or rodent contamination on the foil, when a section has torn free at the staple line, or when attic access itself is the reason you can’t inspect. Also call after any HVAC work you didn’t personally witness – the technician may have moved a duct without noticing the barrier. Envelope Insulation North Las Vegas offers free estimates in North Las Vegas – call (833) 630-4008 – and every visit includes a documented photo record, so you have proof of what was found and what was done. If your attic also needs sealing or insulation work, we won’t blow insulation over an unsealed attic floor; air sealing comes first, then insulation, in that order.
Frequently Asked Questions
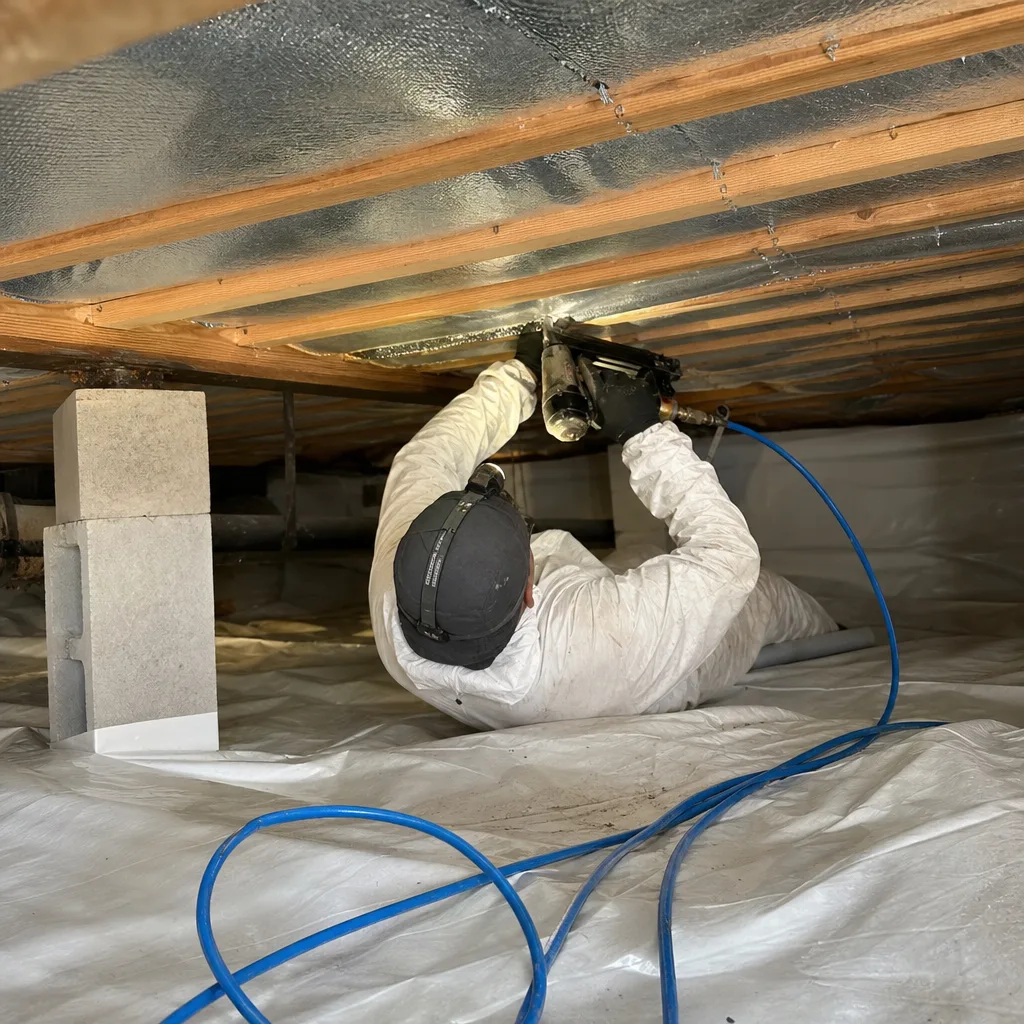
Inspect at year 3, then every 5 years after that, and immediately after any HVAC or insulation work in the attic. The foil itself rarely fails – dust, air gap obstruction, and staple-line tears are what degrade performance, and all three are visible on inspection.
You can remove loose dust from accessible sections with dry compressed air or a soft brush on a long handle. You cannot clean oil-based contamination from HVAC condensate or rodent activity – that requires section replacement. If you’re not sure which kind of contamination you’re looking at, call (833) 630-4008 for a free estimate.
Measure the temperature differential between the roof-deck surface and the attic floor on a hot afternoon. A healthy barrier shows a gap of 15°F or more; less than that indicates degraded performance. Compare against your install-day readings if you have them.
Yes – it’s the most common source of premature performance loss. Every duct replacement or equipment change that routes flex duct through the rafter bays can compress or displace the barrier, and the technician doing the work has no reason to flag it. Inspect after any attic work.
The foil itself can last 25 years, but realistic performance life is 10 to 15 years when the air gap and surface are maintained. The North Las Vegas heat cycle – 140°F attic days and 60°F-plus daily swings – ages the staple lines faster than milder climates, so the year 5 inspection matters.
Installation photos showing the air gap, the install-day attic temperature log, and the written scope. These become the baseline for every later inspection. If you don’t have them, create a rough record now – even a current photo with a tape measure beats nothing.
The Bottom Line
A radiant barrier rewards a homeowner who looks. The foil is durable; the air gap, the surface, and the staple lines are what need attention. Check at year 3 and every 5 years after, inspect after any attic work, clean what can be cleaned, replace what can’t, and keep the documentation so you can trace any change to a specific event. Do that, and you’ll get the full 10 to 15 years of performance you paid for instead of watching it slip away by year six. If you want a professional read on your attic before the next hot summer, call Envelope Insulation North Las Vegas at (833) 630-4008 for a free estimate.
Written by the team at Envelope Insulation North Las Vegas.