
Last updated November 18, 2026
Attic Insulation Troubleshooting: Common Problems and How to Fix Them
If your upstairs rooms run about 6°F hotter than downstairs while the HVAC is running, the number that matters is probably your blower-door reading, not your insulation depth. That gap is often stack-effect air movement: warm air escaping through unsealed top-plates and ceiling penetrations, drawing the heat equivalent of a window left open. In North Las Vegas, where summer attic temperatures climb past 150°F, that movement gets expensive fast. Here’s how to tell a true thermal problem from an air-bypass problem using tools you probably already own – and what actually fixes each one.
Quick Answer
Most attic insulation “failures” are air-movement problems, not thin-insulation problems. Adding a second layer of blown fiberglass over a leaky attic floor traps the leak instead of stopping it – the most expensive Band-Aid in the trade. The fix is to seal the bypasses first (recessed lights, top-plates, chase walls, the attic hatch, plumbing holes), then insulate to the right R-value for your climate zone.
Table of Contents
- Thermal Failure vs. Air-Bypass Failure: How to Tell Them Apart
- Using an Infrared Thermometer to Map Your Ceiling
- The Five Most Common Attic Bypasses in North Las Vegas Tract Construction
- Has Your Insulation Actually Lost R-Value, or Does It Just Look Thin?
- Hot Second Floor After a Recent Re-Insulation Job? Check the Ducts.
- What a Before-and-After Blower-Door Test Shows That a Visual Inspection Misses
- The Correct Order of Repair: Seal First, Insulate Second
- Moisture, Pests, and Other Problems Insulation Alone Won’t Solve
Thermal Failure vs. Air-Bypass Failure: How to Tell Them Apart
Thermal failure and air-bypass failure look the same from inside the house: a hot room, an expensive bill, an attic that seems underwhelming. They behave differently under load, though, and that difference is measurable.
Thermal failure means the insulation genuinely isn’t stopping heat transfer – it’s too thin, compressed, wet, or the wrong material for the job. The room gets hot evenly and stays hot. Air-bypass failure means conditioned air is escaping from the living space and hot attic air is replacing it. That produces hot spots near specific penetrations, uneven temperatures room to room, and a noticeable difference between the ceiling surface and the drywall between joists.
Three quick household tests:
- The hand test on a hot afternoon. With the HVAC on and the door closed, run your hand along the ceiling. Warm bands or warm circles near light fixtures point to bypasses at those fixtures, not to a general insulation problem.
- The room-by-room comparison. If two adjacent rooms over the same attic run five degrees apart, the difference is almost always air movement, not insulation depth.
- The bill pattern. A home that spiked this summer but tracked normal last summer likely has a new air leak – a can light someone replaced with a non-IC-rated unit, a hole cut for a fan, newly installed ceiling speakers.
In the North Las Vegas climate – Climate Zone 3 with hard summer sun on the roof and 30+ degree swings between afternoon and overnight – air-bypass failures declare themselves loudly. The stack effect runs hard in July. That’s good news for diagnosis: a bypass that would hide in a mild climate shows up plainly here.
Using an Infrared Thermometer to Map Your Ceiling
You don’t need a $4,000 thermal imaging camera for this. A handheld infrared thermometer – the kind that costs $30 to $80 and reads surface temperature with a laser dot – will tell you most of what you need on a hot afternoon in North Las Vegas.
Here’s how to use one to map ceiling temperature differentials:
- Pick the right hour. Late afternoon on a 105°F day in North Las Vegas gives you the biggest temperature delta between attic air and the ceiling surface. That’s when the data is cleanest.
- Start with the HVAC running. Set the thermostat 5°F below room temperature and let it run 20 minutes so the conditioned side is stable.
- Measure in a grid. Aim the thermometer at the ceiling in a rough 3-foot grid across each upstairs room. Write down the readings, not just the ranges.
- Mark the anomalies. A reading that’s 8°F or more above the surrounding ceiling usually sits over an attic bypass – top-plate, penetration, or cavity break. A reading that runs warm across the whole room points to general insulation failure.
- Check the transitions. The wall/ceiling corner (where the top-plate lives) and the perimeter are the highest-value spots. If the corners read 15°F warmer than the center of the room, you have a leak at the top-plate, not a thin insulation problem.
The thermometer tells you where to look. It can’t tell you the R-value or whether the problem is a gap or thin coverage. That’s a job for a blower-door test and a visual inspection from someone who knows what to look for – which is what a real attic insulation in North Las Vegas assessment should include before anyone quotes a price.
The Five Most Common Attic Bypasses in North Las Vegas Tract Construction
We’ve worked on enough North Las Vegas homes to know that five locations cause the majority of air-bypass problems here. The tract construction style that built most of the housing in this city between 2000 and 2020 has a consistent set of weak points.
1. Recessed can lights. The standard 6-inch can light in a 2010s-era North Las Vegas home almost always leaks at the ceiling penetration, even with the newer IC-rated housings. The flange has nothing sealing it to the drywall.
2. Top-plates. The joint where the wall framing meets the ceiling framing is where most of the air leak lives. In these homes, the top-plate is often the single largest source of conditioned air loss in the whole envelope – larger than windows, doors, and the attic hatch combined.
3. HVAC chase walls. The framed chase that carries ductwork from the garage through the house is essentially a chimney from the living space to the attic. If the top of the chase isn’t capped and sealed, it’s an open door.
4. The attic hatch (scuttle). An unsealed or poorly fitting scuttle leaks significant air in typical North Las Vegas construction. The fix is a gasketed, insulated box cover – not a sheet of plywood with weatherstripping on the edge.
5. Plumbing and wiring penetrations. Every pipe, conduit, and wire that passes through the ceiling plate has a gap around it. Multiply that by the number of fixtures in a typical 2,000-square-foot North Las Vegas home and the total open area adds up to real money.
Here’s the hard fact we’ve measured: sealing these five categories typically cuts the blower-door reading – the pressurization measurement that shows in one number how leaky the envelope is – by 25% to 40% on homes of similar vintage. That’s the number that moves the utility bill, not the R-value stamped on the bag of insulation.
Has Your Insulation Actually Lost R-Value, or Does It Just Look Thin?
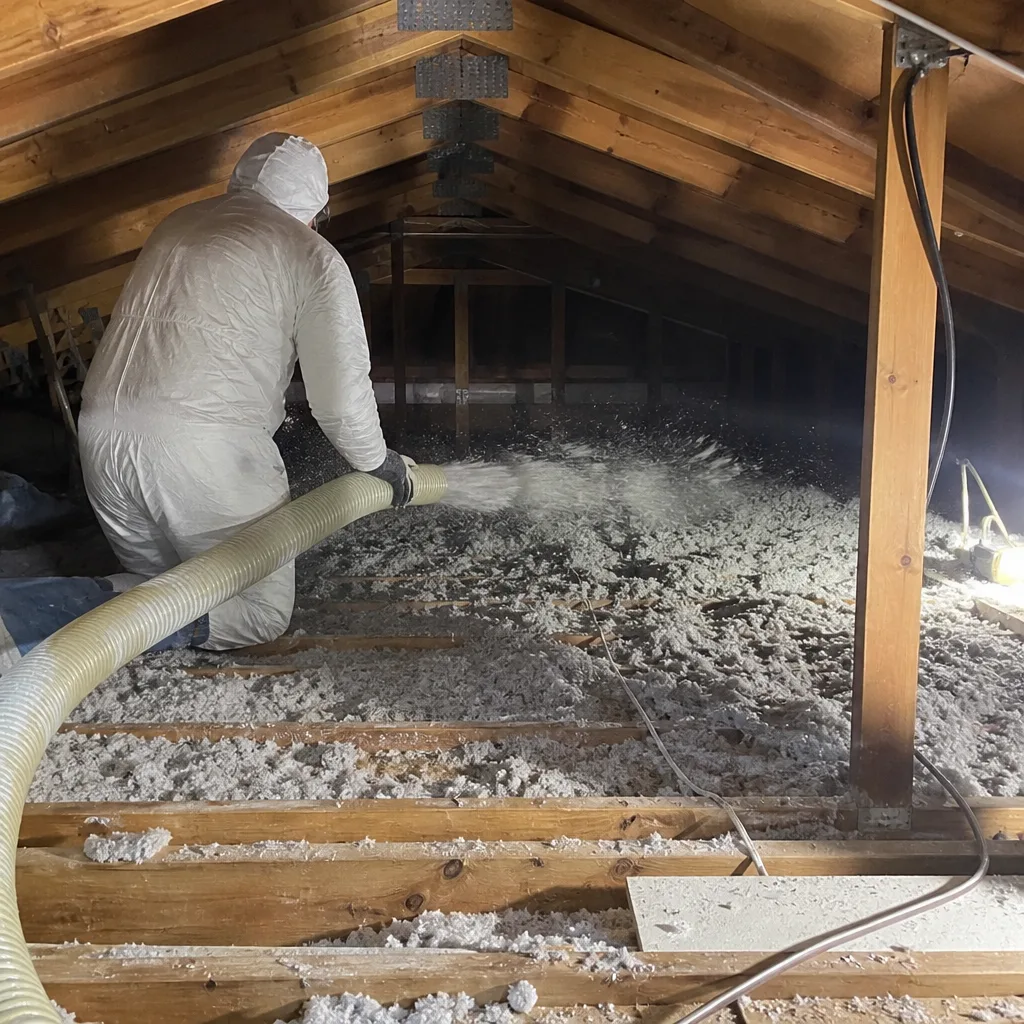
Blown insulation settles. That’s normal and expected, and the amount of settling is predictable for each material. A fiberglass blown product settles about 20% over the first few years. Cellulose settles more, 20% to 25% in some cases, and treats settling as part of its rated installed depth. The question isn’t whether the insulation looks thin – it’s whether the settled depth still delivers the R-value for which it was installed.
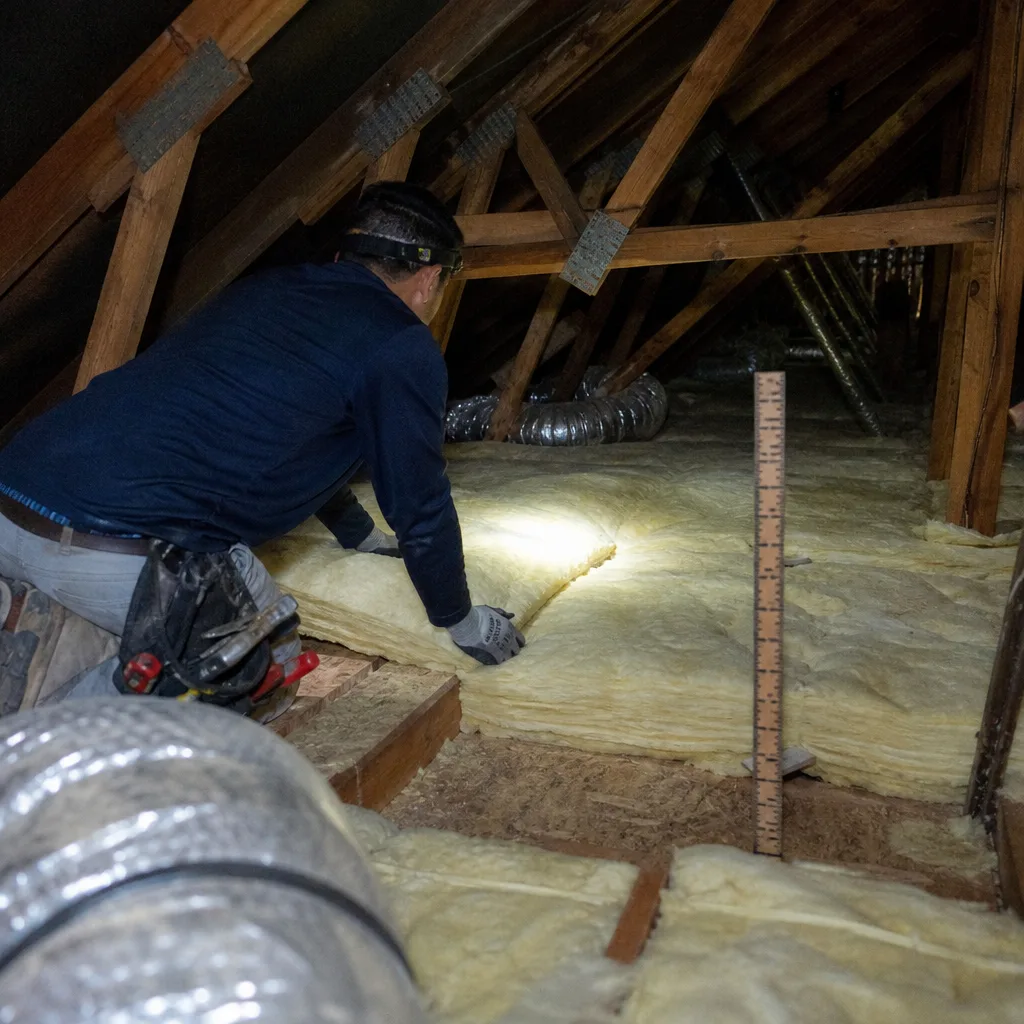
Pull a measuring tape instead of judging by eye. Push it down until it stops at the ceiling drywall (not at the top of a joist), and read the settled depth:
- Blown fiberglass: about 2.5 inches settled per R-11. So R-38 needs roughly 13 to 14 inches installed, which settles to 10 to 11 inches.
- Blown cellulose: about 3.5 inches per R-11. R-38 needs about 12 inches settled, or 14 to 15 inches fresh.
- Loose mineral wool (Rockwool and similar): similar to cellulose, around 3.5 inches per R-11.
- Faced bath (fiberglass batt): measured by the R-value printed on the bag. A batt doesn’t lose R-value by settling – it loses it by being compressed by traffic, HVAC equipment, or wiring.
Here’s a rule of thumb that saves people a lot of money: if the settled depth is at least 11 inches of fiberglass or 10 inches of cellulose, you probably don’t have a thermal problem – you have an air problem or a duct problem. If the depth is under 8 inches of anything, you may have both.
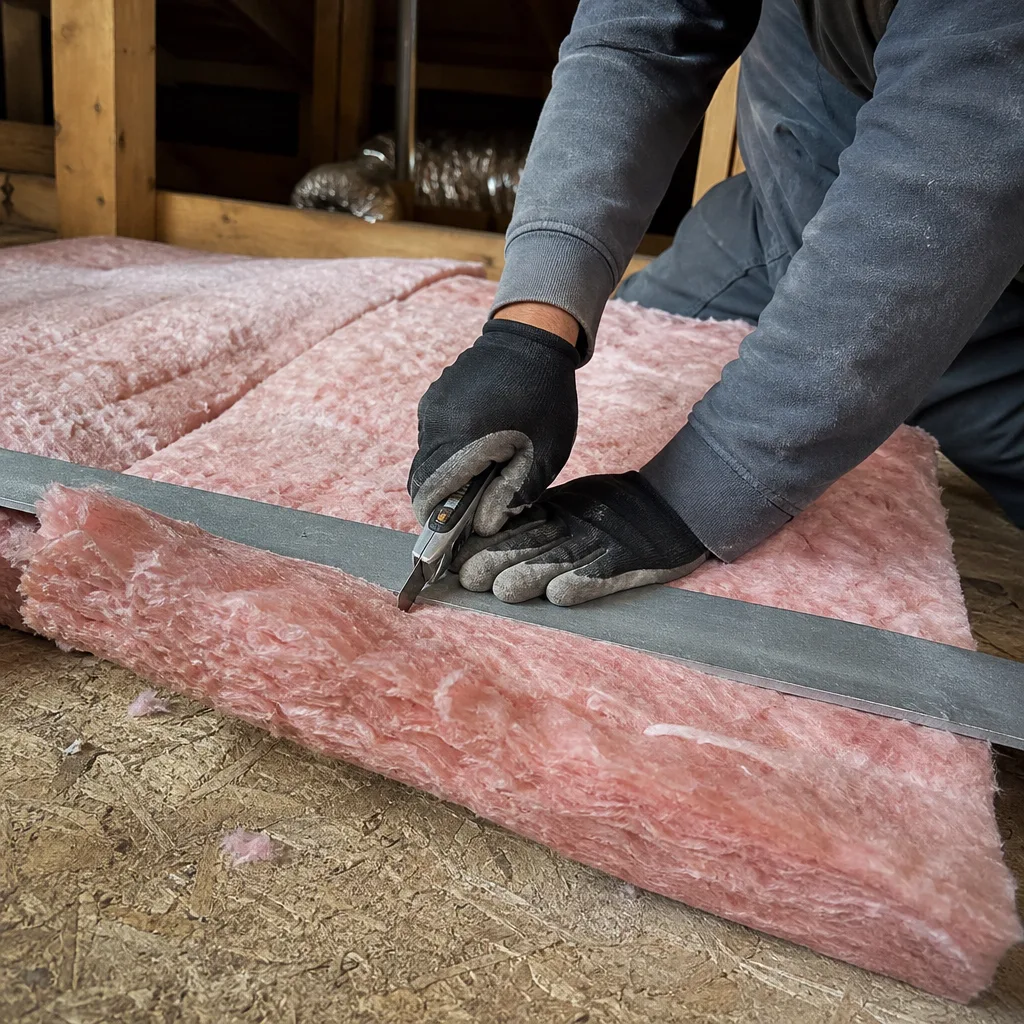
The other case worth knowing: insulation that’s been compressed by HVAC equipment on the attic floor, or walked on by generations of technicians running coax and romex, loses real R-value at the compressed spot. A Johns Manville or Owens Corning batt compressed from 10 inches to 6 inches delivers roughly two-thirds of its rated R-value. That’s a spot fix, not a full replacement.
Hot Second Floor After a Recent Re-Insulation Job? Check the Ducts.
If you had insulation installed in the last two years and the upstairs is still hot in summer, the insulation probably isn’t the problem. Duct leakage in the attic is. In our experience, duct leakage in a typical North Las Vegas home can account for 20% to 30% of the cooling system’s output – and no amount of insulation on the attic floor will fix that, because the ducts are running above it.
How to check without opening the ductwork:
- Look for stratified hot spots. If one room is hot and the adjacent one is fine, the hot one is likely downstream of a leaking duct joint. Run the AC for 20 minutes, then use the infrared thermometer at the supply register and 6 feet into the room. A 5°F difference between the register output and 6 feet into the room is normal; a 12°F difference points to a leak in the run.
- Listen at the register. Whistling or rushing sounds that shouldn’t be there suggest a disconnected flex duct or a failed boot.
- Check the attic visually after rain. A wet spot on the attic floor lining up with a duct run means the duct insulation is compromised and the cold duct is condensing. That’s a duct problem, not an attic insulation problem.
- Have a blower-door test with duct pressure diagnostics run. A technician can measure duct leakage as a percentage of total system airflow. Above 10% is a problem. Above 20% is a big problem.
The good news: duct sealing is often less expensive than re-insulating, and the fix is faster. The bad news: some contractors who sell insulation will add more insulation anyway, because that’s what they sell. In North Las Vegas, where the cooling load runs six months of the year, duct leakage is one of the highest-leverage repairs you can make – and it should be diagnosed before any new insulation goes in.
Before you commit to any attic work, ask for a home energy assessment in North Las Vegas that includes duct testing. It’s the only way to know what you’re actually paying to fix.
What a Before-and-After Blower-Door Test Shows That a Visual Inspection Misses
A blower-door test uses a calibrated fan mounted in an exterior doorway to pressurize the home to a standard 50 Pascals, then measures the airflow needed to hold that pressure. The result – in cubic feet per minute at 50 Pascals, written as CFM50 – describes in one number how leaky the whole envelope is. Lower is better.
Divide CFM50 by the home’s volume and multiply the result to get ACH50 – air changes per hour at 50 Pascals. A well-sealed North Las Vegas home built after 2010 might read 3 to 4 ACH50. An older home with significant attic bypass problems might read 9 or higher. Every point above 5 ACH50 costs cooling dollars in this climate.
Here’s what the after-work reading tells you that a visual inspection can’t:
- Whether the air-sealing actually worked. A technician can point at the sealed top-plate and call it done. The blower door says whether it’s done.
- How much the fix was worth. “The blower-door test read 4,200 CFM50 before sealing and 2,100 after” is a documentation of value. Pictures of sealed penetrations are evidence of activity, not of result.
- Whether there’s a problem you didn’t know about. A reading that comes back worse after work points to a compromise somewhere – a duct disconnection opened during the crew’s day, a window left open by the homeowner, a backdrafting flue.
On retrofit jobs we’ve done in North Las Vegas, a full air-sealing and insulation package typically drops ACH50 from the 8 to 11 range down to the 4 to 5 range. That’s roughly a 50% reduction in envelope leakage – and it’s the reading you should ask for when you get a written estimate.
Ask every contractor whether they provide the before-and-after readings. If they don’t, that’s your answer.
The Correct Order of Repair: Seal First, Insulate Second
The most common expensive mistake we see in North Las Vegas is the wrong order of work. A homeowner schedules a blow-in job, the crew adds R-38 of fiberglass over an attic floor that’s still full of bypasses, and the second-floor temperature barely moves. The homeowner paid for insulation, and got insulation – it just didn’t fix anything, because the air kept moving right through it.
Here’s the correct order, every time:
- Diagnose. A blower-door test with duct pressure diagnostics establishes the starting number and tells you where the envelope is leaking. This step is not optional.
- Air seal first. Top-plates, recessed lights (with IC-rated covers), HVAC chase walls, the scuttle, and every penetration in the ceiling plane get sealed. The before-reading goes in the file.
- Re-test. A second blower-door reading confirms the sealing worked. The gap between before and after is what you paid for at this stage.
- Insulate second. Now the insulation can do its job on a sealed ceiling plane. Blown Owens Corning or Johns Manville fiberglass or GreenFiber cellulose goes in to the Climate Zone 3 target, typically R-38 to R-49.
- Document. Photographs, written scope, warranty, and both blower-door numbers in the customer’s hands before the crew leaves.
This is what we mean at Envelope Insulation when we say sealed first, then insulated – in that order. Blowing insulation on top of a leaky attic floor is the insulation industry’s most expensive Band-Aid, and in the North Las Vegas climate you’ll see the difference in your July bill.
Moisture, Pests, and Other Problems Insulation Alone Won’t Solve
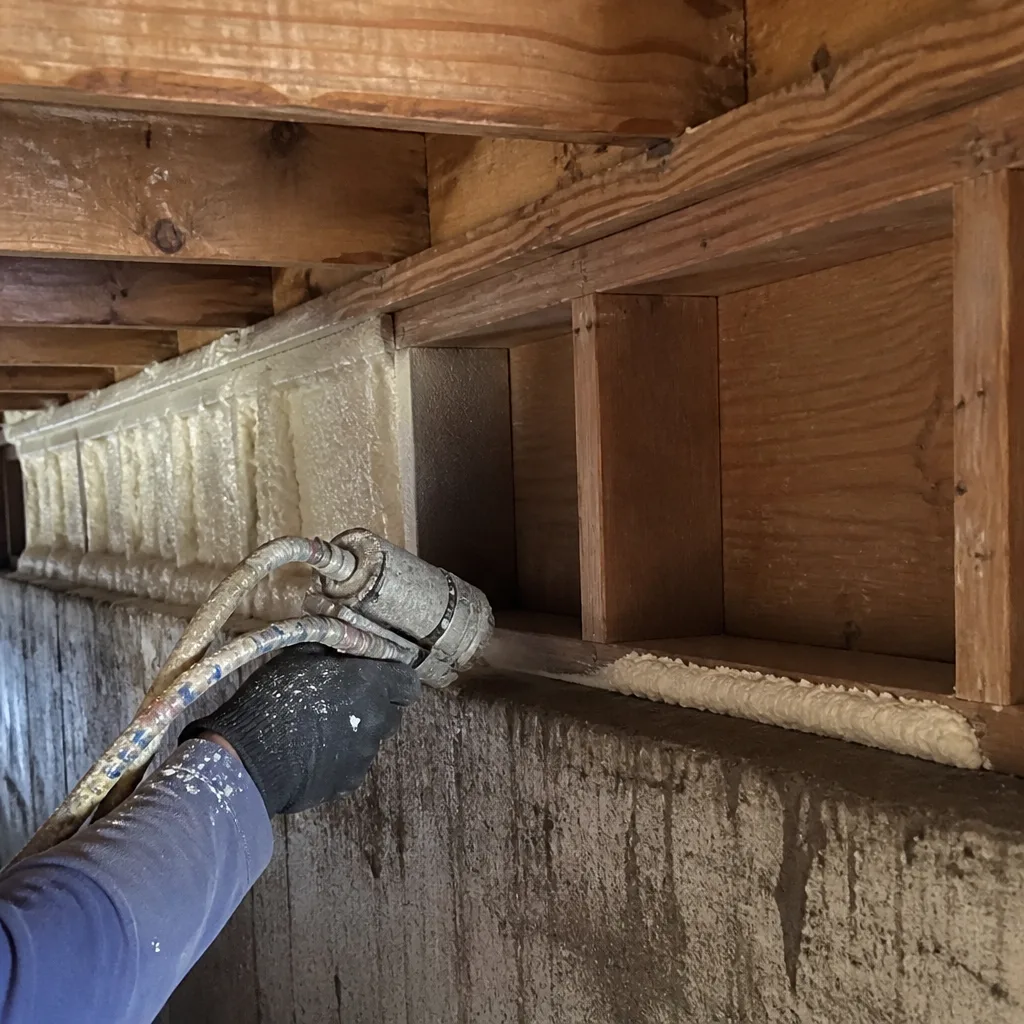
Some attic problems aren’t insulation problems at all, and adding insulation makes them worse. Two matter enough in North Las Vegas to flag here.
Moisture intrusion. Wet insulation loses most of its R-value immediately and stays compromised until it’s replaced. In North Las Vegas, the moisture source is almost always the roof or a plumbing vent boot, less often condensation from an improper vapor barrier. Find and fix the water source before anything new goes in. Wet fiberglass or cellulose has to be removed, not dried in place and covered.
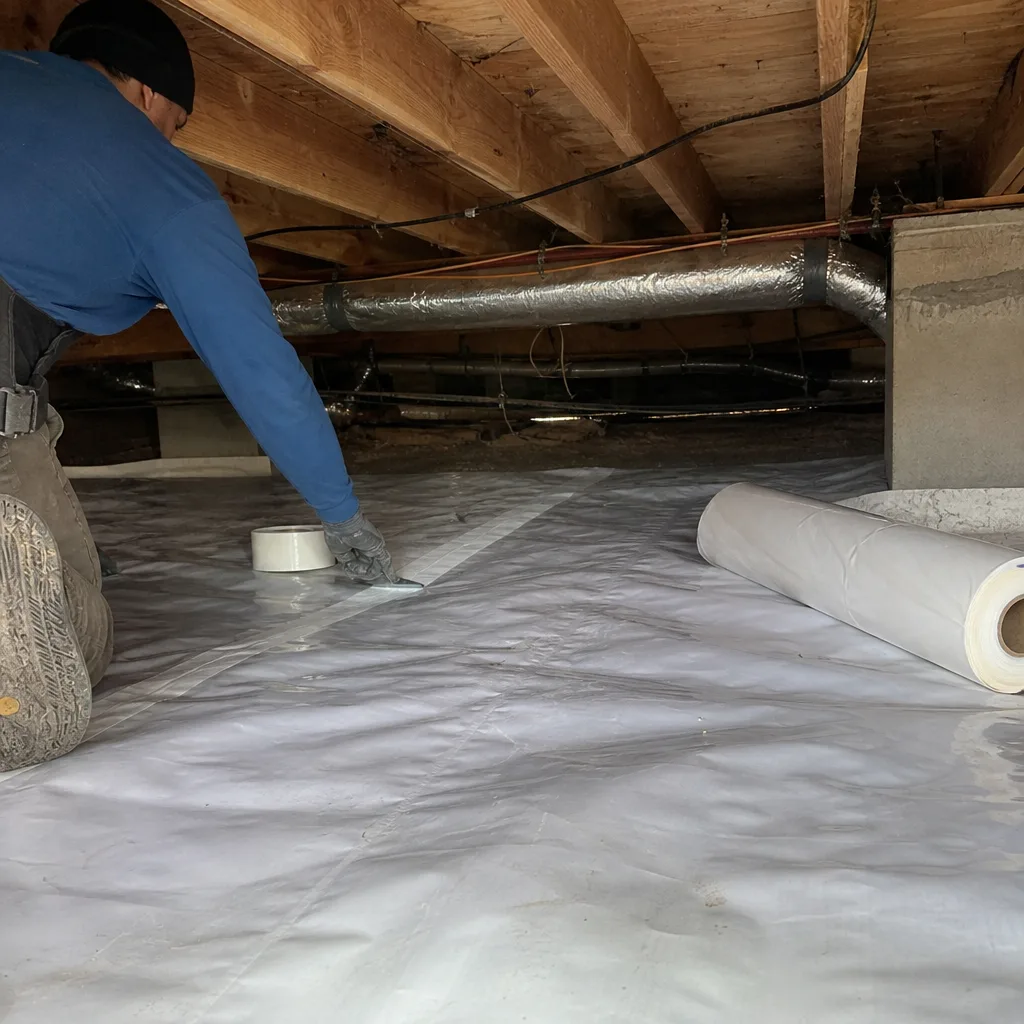
Rodent activity. Attic rats and mice tunnel through blown insulation and compress it, nest in it, and leave contamination. Insulating over the top of an active infestation traps the problem. Removal, exclusion work, and sanitizing come first. If you’re seeing rodent activity in the attic, the fix order is exclusion, then clean, then seal, then insulate – never the other way around. For homes with crawl-space moisture contributing to attic problems, crawl space encapsulation and vapor barrier in North Las Vegas addresses the source.
One more thing that gets missed: attic ventilation. A North Las Vegas attic with no ridge or soffit venting acts as a solar oven in July. Even R-49 won’t stop the heat load if the attic can’t flush itself in the afternoon. Balanced intake and exhaust venting is part of a complete attic job, not an add-on.
Common Mistakes to Avoid
- Blowing insulation over an unsealed attic floor. This is the single most common mistake we see in North Las Vegas. If the crew shows up with a hopper truck and no air-sealing materials, cancel the appointment.
- Trusting a $99 “insulation inspection” that’s really a sales visit. If the inspection doesn’t include a blower door or a measure of settled depth at multiple points, it’s a quote dressed up as a diagnosis.
- Replacing insulation that isn’t the problem. Settling below the rated depth is a reason to add insulation. Appearance alone is not. Measure before you spend.
- Skipping the duct test after a re-insulation job. If the upstairs is still hot after new insulation, the ducts are almost always the reason, and duct leaking needs to be measured, not guessed at.
- Using non-IC-rated materials around recessed lights. Covering a non-IC-rated can light with insulation is a fire hazard and a code violation. The fix is an IC-rated junction box cover, or a can-to-LED conversion, before any insulation goes near it.
- Leaving the attic hatch (scuttle) weatherstripped but not sealed. A gasketed cover with no insulation on top of it still leaks air and heat. Insulated scuttle box, gasket, and a positive latch – or it doesn’t count.
- Adding a vapor barrier in an unvented attic with no design review. Where the vapor barrier lives is a design decision, not a default. Get the design right before materials go in.
When to Call a Professional
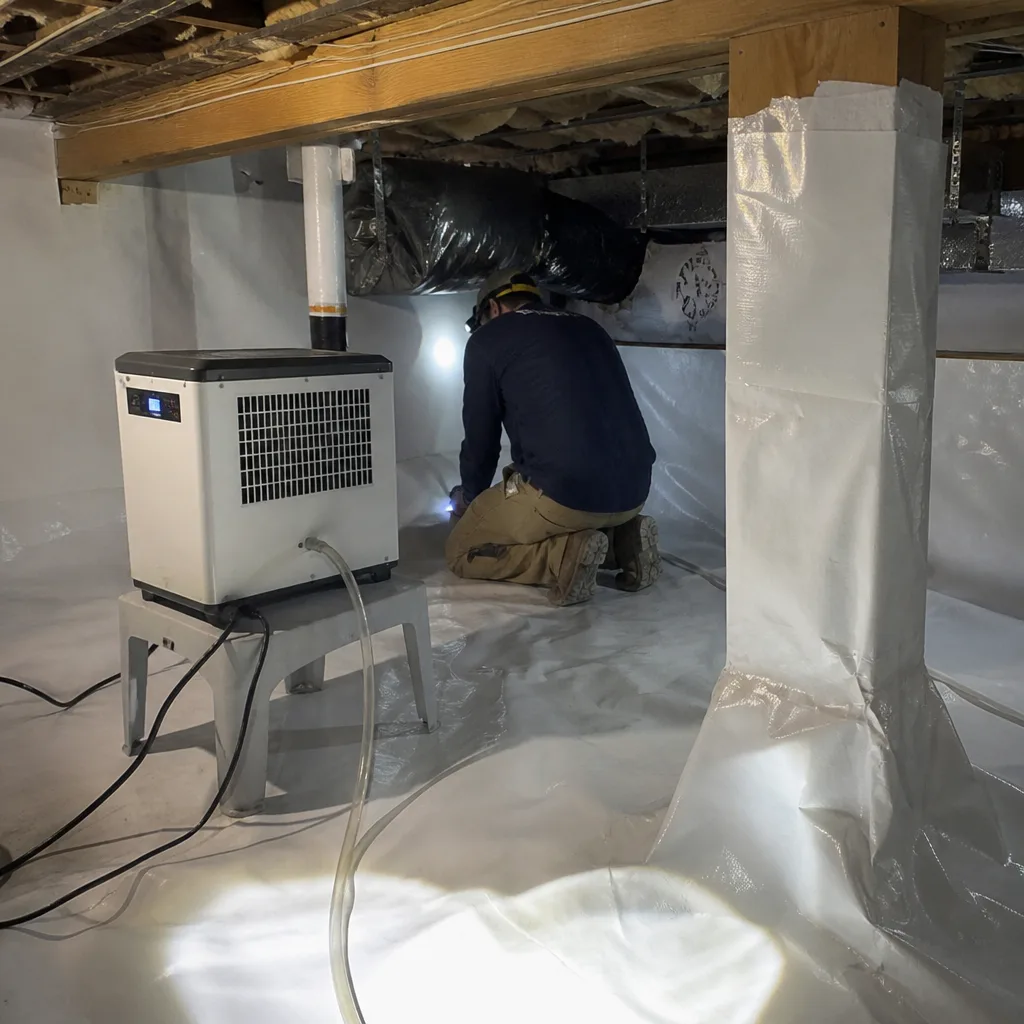
Call a professional when any of the following is true: the infrared readings show a 10°F-or-greater differential in one spot versus another; the upstairs runs more than 5°F hotter than downstairs with the HVAC on; the settled depth is under 8 inches and you’re paying summer bills above your neighbors’; the attic shows signs of moisture, rodent activity, or non-IC-rated fixtures near insulation; or the blower-door reading on your home hasn’t been taken in more than five years and it was built before 2015. The work itself – air sealing top-plates and penetrations, insulating over sealed attic floor, duct diagnostics – is not a homeowner job in most cases. The wrong materials in the wrong order waste money and can create fire or moisture problems. On the highest-risk portions – electrical penetrations, recessed fixtures near combustible insulation, and any chase wall tied to a gas appliance – call a licensed professional rather than experimenting. Envelope Insulation North Las Vegas offers free estimates in North Las Vegas – call (833) 630-4008 to schedule a written price before any work starts.
Frequently Asked Questions
Most attic insulation jobs in a typical North Las Vegas home cost between $2,400 and $6,500, depending on square footage, existing insulation condition, and whether air sealing and duct work are included. Air sealing is typically priced separately, in the $900 to $2,200 range. Call (833) 630-4008 for an exact written price on your home – estimates are free and there’s no charge for the visit.
In most North Las Vegas homes, repairing (adding to existing insulation and air-sealing the attic floor) is cheaper than a full replacement – unless the existing insulation is wet, contaminated with rodent evidence, or has degraded to under R-11 where a full removal and replacement is the right call. Removal and replacement runs two to three times the cost of an add-on. The only way to know which camp your home is in is a blower-door test and a settled-depth measurement. Call (833) 630-4008 for a free second opinion on any written estimate.
If your upstairs is still hot after a recent re-insulation job, the most likely cause is duct leakage in the attic – not the insulation. Ducts can lose 20% to 30% of the system’s cooling output to the attic in a typical North Las Vegas home. The other common cause is unchecked attic bypasses left open during the insulation work. A blower-door test with duct pressure diagnostics tells you which.
You measure settled depth, not appearance. Blown fiberglass settles about 2.5 inches per R-11 – so R-38 needs 13 to 14 inches fresh, 10 to 11 inches settled. Blown cellulose settles about 3.5 inches per R-11, so R-38 needs about 12 inches settled. If your settled depth meets the target, your insulation hasn’t lost meaningful R-value – and the problem is elsewhere.
Insulation itself doesn’t ignite easily, but covering a non-IC-rated recessed light with insulation can trap heat from the fixture and create a fire hazard – this is a code violation and a real risk. The remedy is IC-rated fixtures or sealed IC-rated covers before any insulation is added. This is why we don’t insulate a North Las Vegas attic until the fixtures pass.
A blower-door test before and after is the only way to verify that the air sealing worked, and in our experience it should be non-negotiable on any attic insulation job. Without it, you have pictures of sealed penetrations but no proof of the actual result. Ask your contractor for the before-and-after numbers in writing. Call (833) 630-4008 to schedule a free assessment.
The Bottom Line
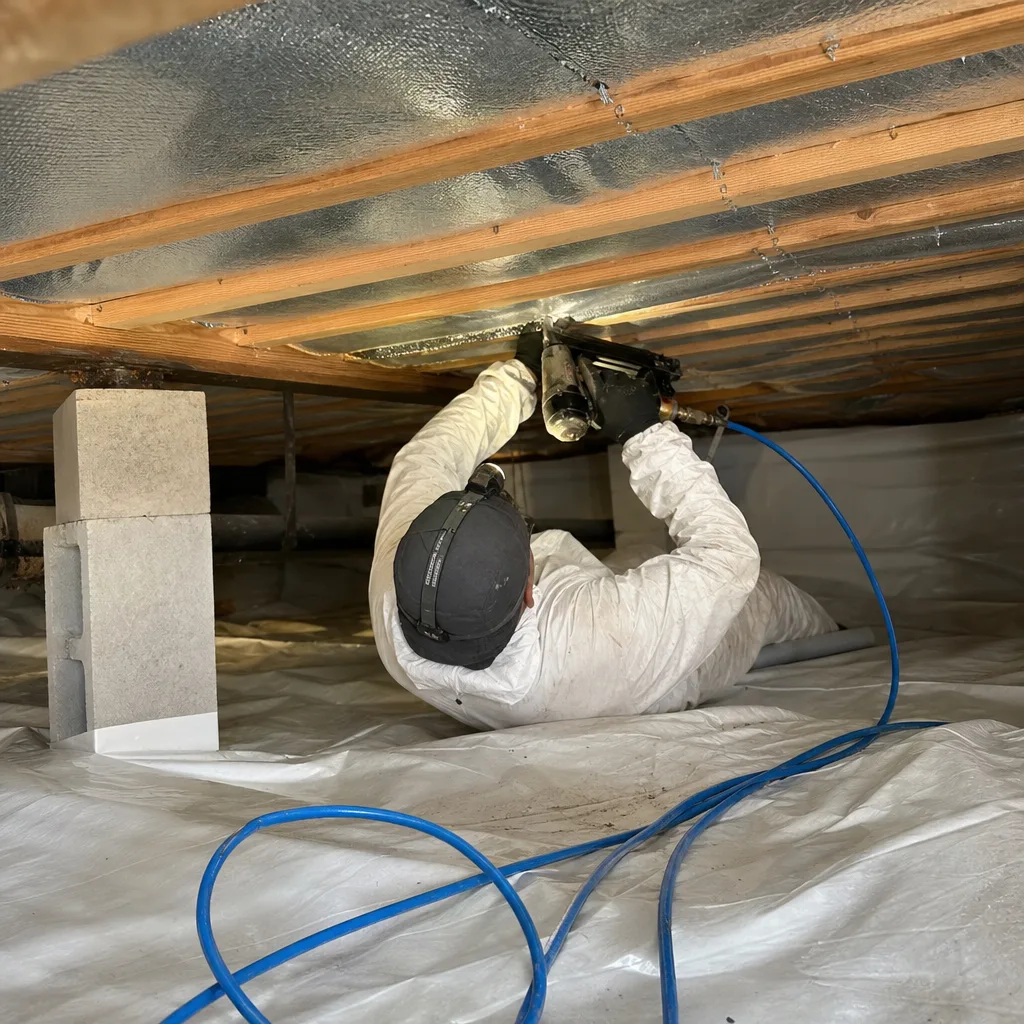
If your upstairs is hot and your insulation looks thin, don’t reach for the R-value number first. Measure the ceiling temperature, measure the settled insulation depth, and get a blower-door reading. In most North Las Vegas homes we see, the diagnosis comes back as an air-movement problem, not a thermal one – and adding a second layer of blown insulation to a leaky attic floor won’t fix it. Seal first, insulate second, and demand the before-and-after numbers in writing. That’s the whole thesis. For homes with crawl-space moisture contributing to attic problems too, see our partner services in spray foam insulation in North Las Vegas. Envelope Insulation North Las Vegas does every attic job under the Haven Standard – written price before any work starts, Documented Photo Record, and a before-and-after blower-door reading on every applicable job. Call (833) 630-4008 for a free estimate.
Written by the team at Envelope Insulation North Las Vegas.