
Last updated November 18, 2026
Attic Insulation Maintenance Schedule: What to Do and When
A disconnected flex-duct elbow buried under blown insulation in a North Las Vegas attic will condition the attic instead of the living space. That single failure can add $80 to $120 per month to a summer electric bill, and it won’t show up on a visual inspection from the hatch. That’s the thing most maintenance advice gets wrong for the Mojave: it treats insulation like a humid-climate problem, when what actually fails here is different. In North Las Vegas we don’t fight moisture rot. We fight UV degradation, rodents, and duct separation, plus the annual settling that quietly drops your R-value. This guide lays out a month-by-month maintenance schedule built around what actually fails in North Las Vegas conditions: an inspection protocol you can follow, the Clark County pest evidence to look for, how to make degradation measurable instead of guessed at, and what records to keep for warranty and utility rebate audits.
Quick Answer
Inspect your attic insulation once a year, ideally in early fall before heating season, and again after any pest activity or HVAC work. For a North Las Vegas home, the annual inspection should check four things: pest intrusion, radiant barrier integrity, HVAC duct connections, and depth at five fixed measurement points. Most attics pass with no work needed; the value is catching a $35 problem before it becomes a $1,400 one.
Table of Contents
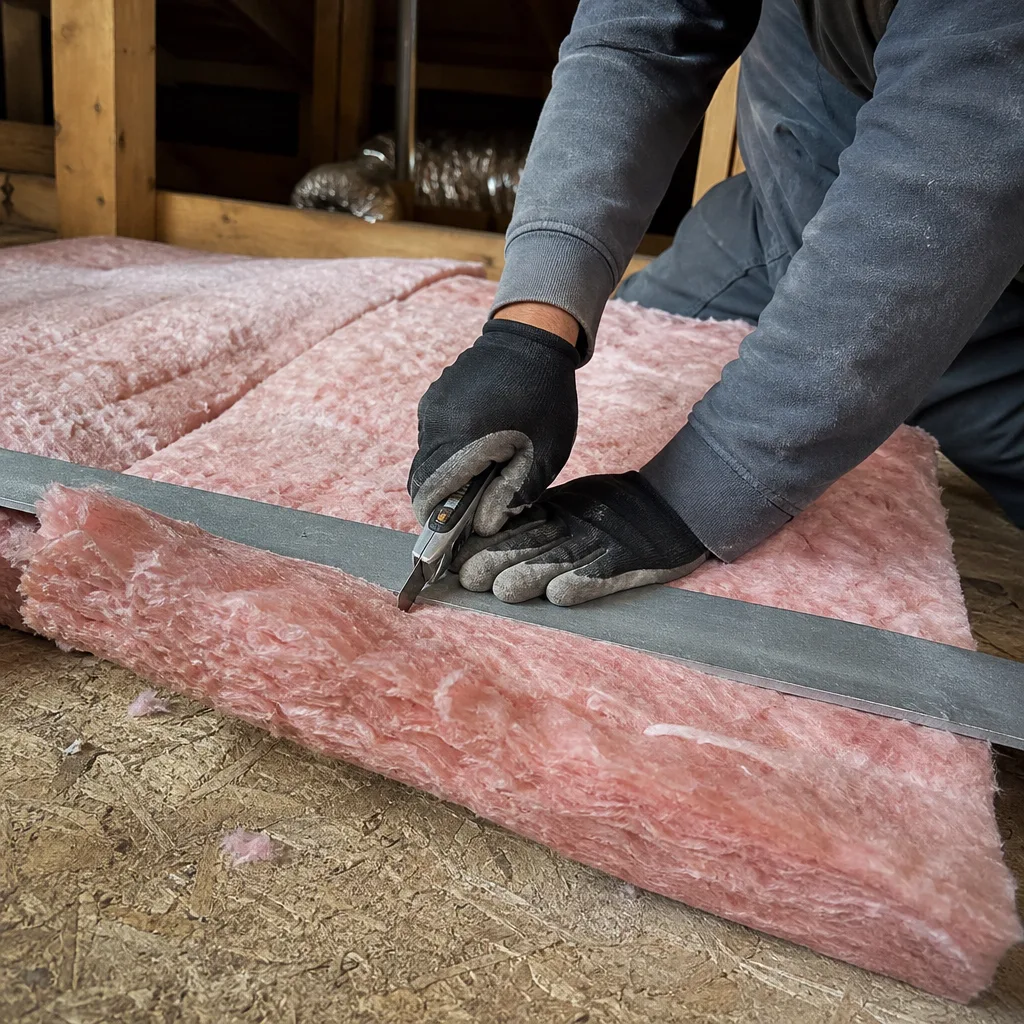
- Why North Las Vegas Attics Age Differently
- The Annual Maintenance Schedule, Month by Month
- The 12-Point Annual Inspection Protocol
- How to Measure and Document Your Insulation Depth
- The Clark County Rodents That Nest in Blown Insulation
- When an Inspection Becomes a Remediation Job
- The Records to Keep (and Why)
- Signs You’ve Waited Too Long
Why North Las Vegas Attics Age Differently
National insulation guidance is written for climates with a real freeze-thaw cycle and enough humidity to feed mold. The Mojave is not that. Here in North Las Vegas, attic temperatures regularly climb past 150°F in July and August, and the relative humidity in that same space can sit under 15% for weeks. That combination changes what degrades and how fast.
Moisture damage is genuinely rare. We almost never walk into a North Las Vegas attic and find wet fiberglass batts or a saturated vapor barrier the way a contractor in the Midwest would. What we do find, over and over, breaks down into a short list:
- Radiant barrier foil degradation. If your home has a radiant barrier stapled to the roof rafters, the foil’s reflective surface dulls and oxidizes from UV and heat cycling. A barrier that read reflectivity in the high 90s when installed can lose a meaningful fraction of that within a decade. It still looks intact from six feet away.
- Pest activity. Rodents and insects tunnel through blown fiberglass, compress it, and foul it with nesting material and droppings. Compressed insulation loses R-value whether or not it looks disturbed from the hatch.
- HVAC duct disconnection. Rigid duct joints loosen and flex-duct elbows separate as the attic expands and contracts through the temperature swings. Cheap mastic tape dries and fails. A supply run that dumps into the attic is invisible unless you crawl to it.
- Blown-in settling. Loose-fill fiberglass and cellulose both settle. Even a 5% drop in depth is a measurable R-value loss in the shallow sections.
None of these show up on a glance through the access panel. All of them are caught by the annual protocol below. And they’re the reason a North Las Vegas homeowner’s maintenance calendar should swing on fall and spring service dates, not on the regional advice you’ll read on national home-improvement sites.
The Annual Maintenance Schedule, Month by Month
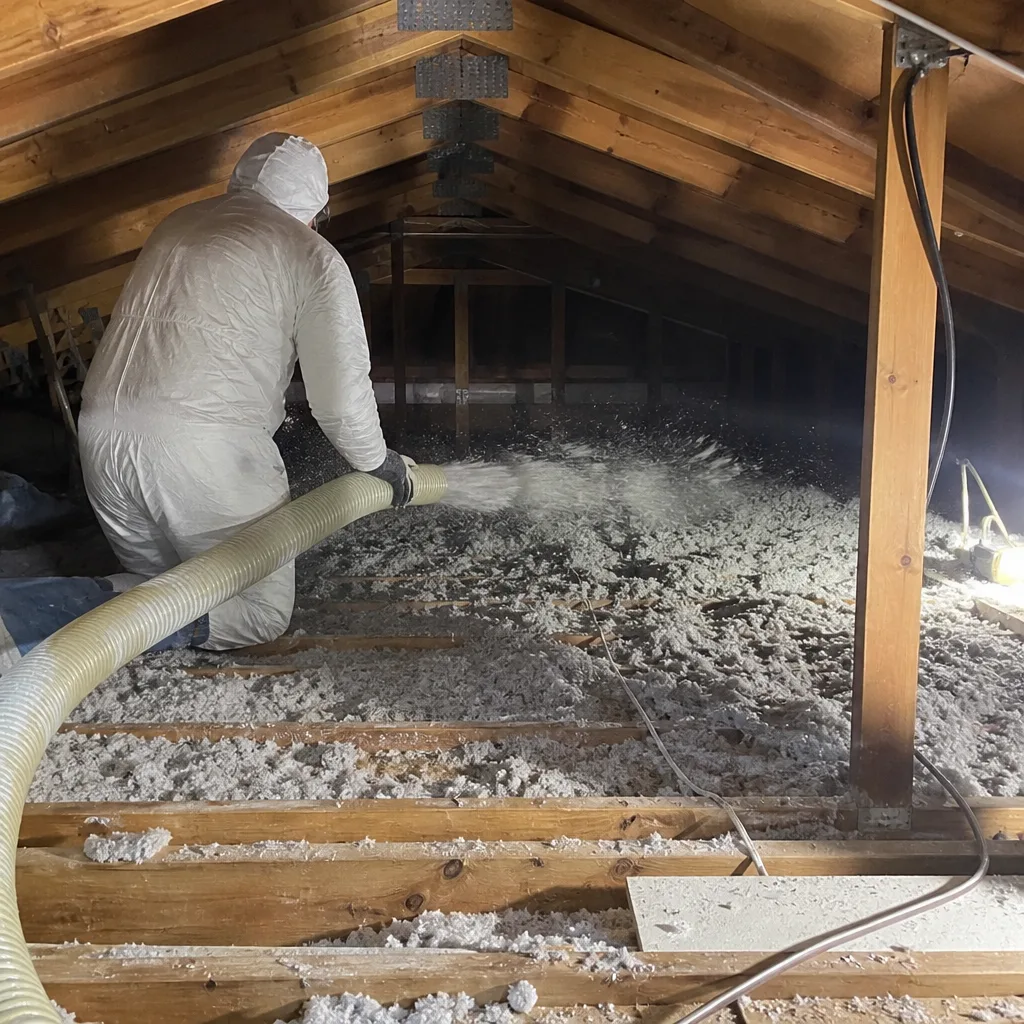
Here is the schedule we hand North Las Vegas homeowners. It’s short by design. Most months require nothing from you, and the two inspection windows matter more than everything else combined.
- September (before heating season). Do the full 12-point inspection described below. This is the most important window: it catches summer damage from heat, rodent activity, and duct problems before you start running the furnace.
- October. If the September inspection found any issue, get it scheduled and resolved before the first cool evenings when the furnace starts cycling. Insulation deficiencies and duct separation are more expensive to diagnose once demand spikes.
- November through February. No action required. This is your quiet stretch. If you notice a room that heats unevenly, write down which room and when; that note is diagnostic information for the spring inspection.
- March (spring pre-season). Do a lighter mid-year check: depth at your five reference points, a visual on the duct connections, and a look for fresh rodent evidence. Spring is when stored populations start moving and nesting.
- April through June. No action required. If you notice a rising summer electric bill you can’t explain, that’s a trigger to inspect early rather than wait for September.
- July and August. The hot months. No inspection needed (attic temps are punishing), but do watch for the tell-tale symptoms in the Signs You’ve Waited Too Long section below.
- After any event. Schedule an inspection after pest control work, after any HVAC repair that involved the attic, after a roof repair, and after any storm with high wind. These are the triggers that override the calendar.
Two scheduled inspections, one light check, and an event-based trigger. That’s the whole year. If your home has a finished attic or a knee-wall configuration, the protocol takes longer to perform, but the calendar is the same.
The 12-Point Annual Inspection Protocol
This is the checklist for the September inspection. You can perform the first eight points from the hatch and the accessible walkway with a flashlight; the last four require getting into the attic itself. Safety first: an attic in North Las Vegas is a genuinely dangerous place in a hot month. Go up in the early morning, never in the heat of day, wear a respirator, and don’t walk on the ceiling drywall between joists. If you’re not comfortable in that space, this is a list to hand to a professional rather than a project to do yourself.
- Pest evidence. Look for droppings, gnaw marks on insulation facing, nesting material, or tunnels through blown insulation. A flashlight held low across the surface shows the tunneling.
- Radiant barrier condition. On the underside of the roof deck or rafters, check for tears, loose staples, dulled or whitish foil, or sections that have pulled away. Check especially near the ridge, where heat is concentrated.
- HVAC duct connections. Trace each supply and return run from the air handler. Look for disconnected elbows, tape that’s dried and peeling, and joints with visible gaps. This is the single highest-value item on the list.
- Depth at five measured points. Measure the blown-in depth at the same five locations every year (details in the next section). Write the numbers in inches.
- Compression and disturbance. Check whether the insulation has been walked on, compressed under stored items, or tunneled through.
- Air sealing integrity. Look at the sealant around top plates, can lights, and penetrations. Old foam or caulk that’s cracked and pulled away means air is finding a path again.
- Vapor barrier (if present). Confirm it’s intact and not torn. Moisture damage is rare in North Las Vegas, but a barrier that’s been cut open for a plumbing repair and never sealed leaves a path for pests.
- Visible daylight. Look for any point of daylight through the roof or gable, which signals a gap in the envelope.
- Can light covers. Confirm the covers are seated and not knocked loose.
- Ceiling stains from above. A new stain or a ring means a roof leak, not insulation moisture, but the insulation below is now compromised.
- Water heater or furnace flue. Verify the flue connection is sealed at the ceiling penetration and hasn’t pulled away.
- Photo documentation. Photograph the depth measurements, the duct connections, and any anomaly, with the date visible. The next section explains why.
How to Measure and Document Your Insulation Depth
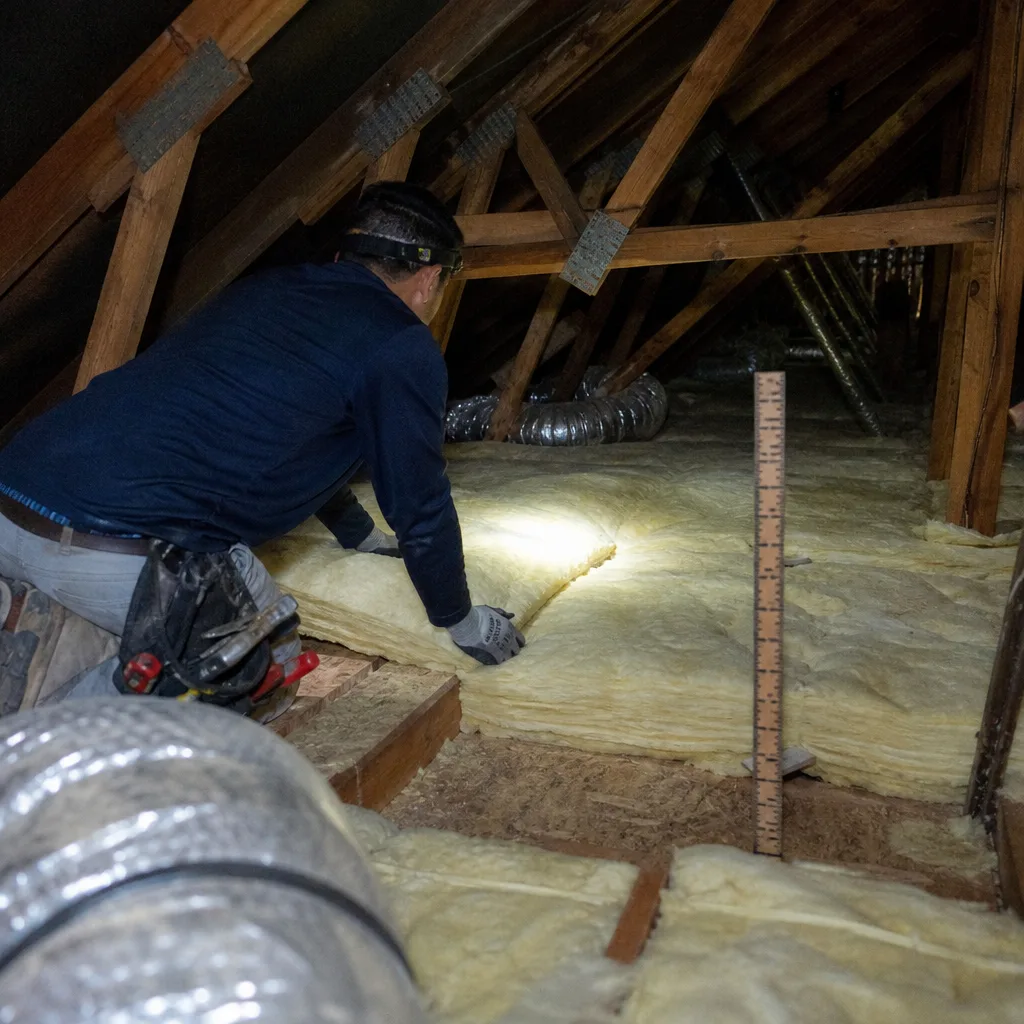
This is where most homeowners guess, and where the difference between guessing and knowing pays off. The idea is simple: measure at the same five spots every year, photograph each one with a fixed reference point and a visible date, and you have a record that makes degradation a fact instead of an impression.
Here’s the protocol we use:
- Pick five fixed reference points and write down how you’ll identify them (“three feet east of the access hatch,” “directly above the kitchen ceiling fan,” etc.). These never change.
- At each point, push a stiff ruler or depth gauge straight down through the blown insulation to the ceiling drywall and read the depth in inches. Blown insulation should be measured at the settled depth, not the fluffed-up depth, so don’t disturb the surface before you measure.
- Photograph the gauge against a fixed reference at each point. On many phones the date stamp is automatic; if not, write it on a card in the frame. The reference point is the key. A photo with no fixed reference proves nothing a year later.
- Record the five depths and the date in a note or a spreadsheet. Five numbers a year is all it takes.
- Compare to your original reading. If you have the installation report from the original job (see the records section), compare against it. A settled drop of an inch or more in a shallow section is a trigger to get a professional assessment.
Why does this matter? Because insulation is sold by thickness for a target R-value, and “it looks fine” isn’t a measurement. Fiberglass and cellulose settle; a section that was blown to a good depth may now be short. North Las Vegas homes with a finished or semi-finished attic need the same five-point method, just scoped to the accessible areas. If your home is one where the goal is to bring it up to a target R-value, the current settled depth is the starting number.
The Clark County Rodents That Nest in Blown Insulation
The species that move into North Las Vegas attics and use blown insulation as nesting material are the house mouse, the roof rat, and, in some suburban edges near open desert, the desert woodrat. All three cause the same damage: they tunnel through the loose-fill, pack the material where they nest, and foul it with droppings and urine. Compressed, fouled insulation loses both R-value and its air-trapping performance, and once a rodent has nested, it will keep returning to the same spot.
The evidence to look for is specific:
- Tunnels through the blown-in surface. Look in morning light with a flashlight held low. Fresh tunnels are visible as small ridges and channels; that’s a sign of active movement.
- Droppings and urine stains. Mouse droppings are small and dark; roof rat droppings are noticeably larger, roughly the size of a small olive. Look along the framing and near the access hatch first.
- Nesting material. Shredded insulation facing, paper, and fabric gathered in a corner or between joists. This is where the batt or loose-fill has been compressed most.
- Gnaw marks. On the kraft facing, on the insulation paper, or on the wire jackets. Rats and mice gnaw continuously.
- Oily rub marks. Along the framing where a rat travels its regular route.
Here’s the trigger for action: evidence alone justifies a pest evaluation, but fouled or heavily tunneled insulation usually needs more than a trap. The nesting area is compromised and, under the standard of good practice, has to come out before replacement goes in. If the pest evidence is present at your September inspection, you should be calling a pest professional and a professional insulation contractor rather than waiting. On the insulation side, see attic cleaning and rodent proofing in North Las Vegas for how removal and reinstallation work together. And the insulation removal and replacement process, which typically runs in the range of $1,200 to $3,500 for a North Las Vegas attic, is the honest fix when nesting is widespread.
When an Inspection Becomes a Remediation Job
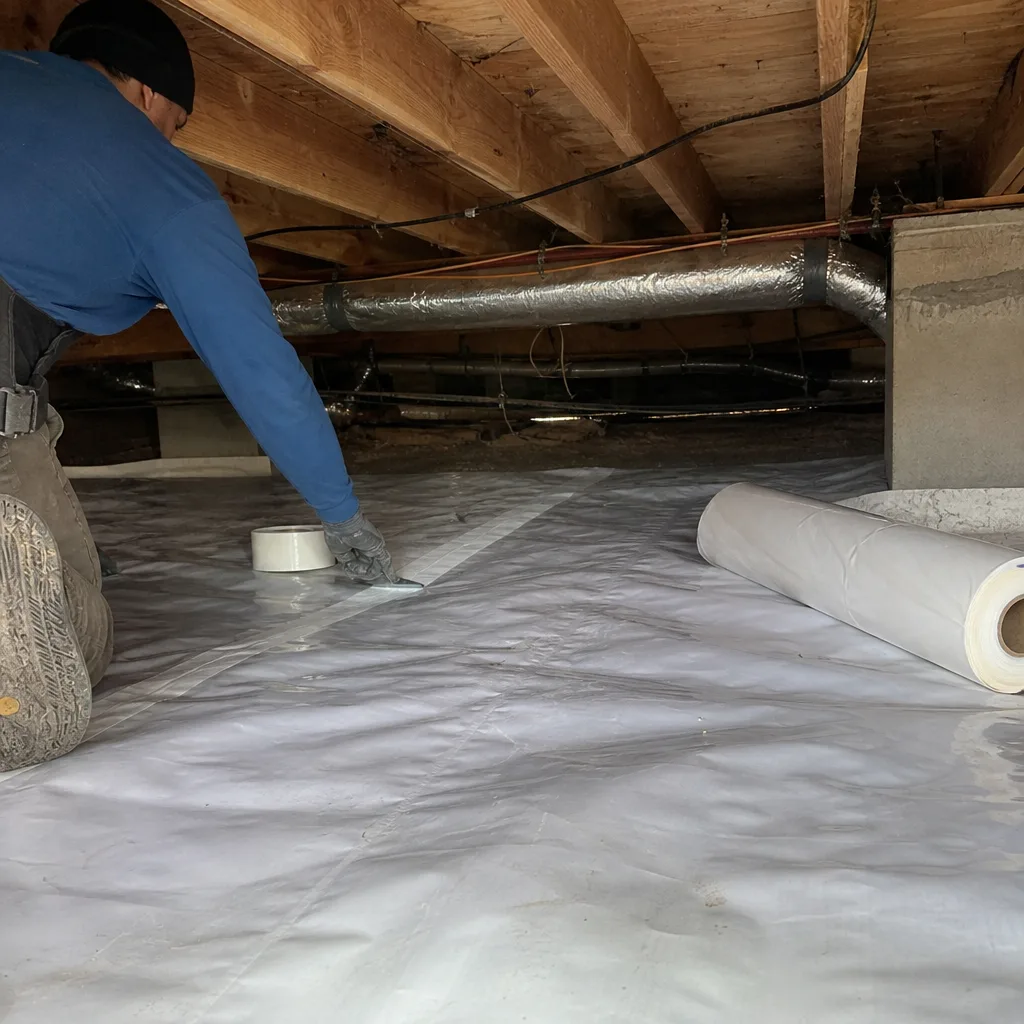
Not every finding requires remediation. Many do not. The question is whether the finding has compromised the thermal boundary, and that’s a question best answered by a measurement rather than a sales pitch.
Remediation territory, in our experience, looks like this:
- A disconnected supply duct dumping conditioned air into the attic. That’s the $80 to $120 per month hit, and it also wrecks the pressure balance of the home. Fix the duct, then re-test.
- Fouled or compressed insulation from pests. Remove the fouled material and replace it. You can’t seal over it or re-cover it and expect the R-value to hold.
- Radiant barrier that’s torn, loose, or visibly dulled. Repair or replace, then verify the next layer of performance.
- Depth that’s dropped meaningfully below the target for the home. This is the cue for a fresh assessment, not a rush to replace.
- Air sealing that has failed. Cracked foam and dried caulk at top plates and can lights are cheap to re-seal, but the check matters.
When any of those come up, the right move is not a bigger quote. It’s a blower-door test, a pressurization measurement that shows, in a single reading, how much conditioned air the building envelope is losing. We publish before-and-after blower-door numbers on every job where it applies. A North Las Vegas homeowner can read the before readout, read the after readout, and see the actual change. That’s the number you want when someone tells you the thermal boundary was compromised and needs work. If the remediation involves bringing the whole envelope up to a better standard, attic insulation in North Las Vegas walks through the scope and the sequence: seal first, then insulate, never the reverse.
The Records to Keep (and Why)
Paperwork is the least glamorous part of attic maintenance and the part homeowners skip. It’s also what stands between you and a denied warranty claim or a stalled rebate audit. Keep three documents, every year.
- The original installation report. This is the written scope and the specs: which product, the target R-value, the quantity of material, and the coverage. If there was a blower-door test at the time of installation, the baseline CFR50 reading is the most valuable number in the whole file. Keep both the report and the blower-door baseline together.
- The five-point depth reading with photographs. Your own annual measurement, dated. This is your evidence for settling and for any warranty conversation.
- Inspection photos. Dated photos of the duct connections, the radiant barrier, and any anomaly you found, plus a note of what you did about it. A photo from year one establishes a baseline; photos from years two and three show a trend.
Why keep them? Warranty claims on insulation products require proof of the original installation specs and the condition at the time of failure. Utility rebate audits frequently ask for the documentation trail: the written report from the installer, the before-and-after blower-door numbers, and proof that the work matched the scope. If you don’t have a blower-door baseline, ask for it, and ask for it in writing. Under Haven Standard Clause 1, a written price, a written scope, and a written warranty come before anyone lifts a tool. A written record when the job is done is the other half of the same standard. Envelope Insulation North Las Vegas provides a documented photo record on every visit for exactly this reason, and it’s the reason we can read a problem off a photo a year later rather than guessing at what the attic looked like when it was installed.
Signs You’ve Waited Too Long
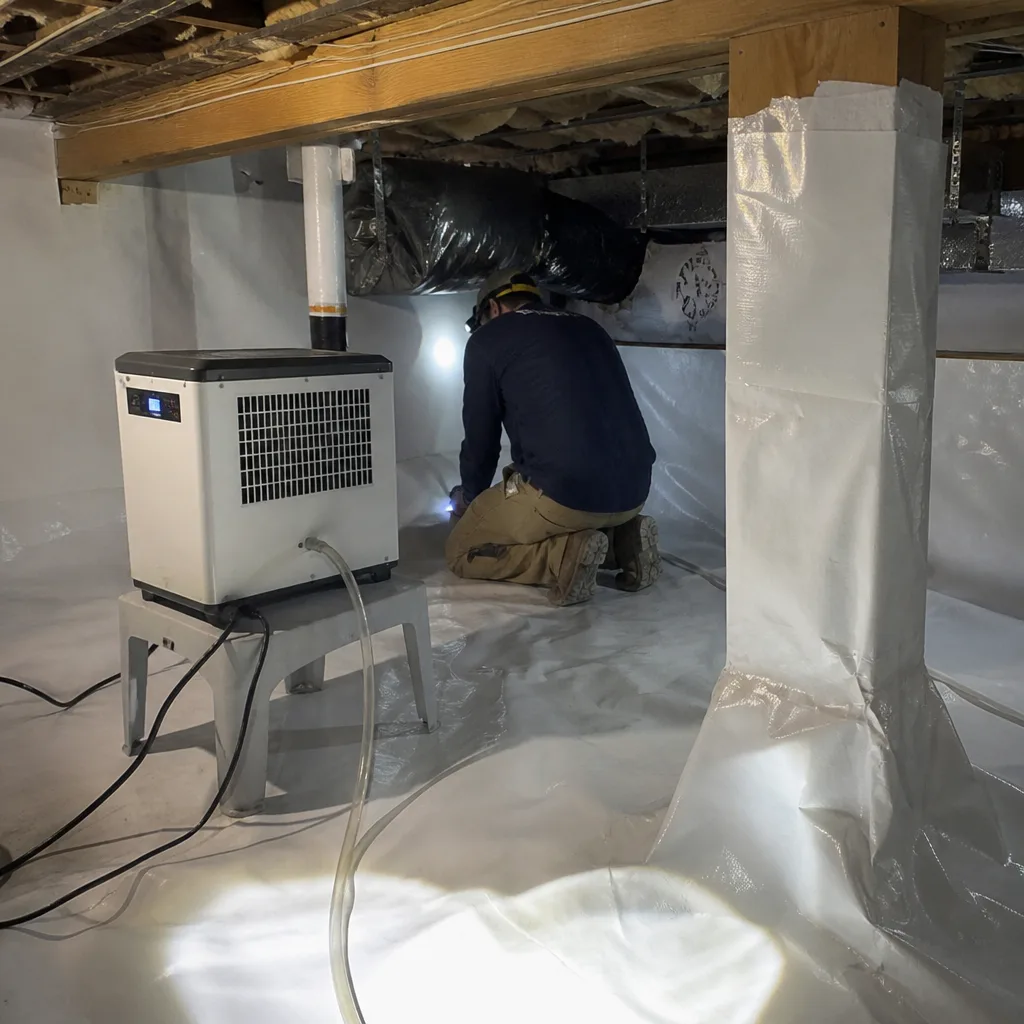
The annual protocol is designed to catch issues while they’re small. Here are the symptoms that mean it’s time to move from the calendar to a phone call. If any of these sound familiar in your North Las Vegas home, the inspection is due now, not in September.
- A summer electric bill that’s climbed $80 or more over last year with no rate change or usage change. This is the strongest signal of a duct problem or a thermal boundary failure.
- Drafty rooms or rooms that won’t hold temperature. Uneven heating and cooling from one room to another points at air sealing or duct separation.
- A smell or a sound. A musty smell in the attic, or scratching and scurrying at night, is pest evidence that’s already progressed.
- Daylight through the ceiling, a ceiling stain, or storm damage. These need a professional inspection now.
- Any visible thickness drop against your original reading. The measurement itself is the trigger.
We’ve written about home energy audits in North Las Vegas and how a blower-door reading separates a real problem from a hunch; the audit is often the honest first step when you’re not sure where the loss is coming from.
Common Mistakes to Avoid
- Inspecting only from the hatch. Everything that matters in a North Las Vegas attic (duct connections, radiant barrier, pest tunnels) is invisible from that doorway. You have to reach the actual crawl or walkway.
- Measuring depth once, at a guess, and never again. A single depth guess tells you nothing; five fixed points, read every year, give you a trend.
- Photographing without a fixed reference. A photo of a depth gauge with no reference point and no date is unprovable a year later. Put a reference in the frame and date it.
- Blowing more insulation over a pest or duct problem. New material over fouled, compressed, or disturbed insulation just covers the failure. Seal the cause first; insulate second.
- Assuming a disconnected duct is a rare fluke. It’s one of the most common attic failures in a North Las Vegas home and one of the easiest to miss.
- Throwing away the original installation report. When a warranty claim or rebate audit comes up, the original written scope and the blower-door baseline are the documents that decide the outcome.
- Waiting for a big failure. The $80-per-month duct failure starts small. The annual inspection is what keeps it from becoming a $1,400 repair.
When to Call a Professional
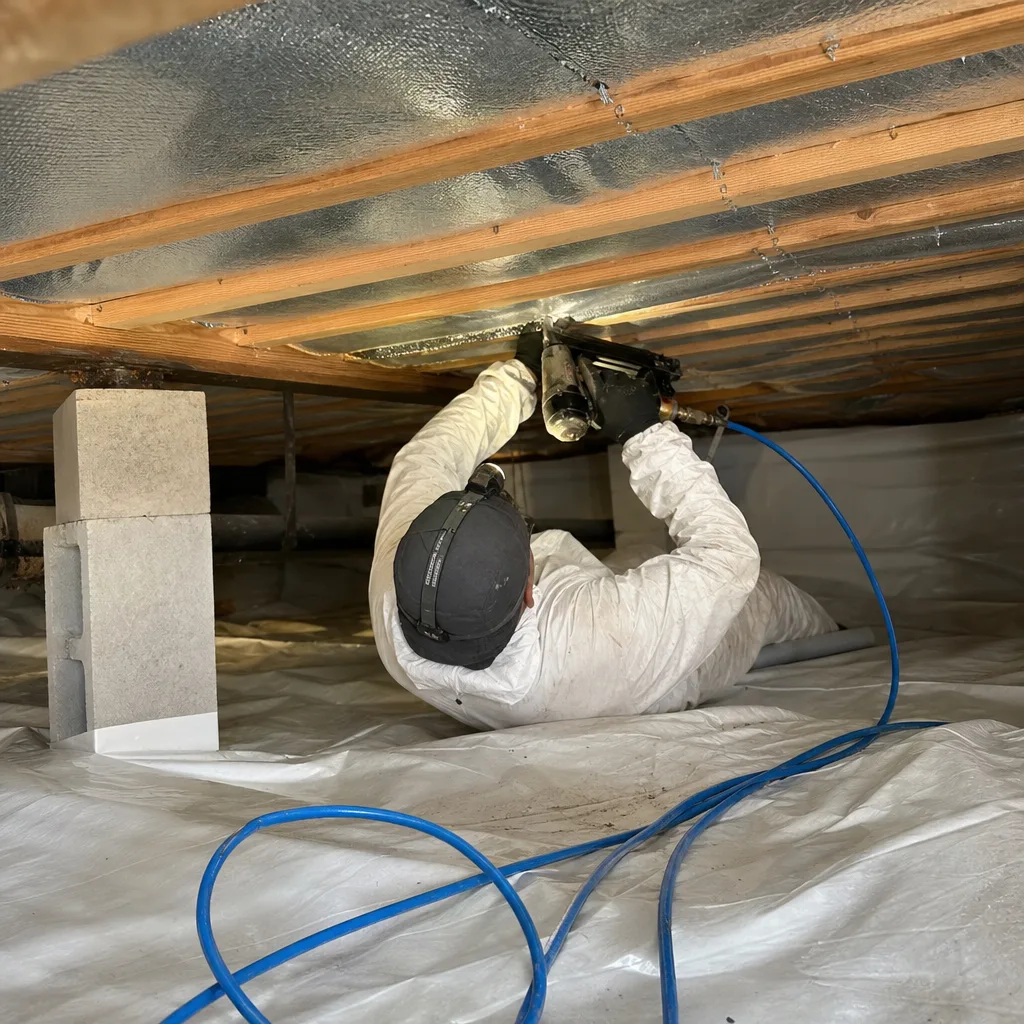
Some of this guide is a calendar you can keep yourself. Some of it is work for a professional. The list that crosses the line: any sign of pests in the insulation, a duct connection you can’t reach or can’t verify, a radiant barrier that’s torn or dulled, a blower-door reading that’s gotten worse since your last one, and any attic with a finished or semi-finished configuration where measuring by hand is difficult. If you’re planning a larger upgrade to the envelope, the same rule applies; see spray foam insulation in North Las Vegas for where the product choice fits the remediation. Envelope Insulation North Las Vegas offers free estimates in North Las Vegas, and a free second opinion on any written estimate you’ve been given. Call (833) 630-4008 and a live person answers, 24/7. We’ll bring the flashlight, the roller, and the depth gauge, and you’ll leave the visit with a written record of what we found rather than a verbal estimate.
Frequently Asked Questions
Once a year, with a second light check in spring, is enough for most North Las Vegas homes. The September inspection is the important one because it precedes heating season and catches summer duct, pest, and settling problems before the furnace starts cycling. Add an unscheduled inspection after pest activity, HVAC work, roof repair, or a high-wind storm.
Pick five fixed reference points and measure the settled depth at each one every year, with a stiff ruler or depth gauge, then photograph the gauge against a fixed reference with the date visible. Keep the five numbers and compare them annually. Consistent measurement at the same spots is what makes degradation a fact instead of a guess.
A disconnected flex-duct elbow in a North Las Vegas attic can add $80 to $120 per month to a summer electric bill, and it won’t show up on a visual inspection from the hatch. Confirm a duct problem and get the per-month number on paper before you commit to a bigger scope, and ask for the blower-door reading before and after the repair.
The house mouse, the roof rat, and, near desert edges, the desert woodrat all nest in blown insulation. The evidence to look for is tunneling across the loose-fill surface, droppings and urine stains, nesting material gathered in a corner, gnaw marks on the facing, and oily rub marks along the framing. Call a pest professional and an insulation professional if you find any of it; fouled insulation has to come out and be replaced.
An inspection becomes remediation when the finding has compromised the thermal boundary: a disconnected duct, fouled or compressed insulation, a torn radiant barrier, or air sealing that’s failed. Verify the work with a blower-door test before and after, a pressurization reading that shows in a single number how much conditioned air the envelope was losing. The after number is your proof; ask for it in writing.
Keep three documents: the original installation report with its blower-door baseline, your own five-point depth reading with dated photos, and the dated inspection photos of the ducts, radiant barrier, and any anomaly. Warranty claims need the original scope and specs, and rebate audits need the documentation trail. A written price, written scope, and written warranty before work starts, plus a written record after, is the whole set. Bring us a competing estimate and we’ll read it with you; the free second opinion is on any written estimate. Call (833) 630-4008 for an exact quote, and in most North Las Vegas homes the annual inspection and any small fixes together run between $150 and $400 unless remediation is needed.
The Bottom Line
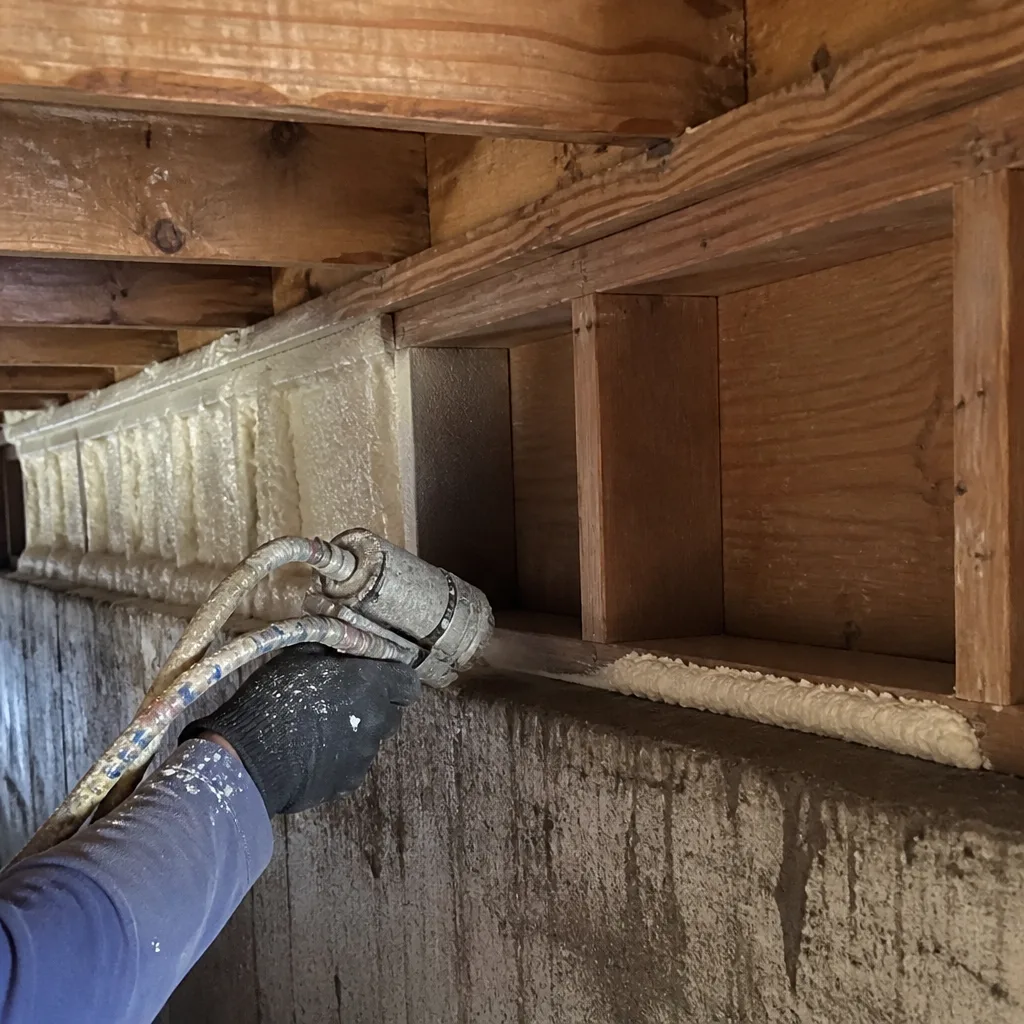
Attic insulation maintenance in North Las Vegas comes down to a short annual schedule and a specific inspection protocol. Inspect in September; do a light check in spring; inspect after any pest, HVAC, or roof event. On each inspection, check the four things that actually fail here: pest evidence, radiant barrier integrity, duct connections, and depth at five fixed points. Measure the depth the same way every year and photograph it against a fixed reference with a date. Keep three records: the original installation report with its blower-door baseline, your annual depth readings, and dated inspection photos. If the inspection finds a compromised thermal boundary, get a blower-door re-test before and after remediation so the fix is proven, not performed. If your crawl space also needs attention, our crawl space encapsulation and vapor barrier in North Las Vegas page covers the other half of the envelope. When you’re ready, start at the Envelope Insulation North Las Vegas home page or just call (833) 630-4008 for a free attic insulation estimate. We’ll bring the documentation and you’ll leave with a record.
Written by the team at Envelope Insulation North Las Vegas.