
Last updated November 18, 2026
Crawl Space Encapsulation & Vapor Barrier Troubleshooting: Common Problems and How to Fix Them
A single 4-inch tear in a 20-mil vapor barrier, left alone through one monsoon season, can let enough moisture vapor reach the subfloor framing to start the conditions for wood rot. You won’t see a leak. You’ll notice a soft spot in the floor two years later. That lag is what makes encapsulation failures so expensive – by the time the damage is visible from inside the house, the crawl space has been quietly working against the home for a long time. This guide walks through how to inspect an encapsulated crawl space in North Las Vegas systematically, name the failure you’re actually looking at, and decide whether it’s a repair or a reinstall.
Quick Answer
Most encapsulated crawl space problems come down to five failure points – pipe penetrations, foundation vent covers, pest entry along the footer, condensate drain termination, and the wall-to-floor liner transition – plus separated tape seams and isolated punctures. Seam separation and single tears are repairable in a few hours. Widespread delamination, standing water under the liner, or pest contamination of the barrier material means reinstall. A 48-hour hygrometer reading above roughly 60% relative humidity points to barrier failure, not a dehumidifier problem.
Table of Contents
- How to inspect seam integrity with a flashlight and a straight edge
- The five most common failure points in North Las Vegas crawl spaces
- Using a digital hygrometer to get a baseline reading
- Repairable barrier failure vs. a reinstallation trigger
- When a dehumidifier is the fix vs. when it’s masking a barrier problem
- How North Las Vegas climate stresses a vapor barrier
- A homeowner’s inspection schedule that actually works
- Common mistakes to avoid
How to Inspect Seam Integrity With a Flashlight and a Straight Edge
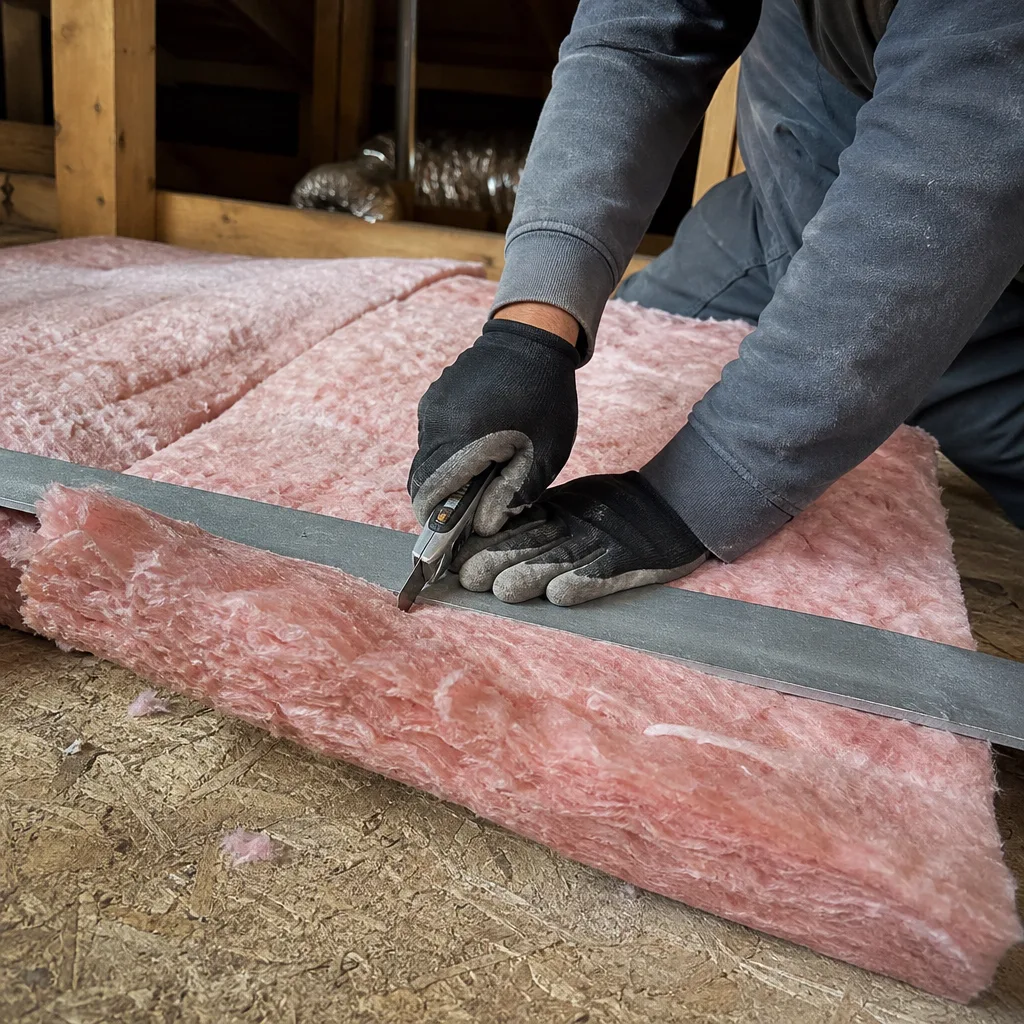
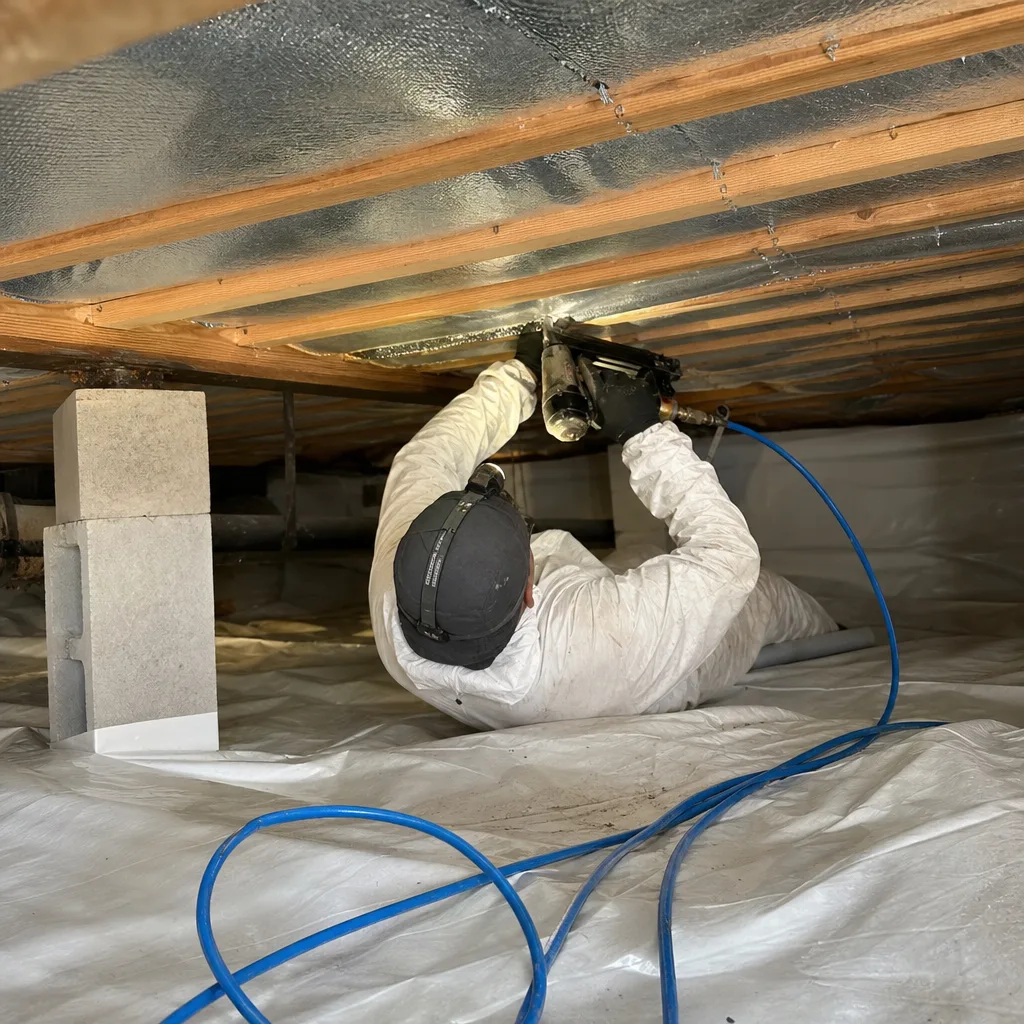
Seam inspection is the fastest way to grade a vapor barrier’s condition, because seams fail before the liner itself does. You need a bright flashlight held at a low grazing angle to the seam, and any straight edge – a framing square, a level, even a stiff piece of trim. The straight edge does one job: it tells you whether the two overlapping sheets are still flat against each other along the full length of the seam. Tape that’s holding keeps the overlap flat like a single sheet. Tape that’s failing lets the sheets cup or lift at the edge.
Here’s what a failed seam actually looks like, versus one that’s holding:
- Holding: tape edges are bonded flat with no visible air pocket underneath. The overlap line is straight. Pressing the straight edge across the seam shows no gap at either tape edge.
- Failing: tape edges curl or lift, usually starting at one end and running in a line. You’ll see dust or grit collected under the lifted edge. The overlap may be flat in the middle and separated at the ends.
- Failed: the tape has released entirely along a stretch, or the sheets have slid out of overlap. A bright flashlight at a low angle shows a dark gap line where the sheets separate.
The straight-edge test catches what a visual pass misses. Tape can look bonded while a strip of separation runs along one edge. Once you’ve found a lifted seam, mark the full length with a crayon so the repair covers the whole failed run, not just the most obvious 6 inches. A seam that has separated for more than roughly a third of its length in a single sheet run usually needs a taped patch strip laid over the full joint, not a spot repair on the lifted corner.
The Five Most Common Failure Points in North Las Vegas Crawl Spaces
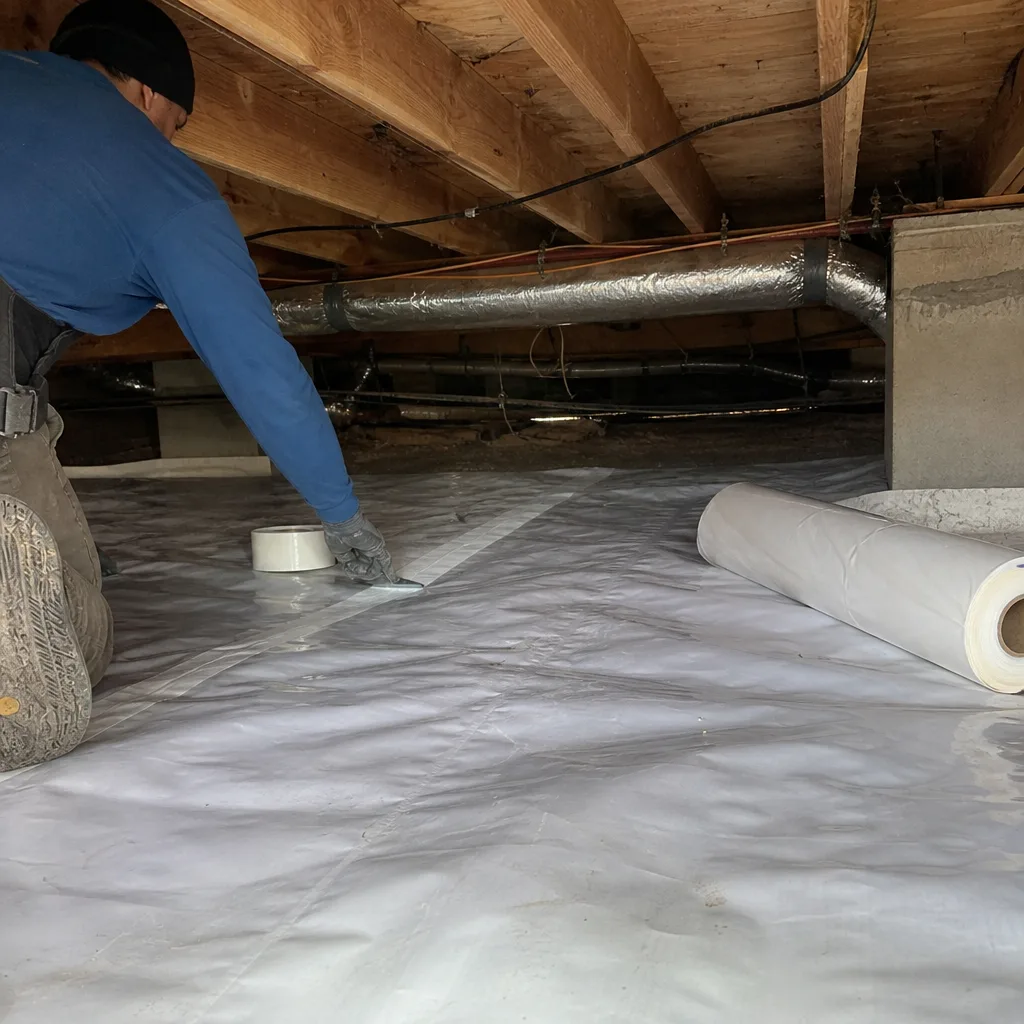
In our experience working crawl spaces across North Las Vegas, the same five points fail over and over. If you’re troubleshooting one problem, check all five – a barrier that’s failing in one place is usually stressed in the others too. Here they are, ordered by how often we find them:
- Pipe penetrations. Every plumbing, electrical, and HVAC line that passes through the liner is a potential gap. A penetration sealed with a wrapped boot or taped collar fails when tape releases from the round pipe or the boot pulls away from the liner. Inspect each one by hand: a correctly sealed penetration has no slack you can pinch at the pipe.
- Foundation vent covers. Even on a fully sealed crawl, vents get covered rather than filled. Insulated rigid covers taped to the foundation wall fail at the tape line, especially where the block is dusty or uneven. A vent cover that’s come loose lets outside air and dust back in and undoes the whole point of the encapsulation.
- Pest entry along the footer. Rodents and insects work the wall-to-footer joint. A gnawed hole at the liner’s footer attachment is common where the liner meets concrete – and it’s easy to miss because the eye is drawn to the middle of the crawl floor.
- Condensate drain line termination. An air conditioning condensate line that dumps inside the crawl space is a moisture source the barrier can’t fix. In North Las Vegas, where the cooling season runs long, a misrouted condensate line can put a surprising volume of water under the liner. That water then wicks back up through the liner, and the barrier gets blamed for a drainage problem.
- Wall-to-floor liner transitions. This is where the wall liner meets the floor liner at the base of the foundation. The transition is a continuous joint that takes thermal cycling stress from the floor. When the transition seal fails, it does so along its length, not at one spot, so it’s the most common place to find widespread separation.
We covered the anatomy of a properly built crawl liner on our Crawl Space Encapsulation & Vapor Barrier in North Las Vegas page if you want to see what each of these points should look like when it’s done right.
Using a Digital Hygrometer to Get a Baseline Reading
Before you decide whether your barrier is failing, get a number. A digital hygrometer – a $20 device that logs temperature and relative humidity – placed inside the crawl space for 48 hours will tell you whether moisture is under control or not. Set it in the center of the crawl, at mid-height, not touching the liner or the joists. Log the full 48 hours, including the hottest part of the afternoon and the coolest hour after midnight, because relative humidity swings with temperature.
How to read the numbers:
- Under 55% relative humidity through the full 48-hour cycle: the barrier is performing. If you’re seeing moisture elsewhere, the source is likely a plumbing or condensate leak, not the liner.
- 55-60% with peaks higher: borderline. Inspect seams and penetrations before assuming the barrier is fine.
- Above 60% on a sustained basis: barrier failure is the likely cause. The vapor barrier isn’t keeping ground moisture out, or outside air is getting in through a vent cover or pest opening.
- Above 70%, or readings climbing through the 48-hour window: active moisture problem. Could be a failed barrier, a wet leak, or both. Stop and find the source before adding equipment.
One caveat: a single 48-hour reading in July reads different from the same reading in January. Record the date and outdoor conditions alongside the number, and repeat the test in a different season if the first reading is borderline. A crawl space near a wash or on the lower side of a graded lot will read higher than a dry one even with a healthy barrier.
Repairable Failure vs. a Reinstallation Trigger
Not every failure means a new liner. Most seam separation and isolated punctures are a few-hour repair. The decision comes down to the type and extent of the damage. Here’s the line we draw:
Repairable – patch or reseal:
- Seam separation on a single taped joint, even if it runs several feet
- An isolated puncture from a dropped tool, a pipe fitting, or a single rodent entry
- One loose vent cover or one failed pipe penetration collar
- A lifted corner at a wall-to-floor transition, repaired with a new continuous seal and a patch strip
Reinstallation trigger:
- Widespread delamination – the liner material itself is separating or breaking down across multiple sheets, not just at the tape
- Pest contamination of the barrier material – the liner has been chewed through and fouled across more than a small area, or nesting material is embedded in the liner
- Standing water under the liner that hasn’t been traced to a fixable source
- More than a handful of failure points, or a barrier with a failed moisture reading above 70% after every repair you’ve made
One more reason reinstall often wins on a badly failed barrier: 20-mil liner that’s been torn and patched repeatedly loses its vapor-tightness across the whole field, not just at the repairs. You can chase patch after patch and keep reading 65% on the hygrometer. At that point, new liner is the cheaper path long-term.
When a Dehumidifier Is the Fix vs. When It’s Masking a Barrier Problem
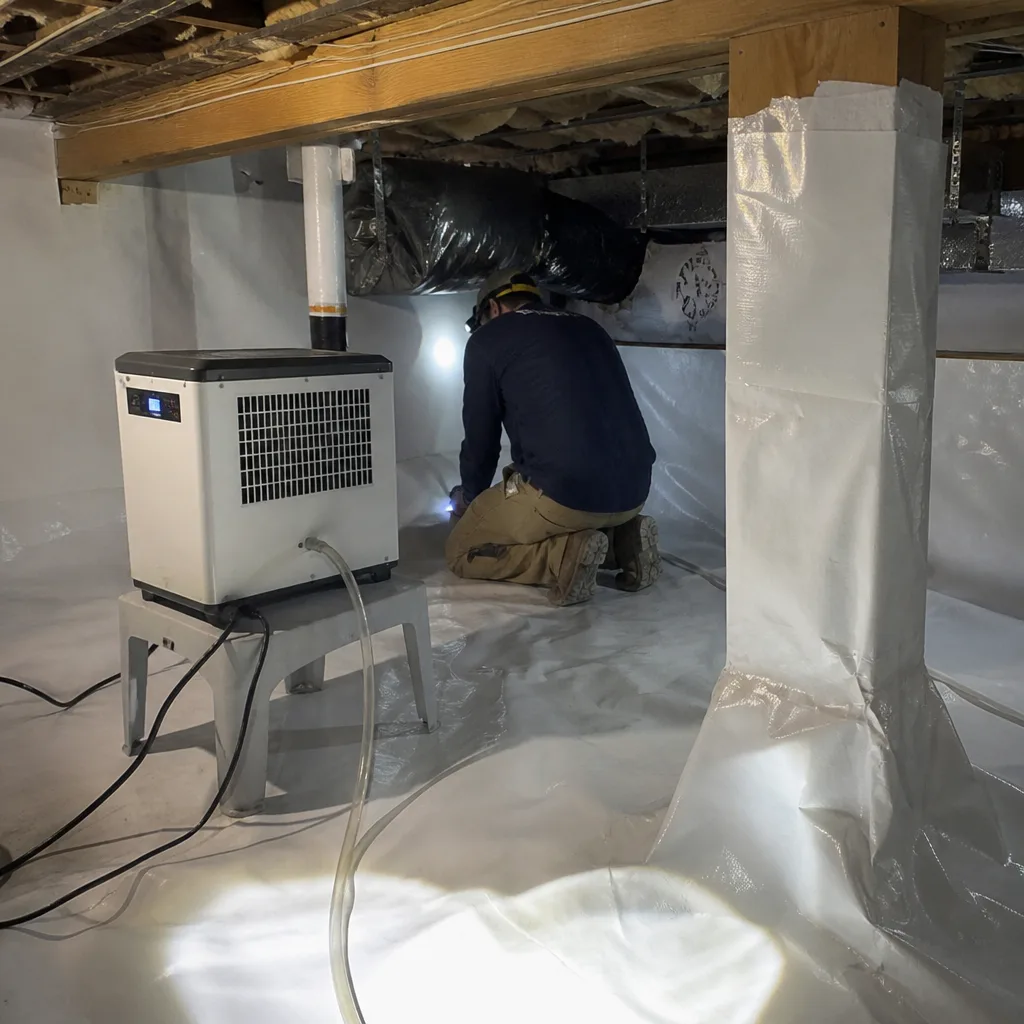
A crawl space dehumidifier is the right tool when barrier performance is verified. It’s the wrong tool when it’s standing in for a repair. The distinction matters because a dehumidifier that’s compensating for a failed barrier runs continuously and still leaves the subfloor framing at risk – you’re paying to remove moisture that shouldn’t have been getting in.
Here’s how to decide:
- Run the 48-hour hygrometer test first. If you’re above 60% with an intact barrier (no lifted seams, no loose penetrations, no pest openings), a correctly sized dehumidifier can bring the space into range.
- Repair any barrier failure you found, then re-test. If the reading drops below 55% on its own, the dehumidifier was never needed.
- If the reading stays above 55-60% after repairs and the barrier is verified sound, a dehumidifier is the legitimate fix. Size it to the crawl volume, slope the drain to a legal termination, and don’t let the discharge line run back inside the liner.
- If the dehumidifier runs continuously and the crawl still reads high, stop. The barrier or a moisture source is the problem, and the dehumidifier is hiding it.
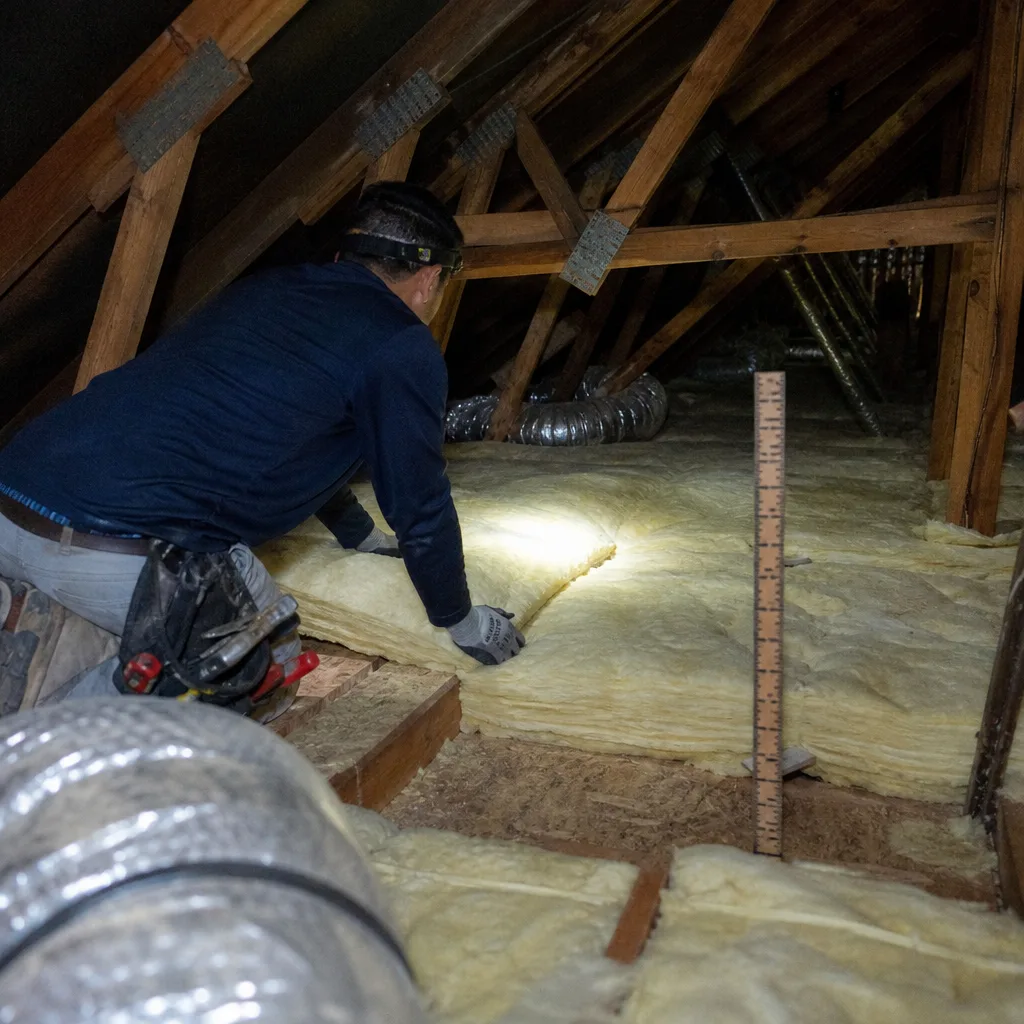
Air sealing also belongs in this conversation. A crawl space that’s connected to the house above through unsealed penetrations will pull moist air into the home no matter how good the liner is. If you’re already addressing the crawl, our Attic Insulation in North Las Vegas team often handles the upper side of the same envelope, because the two interact.
How North Las Vegas Climate Stresses a Vapor Barrier
North Las Vegas gets most of its annual moisture in a short, intense summer monsoon window – storms that dump a lot of water in a short time, then a return to dry heat. That pattern is hard on crawl space liners. The big swings drive thermal cycling on the frame, which is what pulls tape seams apart over time. And a monsoon storm that finds any exterior opening – a loose vent cover, a failed footer seal – moves more water in a few hours than a steady rain would in a week.
The heat matters too. Crawl spaces in North Las Vegas can get quite warm in summer, which raises the moisture-carrying capacity of any air that leaks in. A small gap that would be harmless in a mild climate lets warm moist air into the crawl all summer here. Older homes in neighborhoods like the ones off Cheyenne and the areas near Craig Ranch sit on soil that retains water differently after a storm than the newer builds further north. If you’re in one of these areas and your barrier is more than a few years old, plan on an annual seam inspection before monsoon season, not after. We see this climate pattern across our Envelope Insulation North Las Vegas home work as well.
A Homeowner’s Inspection Schedule That Actually Works
A schedule beats a guess. Here’s the inspection cadence we recommend to homeowners in North Las Vegas who want their encapsulation to hold its rated performance:
- Once a year, in early spring – before monsoon season. Run the full seam inspection with a flashlight and straight edge, check all five failure points, and record the findings with photos and dates.
- After any significant storm – a walk-through for standing water, lifted vent covers, and fresh pest openings along the footer.
- Immediately if you notice a symptom – a musty smell rising into the house, a soft spot in the flooring, or condensation on the subfloor or floor joists. Don’t wait for the annual pass.
- Any time you or a contractor works in the crawl – check that the work didn’t create a new puncture or lift a seam.
Keep a simple log: date, hygrometer reading, seams checked, failures found, repairs made. That log is what tells you whether the barrier is holding or slowly degrading – and it’s what you show a technician if you ever call one. A written record beats memory every time.
Common Mistakes to Avoid
- Patching a lifted corner and calling the seam fixed. A seam that’s lifting at one end is usually separating along the whole run. Patch the full length or it will lift again at the next thermal cycle.
- Skipping the hygrometer test and going straight to a dehumidifier. Without a baseline number you’re guessing, and you’ll often be paying to mask a barrier failure instead of fixing it.
- Ignoring the condensate line. An AC drain that terminates inside the crawl space is a moisture source the liner can’t fix. Route it outside or to a legal drain termination first.
- Assuming sealed vents stay sealed. Vent covers in North Las Vegas take a lot of heat and sun on the exterior side. Check them every spring.
- Confusing a wet spot under the liner with a barrier failure. Water under the liner is a drainage or leak problem. The barrier is doing its job if the wet is below it and dry above.
- Letting a small pest opening turn into a barrier tear. A 2-inch gnawed hole becomes a chewed seam if the rodent keeps working. Seal it the same day you find it.
When to Call a Professional
Many repairs are a homeowner job – taping a lifted seam, resecuring a vent cover, sealing a pipe collar. Call a professional when the failure is at a structural point (the footer wall or the wall-to-floor transition), when sustained hygrometer readings above 60% persist after your repairs, when pest contamination of the liner is more than a small area, or when you’re seeing any softness in flooring or condensation on the subfloor. Those are signs the barrier has been failing long enough to reach the framing, and they deserve a trained eye. Envelope Insulation North Las Vegas offers free estimates in North Las Vegas, and every job comes with a written price before any work starts. Call (833) 630-4008.
Frequently Asked Questions
The clearest sign is a 48-hour hygrometer reading above 60% relative humidity inside the crawl space, combined with a visual pass finding lifted tape seams, loose vent covers, or pest openings. Musty smells rising into the house and condensation on the subfloor are secondary signs. Call (833) 630-4008 for an exact assessment – estimates are free.
The wall-to-floor liner transition is the most common failure point, because that long joint takes the most thermal cycling stress from the floor above. It fails along its length rather than at one spot. Pipe penetrations and vent covers are a close second.
Yes, for an isolated puncture or a single lifted seam. You’ll need a compatible tape or a patch strip laid over the full failed run, and you should re-test with a hygrometer afterward to confirm the repair worked. Failures at the footer wall, the wall-to-floor transition, or after persistent high readings deserve a professional look.
A dehumidifier is worth it only after the barrier is verified sound. If you install one to compensate for a failed barrier, it runs continuously and still leaves the framing at risk. Fix the barrier first, then re-test, and only add a dehumidifier if readings stay above 55-60%.
Inspect once a year in early spring, before monsoon season, plus a walk-through after any significant storm. Add an inspection any time you notice a musty smell, a soft floor spot, or condensation on the subfloor. Log each inspection with the date and hygrometer reading.
A properly sealed crawl space should hold below 55% relative humidity through a full 48-hour cycle, including the hottest afternoon and the coolest early-morning hours. Sustained readings above 60% indicate the barrier is not performing and needs inspection.
The Bottom Line
Most crawl space encapsulation failures are found by their symptoms years before anyone sees the damage, and almost all of them start at five predictable points. Inspect seams with a flashlight and straight edge. Test the crawl with a 48-hour hygrometer reading. Repair what’s isolated, reinstall what’s widespread, and only add a dehumidifier once the barrier is verified. If you’re in North Las Vegas and want a trained set of eyes on the problem, Envelope Insulation North Las Vegas will give you a written price before any work starts and a documented photo record when we’re done. Call (833) 630-4008 for a free estimate.
Written by the team at Envelope Insulation North Las Vegas.