
Last updated November 18, 2026
Attic Insulation Maintenance Checklist for North Las Vegas Homeowners
Blown fiberglass settles roughly 15 to 20% in the first three years after installation. In a North Las Vegas attic that started at R-38, that settlement alone can drop real performance to about R-32 – and you won’t see a thing wrong from the access hatch. The insulation is still there. It’s just not doing the job you paid for. This guide is built to fix that blind spot. Instead of telling you to “check for damage,” it tells you exactly what to measure, where to measure it, what to photograph, and which numbers tell you whether your insulation is still performing or simply present.
Quick Answer
To maintain attic insulation in North Las Vegas, measure installed depth with a ruler at six fixed zones once a year, photograph each reading with a date stamp, and inspect in October or November when attic temperatures drop below 90°F. Compare your measurements against the original R-value target: settlement of 15% or more, visible pest tunneling, or compressed batts mean it’s time to add material or restart – and if depth looks right but the house still runs hot, the real problem is air sealing, not insulation.
Table of Contents
- Why North Las Vegas Attics Fail Differently
- How to Measure Installed Depth at Six Zones
- Reading the Visual Signals: Settlement vs. Compression vs. Pests
- What to Photograph and Date-Stamp Every Year
- The October-November Maintenance Window
- Threshold Numbers: Add, Remove, or Seal First
- Common Mistakes to Avoid
- When to Call a Professional
Why North Las Vegas Attics Fail Differently
Most attic insulation advice is written for climates with cold winters and steady humidity. North Las Vegas isn’t that. Our summers push attic air well past 140°F, our winters swing cold at night, and the desert air is dry enough that moisture problems usually come from the inside of the house – shower steam, cooking, laundry – not from outside. That combination changes which failures dominate.
Two failure modes account for most of the lost performance we see in North Las Vegas attics:
- Settled blown insulation. Loose-fill fiberglass and cellulose both settle. Fiberglass loses volume faster, and three summers of thermal cycling accelerates it. A home that was topped to R-38 in 2019 may be sitting at R-32 today.
- Pest-driven compression. Roof rats and desert rodents tunnel through loose fill, pack it down along their runs, and leave voids where air moves freely. Packed insulation has almost no R-value. This is common in older neighborhoods near open desert and drainage channels.
A third issue – thermal-bypass displacement – gets missed because it looks like nothing’s wrong. Insulation gets blown aside by air rushing up through an unsealed top plate or recessed light, leaving a bare patch that faces the ceiling below. The depth at the hatch looks fine. The performance at that one spot is zero. That’s why single-spot measurement fails, and why this checklist is built around multiple zones.
None of this shows up on a utility bill as a single obvious line item. It shows up as a house that runs the AC longer each July than it did the July before. North Las Vegas homeowners in Aliante, Eldorado, and the older tracts near Civic Center Drive tend to notice it first as a second-floor room that won’t cool.
How to Measure Installed Depth at Six Zones
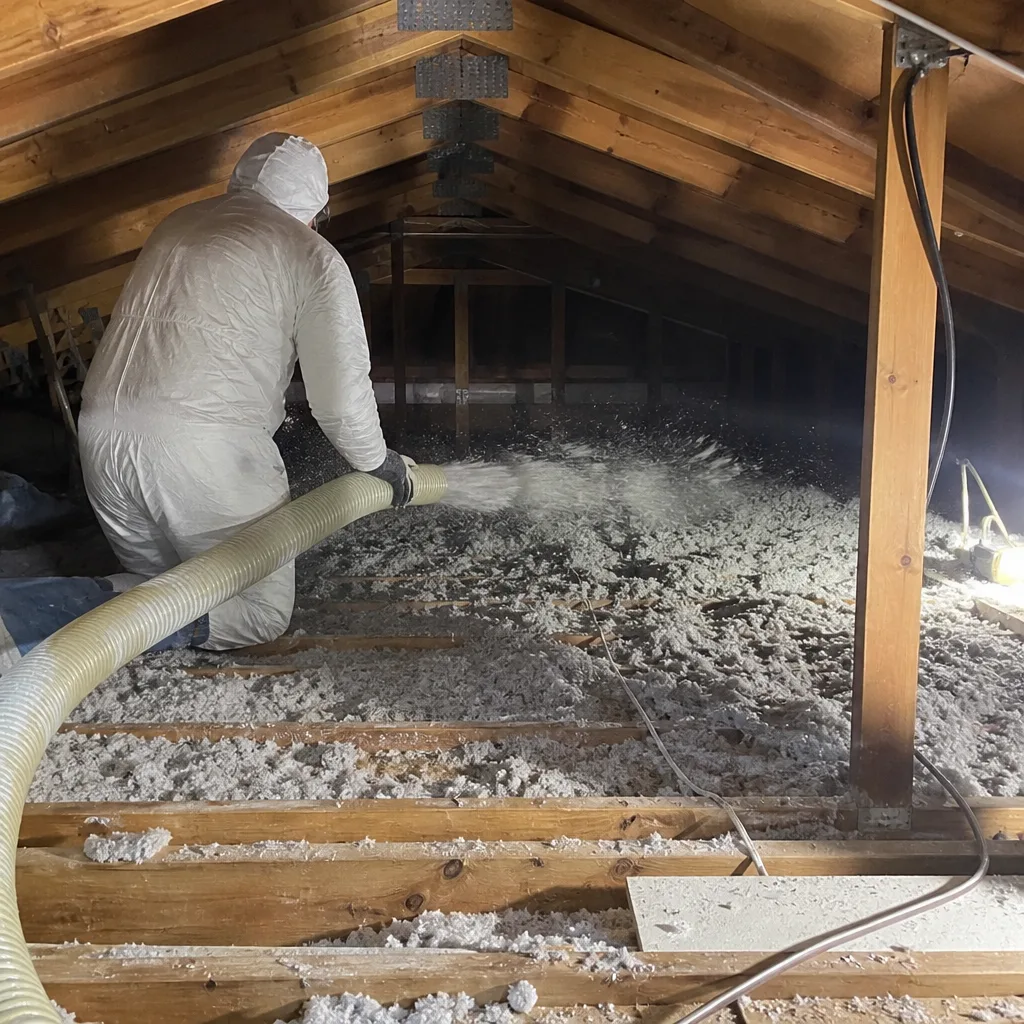
You need three things: a stiff ruler marked in inches (a wooden yardstick works), a notebook or phone for recording, and a flashlight. Wear long sleeves, gloves, and a respirator rated for fiberglass. Never walk on the ceiling drywall between joists – step only on joists or a laid board, or you’ll go through the ceiling.
Measure at all six zones, not just the middle. Each one tells you something different:
- Ridge (the center peak). Often the deepest point and the least disturbed. Use it as your baseline reference for the original install depth.
- Mid-span (halfway down each slope). Where settlement shows most clearly, because gravity and traffic both act here. Take two readings, one on each side.
- Eave baffles (where the roof meets the top plate). Insulation here must stay clear of the baffle vent so air can move. If fill has spilled over and blocked the vent, you have a ventilation problem and an insulation problem at once.
- Hatch perimeter. The most-compressed zone in most attics. Every time someone climbs in, they step on the edges. Measure just inside the frame on all four sides.
- HVAC platform and duct runs. Insulation gets swept away around equipment. Look for bare ceiling deck next to the air handler and along flex duct.
- Recessed light clusters. These are thermal bypasses. If the fill is thin or pushed back around the cans, you’re losing heat straight up through them in summer.
Write down all six readings in inches, plus the date. If you don’t know the R-value target for your ceiling assembly, a North Las Vegas attic built to modern code targets roughly R-38 to R-49; older homes may have been built to less. Depth converts to R-value by material (blown fiberglass runs roughly R-2.2 to R-2.5 per inch, cellulose about R-3.2 to R-3.8), so a reading of 13 inches of fiberglass is around R-29 to R-32 – short of where you want to be.
Reading the Visual Signals: Settlement vs. Compression vs. Pests
Depth tells you how much material is there. The visual inspection tells you why it’s low and whether adding more will actually help. Here’s how to tell the failures apart:
- Normal settlement: the fill is level and even, just lower than it used to be. Texture is uniform. No bare patches, no tunnels. This is the good news case – you can usually top it up.
- Moisture compression: clumped, matted, or crusted material, often with dark staining or a musty smell. In North Las Vegas, this usually points to an interior moisture source venting into the attic or a roof leak, not desert humidity. Fix the source before you add anything.
- Pest tunneling: visible runways, droppings, flattened channels, or chewed vapor barrier. Insulation is packed solid along the runs. You’ll often see this along the outer walls and near the hatch.
- Thermal-bypass displacement: clean bare spots on the ceiling deck with insulation pushed to either side, usually beside recessed lights, top plates, or plumbing penetrations. This is an air-sealing problem dressed up as an insulation problem.
This is the distinction that matters most. If you find displacement rather than settlement, blowing more insulation on top of it will not fix it – the air will keep washing the new material aside. Sealed first, then insulated, in that order. That’s the sequence we hold to on every job, and it’s the reason a depth chart alone can’t tell you what to do. If you want the full picture on what proper attic insulation work looks like, see our guide to attic insulation in North Las Vegas.
What to Photograph and Date-Stamp Every Year
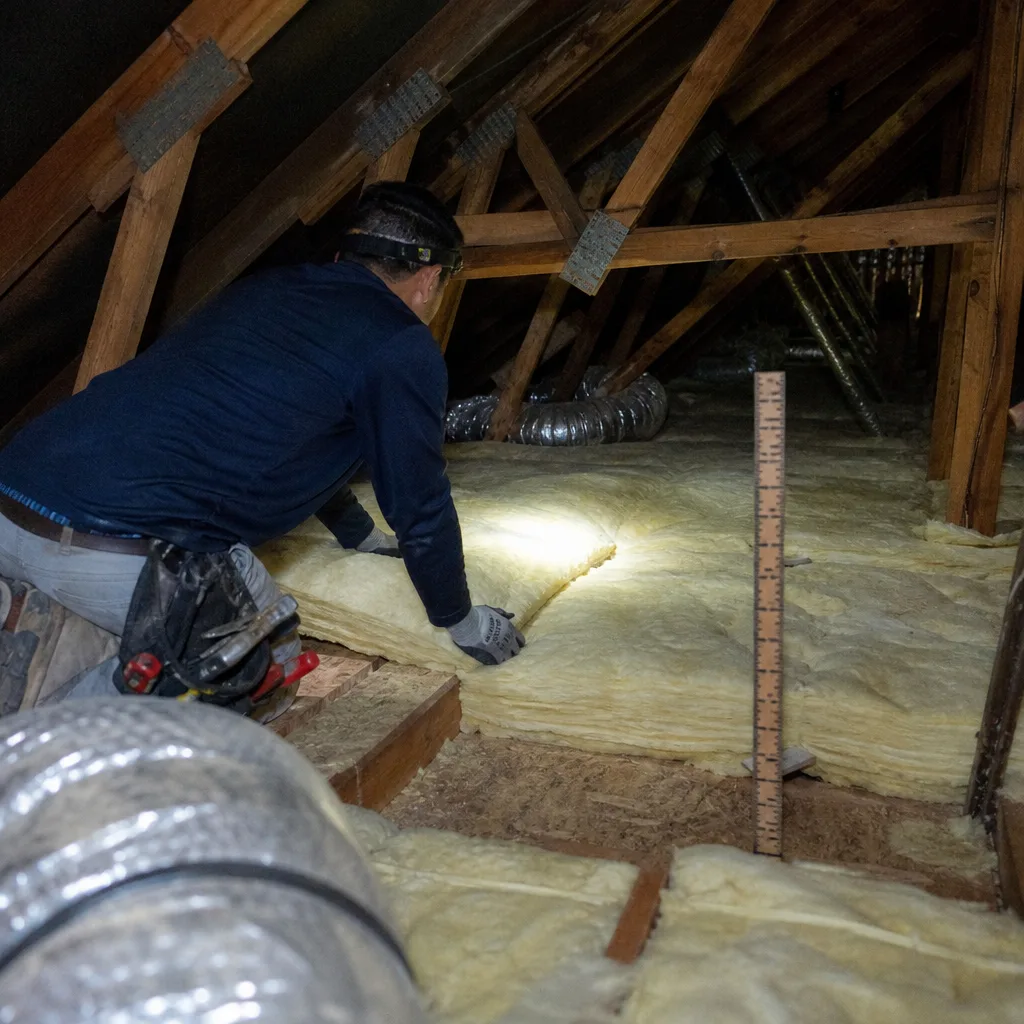
An annual photo record is the single most useful thing you can keep, because it settles the “was this pre-existing?” argument before it starts. When a future contractor (or a buyer, if you sell) disputes the condition of your attic, your dated photos are the answer.
Photograph these, in this order, once a year:
- The depth ruler in each of the six zones, with the reading legible in the frame.
- A wide shot of the full attic from the hatch, showing overall fill level.
- Any bare patches, tunnels, or staining – close up, plus one wider shot for context.
- The recessed light clusters and the HVAC platform.
- The eave baffles, to show they’re clear.
- The access hatch insulation and gasket, which is a common air leak.
Date-stamp every photo using your phone’s settings so the timestamp is embedded in the file. Then store them in one folder, named by year. That single habit is worth more than any verbal memory of how the attic “used to look.” When we do a job, we publish a Documented Photo Record and, on applicable jobs, before-and-after blower-door readings – a pressurization measurement that shows in one number how much conditioned air the envelope was losing before and after the work – so the homeowner walks away with the same evidence. Your annual photos do the same thing for you between professional visits.
If you’re comparing a written estimate from any contractor, our Envelope Insulation North Las Vegas home page explains how we handle pricing and documentation. Bring us a competing quote and we’ll read it with you at no charge.
The October-November Maintenance Window
Timing this inspection matters in North Las Vegas. Attic temperatures are physically dangerous from roughly May through September. Interior attic air routinely climbs above 140°F, and a quick climb-up can cause heat illness before you realize how hot it is. October and November are when attic temperatures drop below 90°F and a full inspection becomes reasonably safe.
That same window has a practical advantage: it’s before the heating season and after the cooling season, so you’re addressing the summer’s damage ahead of winter and ahead of the spring pest season. It’s also the point where a North Las Vegas homeowner can reasonably plan work – not July, when you’re trying to solve a problem in the middle of it.
A few ground rules for the inspection itself:
- Go up in the morning, not afternoon, even in October.
- Take water and tell someone you’re going into the attic.
- Wear a respirator, gloves, and eye protection – fiberglass dust is a real irritant.
- Step only on joists or a laid board; ceiling drywall won’t hold your weight.
- If you see significant pest activity, wiring damage, or a strong musty smell, come down and call a professional.
The inspection is a look-and-measure job, not a repair job. That distinction matters for safety and for the quality of what you record.
Threshold Numbers: Add, Remove, or Seal First
Once you have your six depth readings and your photos, use these thresholds to decide what to do next:
- Add material: your measurements show 15% or more settlement from the original depth, the fill is clean and evenly settled, and there’s no moisture or pest damage. Topping up to the target R-value restores performance. This is the most common outcome for a North Las Vegas attic that was properly installed.
- Remove and restart: the insulation is matted, contaminated, or tunneled by pests, or it’s been compressed by moisture. You can’t blow clean material over a compromised base and expect a result. Removal, air sealing, and re-install is the right sequence here.
- Seal first: depth measures fine but the house still runs hot, or you find bypass displacement at lights and top plates. This is an air-sealing failure, not an insulation failure. More insulation over an unsealed attic floor just filters the air you’re already losing. The fix is sealing top plates, can lights, and penetrations, then insulating.
If you’re weighing a bigger project, our spray foam insulation in North Las Vegas guide covers when foam makes more sense than loose fill.
The cleanest way to know which of these you’re facing is a blower-door test. It reads in CFM50 – cubic feet per minute at 50 pascals of pressure – and one number before and after tells you whether the envelope improved. A house that reads high and barely moves after insulation has an air-sealing problem, and that’s exactly what the number exposes. This is why we treat air sealing as a hard prerequisite, not an upsell: we won’t blow insulation over an unsealed attic floor.
Common Mistakes to Avoid
- Measuring only the middle of the attic. The ridge is usually the deepest, undisturbed zone, so a single central reading overstates how much is really there. Measure all six zones.
- Blowing insulation over unsealed penetrations. Adding fill over an open top plate or recessed can leaves the air leak in place and wastes material. Seal first, always.
- Ignoring the hatch. An uninsulated, unsealed attic hatch is a direct hole in your envelope, and it’s often the first thing new North Las Vegas homeowners forget. Check the gasket and the insulation on the hatch itself.
- Assuming low depth means add more. If you see matting, staining, or tunneling, adding material over the problem doesn’t fix it. Remove and restart.
- Inspecting in summer. An afternoon July inspection in North Las Vegas is a heat-illness risk. Wait for October-November.
- Skipping the photo record. Without dated photos, a future contractor can’t tell settlement from a pre-existing defect, and neither can you. Photograph and date-stamp every year.
- Blocking the eave baffles when topping up. Fill blown into the baffle chokes roof ventilation. Keep the path clear.
When to Call a Professional
This checklist is built so you can do the measuring and the record-keeping yourself. Call a professional when the inspection turns up any of the following: pest tunneling or droppings, moisture staining or a musty smell, visible displacement at the recessed lights or top plates, or a depth reading that suggests a removal job rather than a top-up. Call if the house still runs hot after you’ve confirmed depth is right – that points to air sealing, which is not a homeowner job. And call if you’re uncomfortable going into the attic at all, or if wiring or HVAC equipment looks disturbed.
Envelope Insulation North Las Vegas offers free estimates in North Las Vegas – call (833) 630-4008. Every job comes with a Written Price Before Any Work Starts, a free second opinion on any competing written estimate, and a Documented Photo Record when the crew leaves. We won’t start until the air sealing is done and the price is in writing.
Frequently Asked Questions
Once a year, in October or November, when attic temperatures drop below 90°F and inspection is safe. That annual cadence catches settlement before it costs you a full summer of higher cooling bills, and it keeps your dated photo record current.
Modern code targets roughly R-38 to R-49 for a ceiling, which is about 15 to 20 inches of blown fiberglass or 10 to 12 inches of cellulose. Measure at six zones and compare – a reading of 13 inches of fiberglass is around R-29 to R-32, below target. If you’re unsure what your attic needs, call (833) 630-4008 for a free estimate with a written price.
Because blown fiberglass and cellulose settle – fiberglass can lose 15 to 20% of its volume in the first three years. In North Las Vegas, three summers of thermal cycling speed that up, and a home topped to R-38 can drop to around R-32 with no visible damage from the hatch.
Topping up is usually cheaper than removal and re-install when the fill is clean and evenly settled. If you find pest tunneling, matting, or moisture staining, removal and restart is the correct path because new material over a compromised base won’t perform. Ask for a written price for both options, then call (833) 630-4008 to walk through them with a free second opinion.
Yes. Roof rats and desert rodents tunnel through loose fill, pack it down along their runs, and leave voids where air moves freely. Packed insulation has almost no R-value – so what looks like low depth may actually be pest compression. If you see tunnels or droppings, call a professional for removal.
Because the problem is likely air sealing, not insulation. Unsealed top plates, recessed lights, and penetrations let conditioned air escape straight up, and no amount of insulation on top will stop it. A blower-door test can confirm it: one reading shows how much air your envelope is losing.
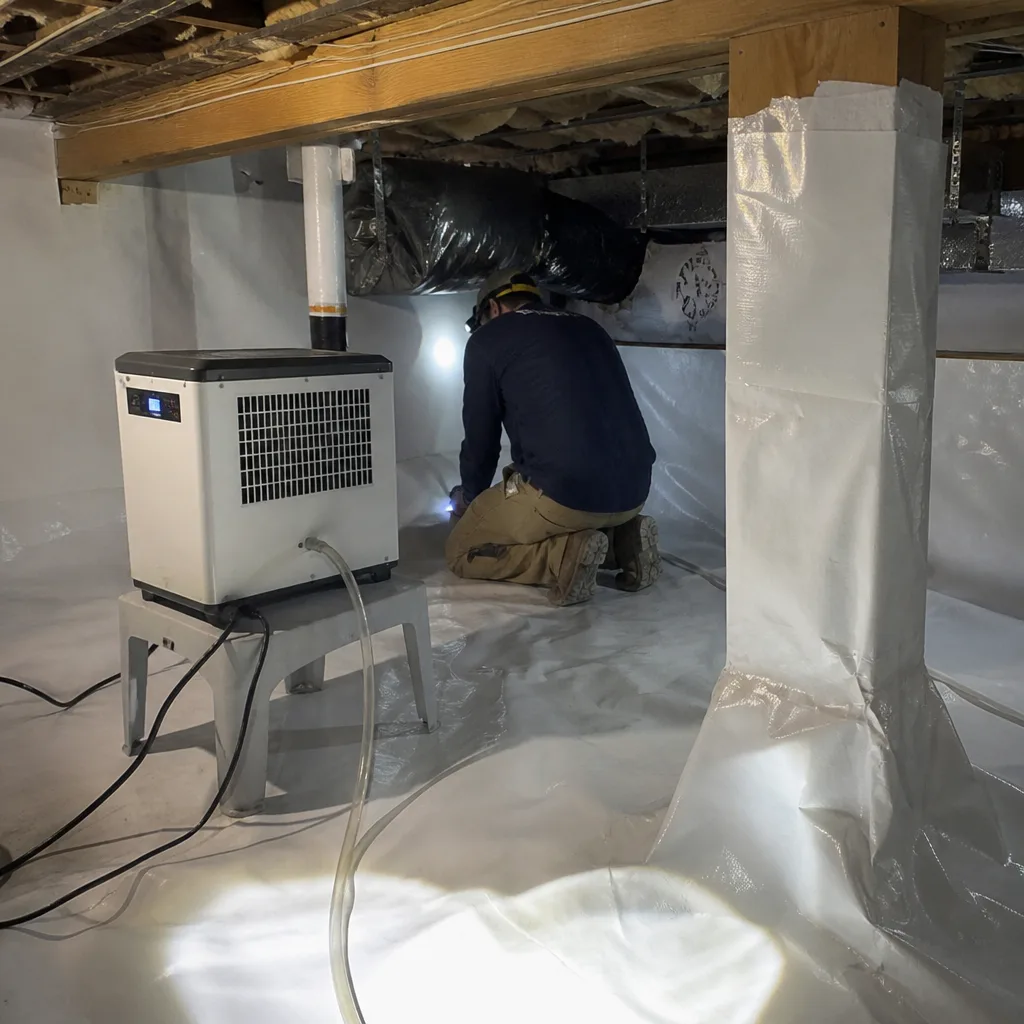
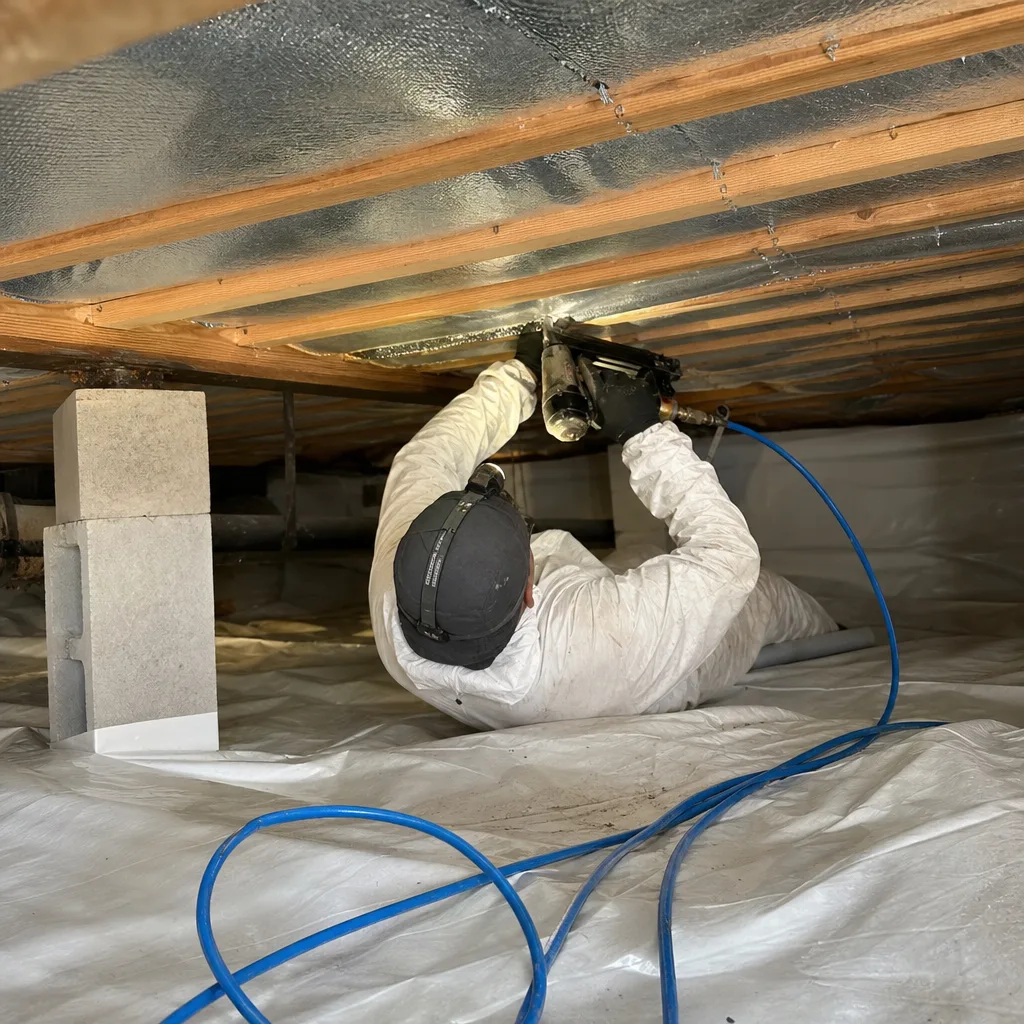
If your attic sits over an unconditioned crawl space or you’re also chasing moisture at the ground level, our crawl space encapsulation and vapor barrier in North Las Vegas guide covers how the lower half of the envelope ties into the upper.
The Bottom Line
Attic insulation in North Las Vegas fails in two ways that a single glance never reveals: settlement after the first three summers, and pest-driven compression. Measure installed depth at all six zones, photograph and date-stamp every reading each October or November, and use the thresholds to decide whether to top up, remove and restart, or seal first. If depth looks right and the house still runs hot, the problem is air sealing – and that’s the moment to bring in a professional. Sealed first, then insulated, with a written price before any work starts and a documented record when it’s done.
Envelope Insulation North Las Vegas provides a free estimate, a written price before any work starts, and a free second opinion on any competing written estimate. Call (833) 630-4008 to get yours.
Written by the team at Envelope Insulation North Las Vegas.