
Last updated November 18, 2026
DIY vs Professional Radiant Barrier Installation: What’s Safe to Do Yourself
Radiant barrier foil costs $0.10 to $0.18 per square foot. That number is real, and it’s the reason so many North Las Vegas homeowners open a browser at 9 p.m. and start pricing rolls. The professional installation markup over that material cost is real, too. But here’s the part most DIY guides won’t tell you: the gap between a correctly installed barrier and one stapled face-down against the roof deck is the difference between a 25°F attic temperature reduction and a barrier that does measurably nothing. This guide covers which radiant barrier work a competent homeowner can safely do, which work genuinely requires a professional, and the two physics decisions that determine whether the install works at all.
Quick Answer
Stapling radiant barrier foil to the underside of accessible rafters in a single-story home with consistent rafter spacing, no HVAC equipment in the attic, and no insulation to move is a legitimate DIY project. It stops being a DIY project the moment your attic has ductwork, complex hip-roof framing, knee walls, or existing insulation that must be displaced to achieve a proper air gap. The single most important rule: the reflective surface must face an air gap of at least ¾ inch, never pressed directly against insulation or decking.
Table of Contents
- The Orientation Rule That Decides Everything
- What’s Genuinely Safe to Do Yourself
- What Makes It a Professional Job
- How Air Gap Verification Actually Works
- North Las Vegas Safety: Attic Heat and Timing
- What Professional Installation Includes That DIY Can’t Self-Verify
- DIY vs Professional: Real Cost Comparison
- Common Mistakes to Avoid
- When to Call a Professional
The Orientation Rule That Decides Everything
A radiant barrier does not work by absorbing heat. It works by reflecting thermal radiation back across an air gap, which is why the foil’s shiny side has to face empty space. The physics are the same whether you paid $0.12 a square foot or a professional charged you $1.50. What changes is whether you follow the rule.
Here is the rule with no ambiguity:
- Face-down installation (foil under the rafters, shiny side pointing down into the attic): the reflective surface must have air below it. This is the most common orientation and the one most homes are set up for.
- Face-up installation (foil laid over the top of existing insulation, shiny side pointing up): the reflective surface must have air above it, which means the barrier cannot be in contact with the roof deck. You need clear space between the foil and the decking.
- Face-down against insulation with no air gap: this is non-functional. The foil is in contact with a solid surface, so it has nothing to reflect back toward. It becomes a very expensive sheet of foil.
We’ve seen this error more than any other in North Las Vegas attics: a homeowner follows a YouTube video that skipped the orientation explanation, staples the foil shiny-side-down directly over the existing blown insulation, and then can’t understand why the attic is still 140°F in July. The material didn’t fail. The installation physics were never set up to work.
If your attic already has attic insulation in North Las Vegas in place, you’re in the second configuration: the barrier goes over the top of the insulation, shiny-side-up, and you need clear air above the foil. That requires either a raised rafter system or careful installation that maintains the gap without compressing the insulation below it.
What’s Genuinely Safe to Do Yourself
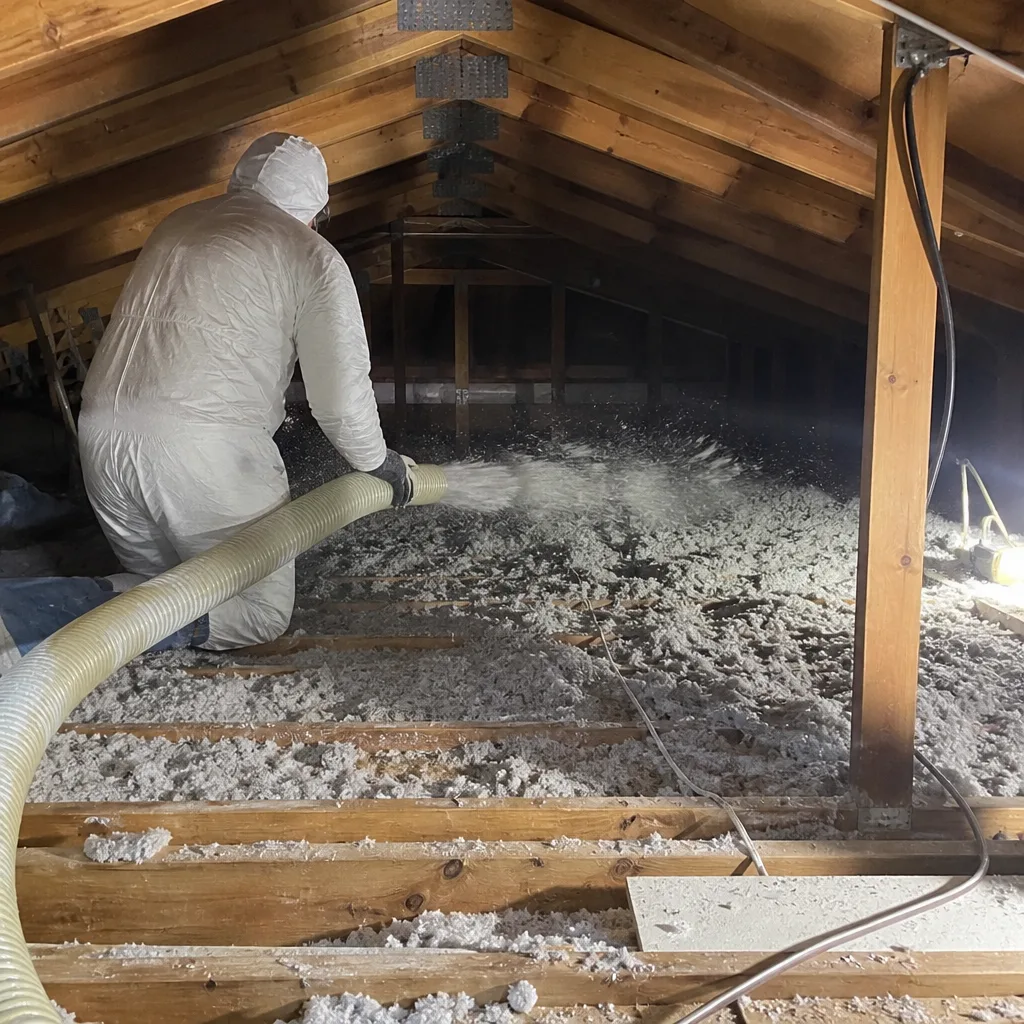
We’re not going to tell you every radiant barrier job requires a professional. That would be dishonest, and it would waste your time. Here’s the honest profile of a DIY-appropriate install:
- Single-story home with an accessible attic you can get into and move around in without crawling over HVAC equipment or ductwork.
- Consistent rafter spacing (typically 16 or 24 inches on center) so your foil rolls can be cut to a repeating width and stapled with predictable rhythm.
- No existing insulation to move. If you’re installing face-down under the rafters with the existing insulation staying where it is on the attic floor, you’re in DIY territory.
- No HVAC equipment, ductwork, or plumbing runs in the path of the foil. Ductwork has to be sealed and insulated around; rerouting or sealing it is not a foil-stapling job.
- Gable roof with straight runs. Gable-roof attics have predictable geometry. Hip roofs, dormers, and complex framing are a different story.
- You can work in a respirator and long sleeves in a 110°F-aired attic for the length of the job. Foil edges are sharp and the material is light enough to move, but the attic environment is the real constraint. More on heat timing below.
The product itself is forgiving. Radiant barrier foil is light, staples fast, and tolerates minor wrinkles without losing effectiveness. If you have a straightforward single-story attic in the Aliante or Eldorado areas of North Las Vegas, the same attic geometry that makes the house easy to cool also makes the foil install relatively forgiving.
What Makes It a Professional Job
Here’s where DIY stops being a good idea. None of these are about the difficulty of stapling foil. All of them are about decisions a homeowner without training can’t reliably make:
- HVAC equipment and ductwork in the attic. The barrier has to route around ducts without trapping air or contacting hot surfaces. Ducts also need sealing first or the barrier reflects heat back onto unsealed duct joints that are already leaking.
- Hip roofs and irregular rafter runs. Hip-roof framing has shorter, non-parallel rafters in the corners. Getting a proper continuous air gap across the whole run takes planning DIYers usually skip until the last bay, which then gets installed wrong.
- Homes where the barrier goes on top of existing insulation. Face-up installation requires specific orientation knowledge and, if the insulation is already compressed from foot traffic, decisions about whether it needs to come out first.
- Knee walls, vaulted ceilings, and attic-to-attic transition points. These are the areas where the air gap gets discontinuous and the barrier stops doing its job across a whole section.
- Insulation removal or replacement needed before the barrier goes in. Installing foil over failing fiberglass in North Las Vegas just traps old material in place and locks in the problem.
If your home falls into any of these categories, the barrier half of the job is the small half. The air sealing that has to happen under the barrier is the larger half, and getting that wrong costs more than it saves. See how air sealing fits into the rest of the envelope: Envelope Insulation home services in North Las Vegas.
How Air Gap Verification Actually Works
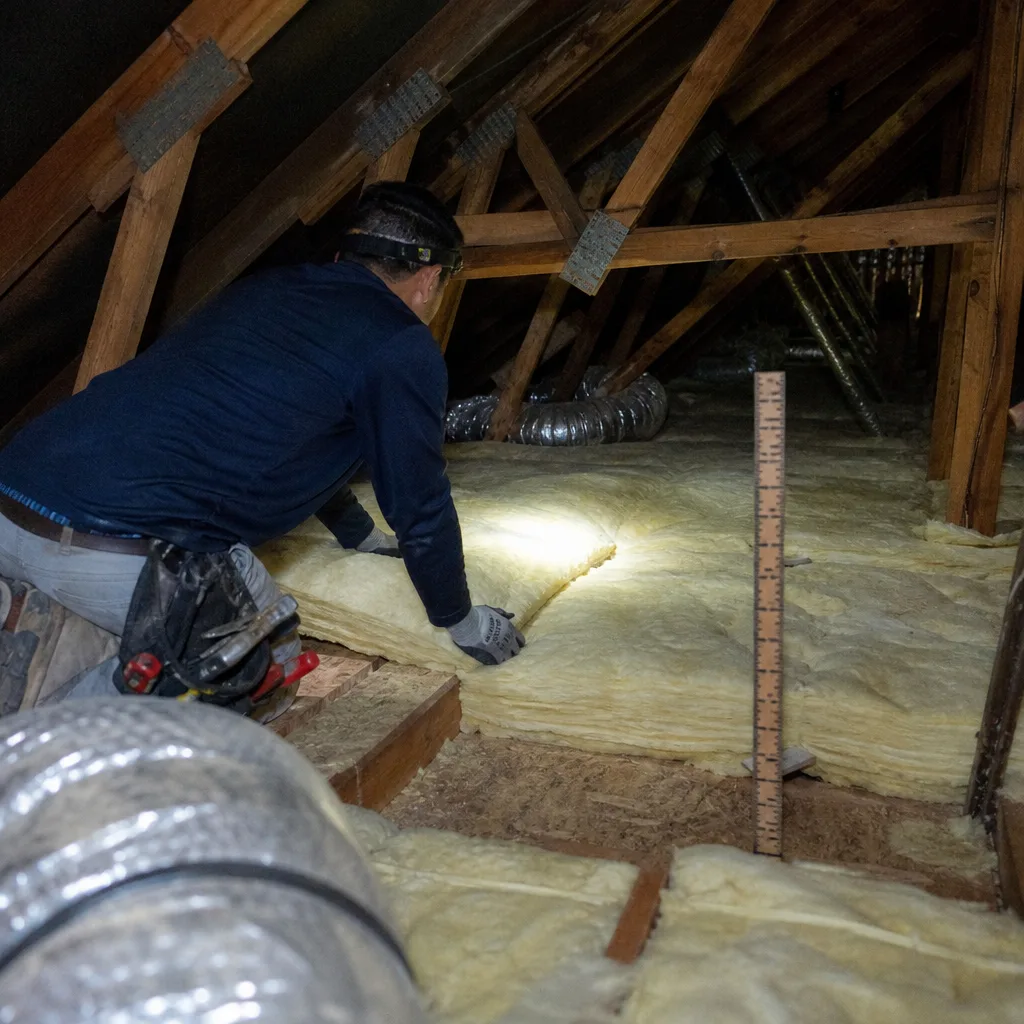
The ¾-inch air gap is not a recommendation. It’s the condition under which the foil functions. Foil pressed against anything solid has no gap to reflect across. And the gap has to be continuous across the entire barrier, not just at the edges.
Verification is simple to describe and harder to execute correctly:
- Pick three or more places in the attic where the barrier runs (rafter bays are the natural choices) and measure the clear space between the reflective surface and the nearest solid material with a tape measure.
- Record the measurement and the location. If any reading is under ¾ inch, the barrier is either not reflecting as designed or is compressed at that spot.
- Re-check corners and knee-wall transitions separately, because these are where the gap most often collapses to zero.
- Photograph the measurements. The photo record is how a homeowner confirms after the crew leaves that the work was actually done to spec.
When we install radiant barrier under the Haven Standard, this measurement is part of the documented record we leave behind. It’s also the piece of the install most DIYers never check. We’ve inspected North Las Vegas attics where the foil looked correct from the hatch but measured zero gap in three of twelve bays, meaning the homeowner paid for a barrier that was effectively decorative in a quarter of the attic. A tape measure and five minutes of checking resolves it.
North Las Vegas Safety: Attic Heat and Timing
Radiant barrier installation in North Las Vegas is an attic-heat job more than a technical job. Attic temperatures here regularly exceed 130°F from May through September, and interior attic air can reach 150°F in the midafternoon. At those temperatures, heat illness is not a theoretical risk. It’s a schedule item.
The practical windows in North Las Vegas are:
- Late March through mid-May, early morning (before 9 a.m.) or early evening (after 6 p.m.). Attic temps are usually manageable and the job can be done without heat stress.
- Late September through November, same time windows. This is the easier window for most homeowners.
- June through August, early morning only, and only with a second person checking on you every 20 minutes. A working cellular phone and water in the attic are not optional. If you can’t work in 130°F air with a respirator and long sleeves for 30-minute stretches, do not do the job in summer.
Foil edges cut skin easily and the material conducts heat, so long sleeves and gloves are real PPE here, not caution theatre. The other North Las Vegas-specific issue is wind: foil rolls are light enough to catch and tear in gusty conditions if you’re handling them outside before they go up. Move rolls into the attic before cutting. We’ve also seen barrier installations postponed to November after an April attempt ended in heat exhaustion – that’s the pattern we want you to avoid.
If your attic also has a crawl space component, the vapor barrier is a separate but related job: see Crawl Space Encapsulation & Vapor Barrier in North Las Vegas.
What Professional Installation Includes That DIY Can’t Self-Verify
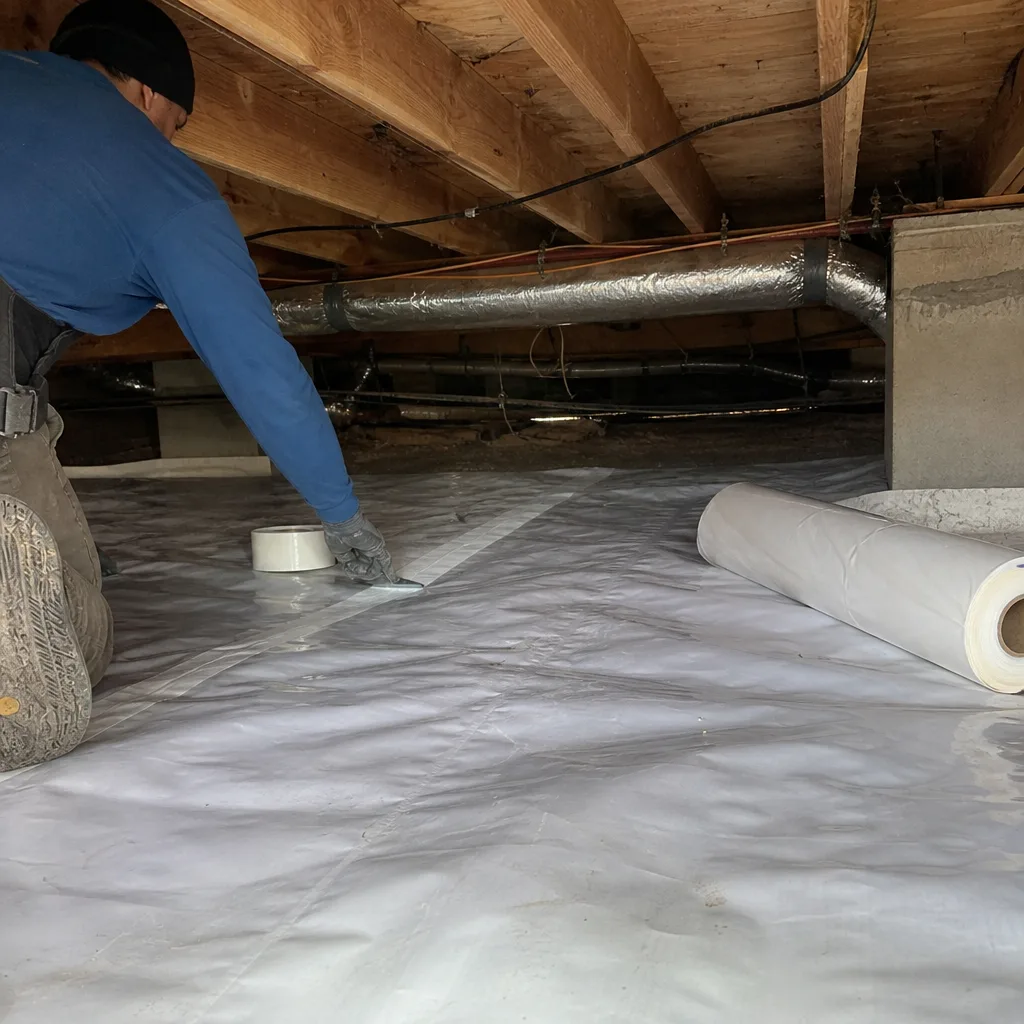
The material is the same foil either way. What changes is the record you walk away with. Here is what a properly documented installation should include, whether you’re doing it yourself or hiring out:
- Pre-installation attic temperature readings taken at consistent times of day (usually midafternoon) so the before-and-after comparison is apples to apples.
- Post-installation temperature readings at the same time of day, showing the actual reduction. A properly installed barrier in a North Las Vegas attic typically drops peak attic temperature 15°F to 25°F, not the 50°F some product literature implies.
- Foil product emissivity documentation. Emissivity is the property that determines how much radiant heat the foil reflects; the manufacturer’s spec sheet should travel with the job.
- Written air gap measurements at three or more rafter bays, with photos of the tape in place so the number is verifiable, not just claimed.
- Written scope and written warranty before any work starts. Under the Haven Standard (“Have it in writing”), nothing lifts a tool until the scope and price are on paper.
The gap measurements are the piece homeowners can’t reasonably self-verify, because they’re the party doing the install and no kitchen-table photographer can honestly claim a gap they can’t see while lying on their side in a rafter bay. A second set of eyes and a photo record is the difference between “I think it’s right” and “here’s the number.”
Materials on a professional install come from sources like Owens Corning, Johns Manville, or GreenFiber, depending on whether foil-faced products or a foil-plus-insulation stack is the right configuration. There’s no proprietary lock-in, and the spec sheet is part of the record.
DIY vs Professional: Real Cost Comparison
Numbers, because the markup question is why most people ask. Radiant barrier material runs $0.10 to $0.18 per square foot for foil alone. For a 1,500-square-foot attic floor, that’s $150 to $270 in foil. Add staples, tape, gloves, a respirator, and a roll of foil tape and you’re at roughly $200 to $320 in DIY materials.
Professional installation typically runs $1.00 to $2.00 per square foot installed, so $1,500 to $3,000 for the same 1,500-square-foot attic – but that number includes labor, orientation planning, air sealing around penetrations, air gap verification, temperature readings, and the documented record. If your attic needs air sealing first (which is common in North Las Vegas homes built between 2015 and 2025 with older blown insulation), the professional cost also covers that work as a prerequisite.
Use this as a decision aid, not a price list:
- Simple single-story gable roof, no HVAC in attic: DIY is a reasonable call if you can handle the heat windows.
- Hip roof, HVAC in attic, existing insulation needing replacement: professional.
- You’re paying someone anyway for spray foam or air sealing: the radiant barrier is worth bundling. See Spray Foam Insulation in North Las Vegas.
- You want before-and-after numbers on paper: professional, because the documentation is the deliverable.
Common Mistakes to Avoid
- Foil face-down against existing insulation with no air gap. The most common error we see in North Las Vegas, and the one that produces zero measurable benefit. The shiny side needs air, not a surface.
- Compressing the air gap with heavy staples. Stapling every four inches with a heavy gun pulls the foil tight against the rafter and closes the gap at the edges. Space staples to hold the sheet without pressing it flat.
- Skipping air sealing first. A radiant barrier reflects radiant heat but does nothing about the conditioned air leaking through top plates and can lights. If you don’t seal the envelope first, the barrier is working on half the problem. We’ve measured that order-of-operations mistake on hundreds of attics.
- Installing in July at 3 p.m. In North Las Vegas, that’s 150°F attic air and a real heat illness risk. If you’re scheduling DIY, schedule for November.
- Installing over a failing or wet insulation layer. In North Las Vegas homes with older fiberglass or any sign of moisture, foil just locks the failure in place. Replace the insulation first.
- No gap verification. The install can look right and fail to function in three bays. Measure with a tape and photograph the measurement.
- Assuming the foil eliminates the need for insulation. Radiant barrier addresses radiant heat. It does not replace the R-value of the insulation on your attic floor. If your insulation is under-insulated, the barrier won’t fix the temperature gap.
When to Call a Professional
Call in when the attic has any of the following: HVAC equipment or ductwork the foil must route around, a hip roof or complex framing, knee walls or vaulted ceilings, existing insulation that needs to be removed or replaced before the barrier goes in, or a home where you cannot verify the air gap yourself. Also call if you can’t work safely in a 130°F attic during the available windows, or if the barrier is part of a larger envelope job involving air sealing or new insulation.
Envelope Insulation North Las Vegas offers free estimates in North Las Vegas. We’ll measure your attic, show you the rafter configuration, and give you a written price before any work starts – and if the honest answer is “this is a DIY-appropriate install,” we’ll tell you that instead of selling you a job. Call (833) 630-4008.
Frequently Asked Questions
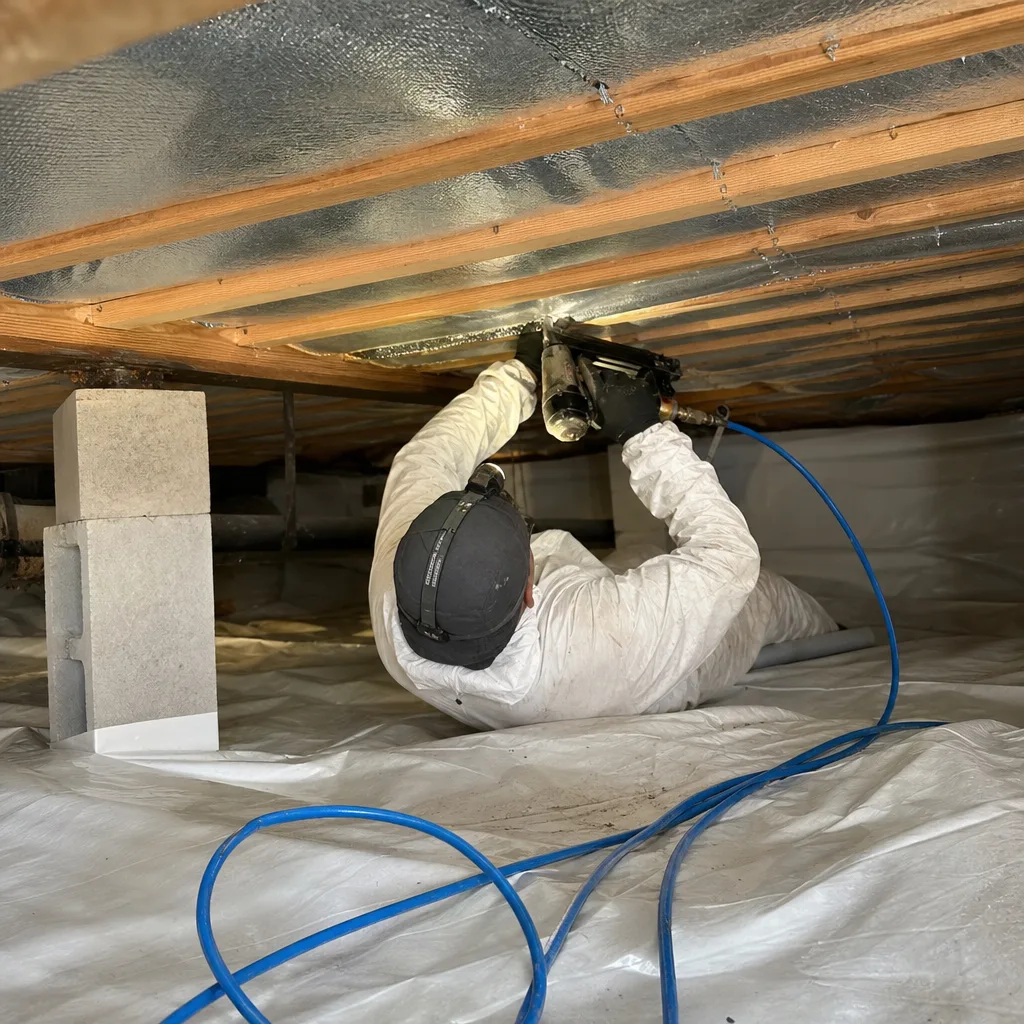
Yes, in a single-story home with accessible rafters, no HVAC equipment in the attic, consistent rafter spacing, and no insulation to move. The installation is genuinely within reach of a careful homeowner. The hard part isn’t the stapling; it’s getting the orientation and air gap right, and being honest about whether you’re willing to work in a 130°F attic. Call (833) 630-4008 for an exact quote if you’d rather not – estimates are free.
The shiny side faces the open air gap, never against insulation or decking. If you’re installing under the rafters, the shiny side points down into the attic. If you’re installing over the top of attic insulation, the shiny side points up. In both cases, the reflective surface needs at least ¾ inch of clear air on the side it’s facing. A tape measure and a photo of each bay is the only way to verify it.
Material runs $0.10 to $0.18 per square foot; installed cost is typically $1.00 to $2.00 per square foot, so $1,500 to $3,000 for a 1,500-square-foot attic. The range reflects attic complexity, whether air sealing is done first, and whether existing insulation needs replacement. Call (833) 630-4008 for an exact quote on your attic – estimates are free.
In most North Las Vegas homes built between 2015 and 2025 with older blown insulation, yes. Air sealing of top plates, can lights, and penetrations closes the conditioned-air leaks first; the radiant barrier then handles the radiant heat on top of that. Installing the barrier before the sealing is a common order-of-operations mistake – it works on the wrong part of the problem. Call (833) 630-4008 to schedule an attic assessment.
A correctly installed barrier typically drops peak attic temperature 15°F to 25°F in a North Las Vegas summer. The install has to have a proper air gap facing the reflective surface; a barrier pressed flat against decking or insulation has no measurable effect. We take pre- and post-installation attic temperature readings so the number is verifiable, not estimated.
For a straightforward single-story attic in North Las Vegas, most installs finish in a day. More complex attics – hip roofs, HVAC rerouting, insulation work bundled in – can run two to three days. The schedule is set in the written scope before work begins. Call (833) 630-4008 for an exact quote and timeline.
The Bottom Line
Radiant barrier is one of the more DIY-accessible attic projects, but only for a specific slice of homes: single-story, gable roof, no HVAC in the attic, no insulation to move. If you’re in that slice and can work in the North Las Vegas heat windows (spring and fall, mornings), the install is within reach. The two decisions that determine whether it works are orientation and air gap – the reflective surface must face at least ¾ inch of open air, never contact. If your attic has HVAC equipment, complex framing, or existing insulation that needs attention, the professional install is the cheaper decision, because it includes the documentation that lets you verify the job actually performed. Under the Haven Standard, every job starts with a written price and ends with a documented record – foil, numbers, photos, and a warranty on paper.
Call (833) 630-4008 for a free estimate. We’ll walk your attic, measure the rafter runs, and give you a written price before anyone lifts a tool – and if DIY is the right call for your North Las Vegas home, we’ll tell you that too.
Written by the team at Envelope Insulation North Las Vegas.